


7
ENGLISH
NOTE
• If a loud feedback noise is produced from the speaker, move the
microphone away from the speaker.
• This projector doesn't support plug-in power for the microphone.
• The
COMPUTER IN1/2
port can support a component signal also. The specific
adapter or the specific cable is required for a component video input to the projector.
Connecting with your devices (continued)
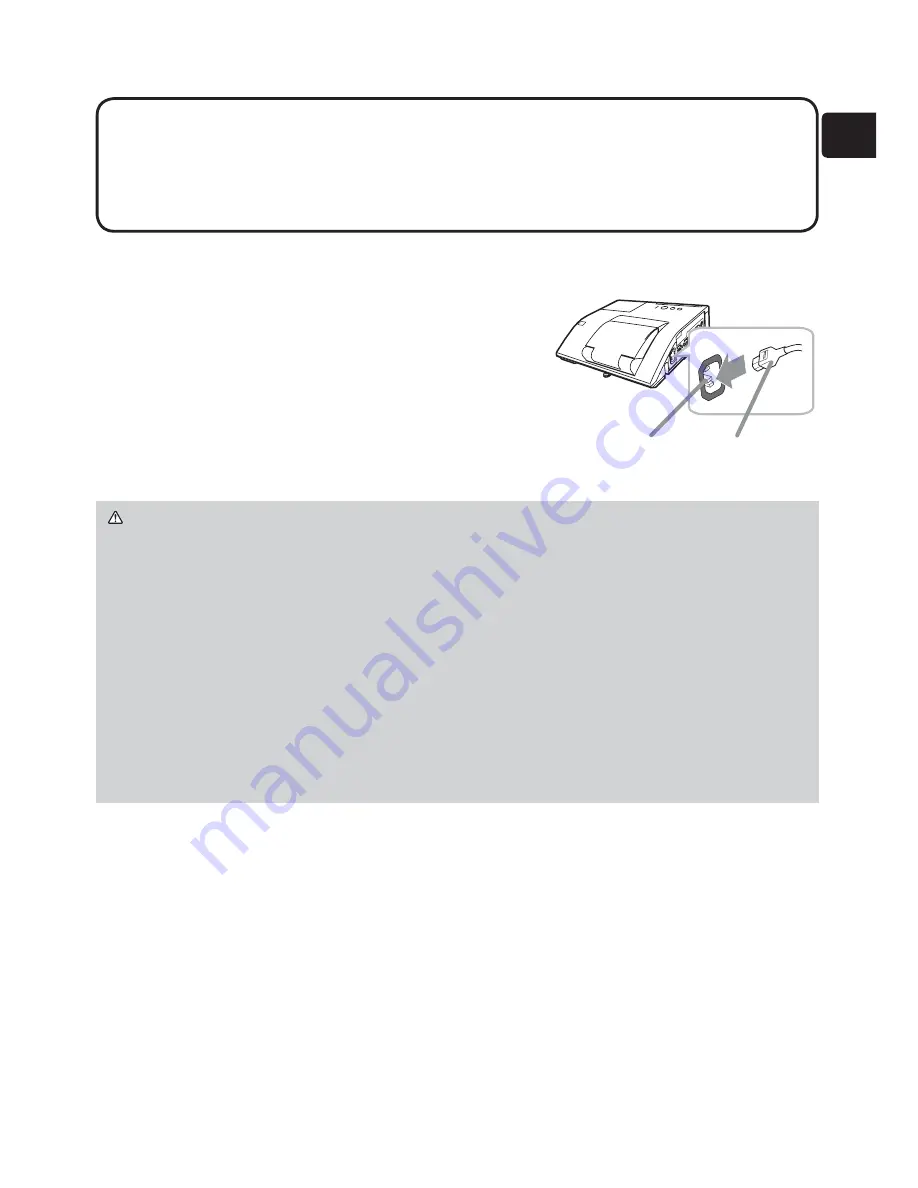
Connecting power supply
1.
Put the connector of the power cord into the
AC IN
(AC inlet) of the projector.
2.
Firmly plug the power cord’s plug into the
outlet. In a couple of seconds after the power
supply connection, the
POWER
indicator will
light up in steady orange.
Please remember that when the DIRECT POWER ON
function activated, the connection of the power supply make the projector turn on.
WARNING
►Please use extra caution when connecting the power cord, as
incorrect or faulty connections may result in fire and/or electrical shock.
• Do not touch the power cord with a wet hand.
• Only use the power cord that came with the projector. If it is damaged, consult
your dealer to get a new one. Never modify the power cord.
• Only plug the power cord into an outlet whose voltage is matched to the power
cord. The power outlet should be close to the projector and easily accessible.
Remove the power cord for complete separation.
• Do not distribute the power supply to multiple devices. Doing so may overload
the outlet and connectors, loosen the connection, or result in fire, electric shock
or other accidents.
NOTICE
►This product is also designed for IT power systems with a phase-
to-phase voltage of 220 to 240 V.
AC IN
Power cord


