background image

.. .. .. . . . . 


Specifications

7.1. CRT (Cathode Ray Tube)

CRT size

: 17 inch

Dot pitch

  0 . 2 6   m m

Face treatment :

dark glass, non-glare

7.2. Input Signals

:   a n a l o g

Video signal

  0 . 7  

S y n c   s i g n a l s   :

separate sync, TTL level

7.3. Deflection Characteristics

H-frequency

:   3 0 - 6 4 K H z

V-frequency

:

50   100 Hz

Video Response :

75 MHz

7.4. Recommended Resolution

640 x 480   

 Hz

l

800 x 600   

 Hz

l

1024 x 768, interlace

l

1024 x 768   

 Hz

l

1280 x 1024   60 Hz

7.5. Display Size

l

300 x 225 mm (default setting)

l

316 x 237 mm (full screen)

l

Both display sizes dependent upon signal timing used

16

Summary of Contents for 17MVX

Page 1: ...COLOUR MONITOR CM 1786M AD 17 MVX VddSupersCan 17s User s Manual _ READ THE INSTRUCTION INSIDE CAREFULLY KEEP THIS USER S MANUAL FOR FUTURE REFERENCES ...

Page 2: ......

Page 3: ..._ _ _ T T ...

Page 4: ......

Page 5: ...fitted to the equipment is not suitable for your socket outlet it must be cut off and the appropriate plug fitted The cut off plug should be disposed of do not insert it into a 13 amp socket to prevent the hazard of electric shocks With plugs not incorporating a fuse the circuit must be protected by a 5 amp fuse Warning This equipment must be earthed Important Your equipment is supplied with a mai...

Page 6: ... which is marked with the letter L or coloured Red The wire which is coloured Blue must be connected to the terminal which is marked N or coloured Black The plug moulded on to the cord incorporates a fuse For replacement use a 5 amp BS1326 fuse Only ASTA approved fuses should be used The fuse cover carrier must be refitted when changing the fuse In the event of losing the fuse cover carrier the pl...

Page 7: ... never be placed near or over a radiator or heat register This product should not be placed in a built in installation unless proper ventilation is provided This product should be operated from the type of power source indicated on the marking label If you are not sure of the type of power available consult your dealer or local power company This product is equipped with a three wire grounding typ...

Page 8: ...g conditions l When the power cord or plug is damaged or frayed l If liquid has been spilled into the product l If the product has been exposed to rain or water l If the product does not operate normally when the operating instructions are followed Adjust only those controls that are covered by the operating instructions since improper adjustment of other controls may result in damage and will oft...

Page 9: ...Connect the equipment into an outlet on a circuit different from that to which the receiver is connected e Consult the dealer or an experienced radio TV technician for help Warning A shielded type power cord is required in order to meet FCC emission limits and also to prevent interference to the nearby radio and television reception It is essential that only the supplied power cord be used Use onl...

Page 10: ...anufacturer product specifications Product performance is affected by system configuration software application customer data and operator system control among other factors While the product is compatible with the standards for which they are advertised product implementation may vary from user to user The suitability of this product for a specific application must be determined by the customer a...

Page 11: ...User Controls and Indicators 6 4 2 Display Adjustment Controls 6 4 3 Preset and User Modes 8 4 4 Installing the Tilt and Swivel Base 9 Section 5 Installation Instructions Section 6 Advanced Display Adjustment 6 1 Using the Function Button 12 6 2 Making Color Adjustments 13 6 3 Making Pincushion Adjustments 14 6 4 Enabling Disabling the Power Saving Function 14 Section 7 Specifications 7 1 CRT Cath...

Page 12: ...to the power saving mode This software is not required to operate the monitor as a display device or to comply with Energy Star and DPMS but is a special offer to allow you to take advantage of power saving features without the need of a DPMS compliant system While efforts have been made to ensure compatibility it can not be guaranteed that this package will work as it is described in the operator...

Page 13: ... down the monitor after a user defined period of inactivity The power saving feature is compatible with VESA DPMS compliant display cards l All parameters in each of the display modes reside in the microprocessor based control system Settings are built in for existing VGA standards super VGA 800 x600 8514 A 1024x768 interlaced 1024 x 768 non interlaced and 1280 x 1024 modes l Front panel controls ...

Page 14: ...itor housing you will expose yourself to high voltage and possible severe electrical shocks 5 Do not place the monitor under direct sunlight near heating appliances or in areas with excessive light and moisture 6 Keep the monitor in a well ventilated area and keep the monitor ventilation holes free from obstructions 7 If any abnormal sound smoke or odor comes from the monitor unplug the monitor s ...

Page 15: ... for use in reshipping the monitor in the future The monitor comes with the tilt and swivel base detached Please follow the instructions contained in Section 4 4 to install the tilt and swivel base Usqr s manual Usqr s manual b i Power management utility disk Fig 1 Please check that all of the above items are present once you have unpacked the monitor 5 ...

Page 16: ...ay to the preferred contrast level Press the corresponding or buttons to change the overall picture contrast 4 2 Display Adjustment Controls The monitor contains preset display information on all of the available display modes and no user adjustments are normally required However the front panel push buttons may be used for display adjustment in any of the display modes if necessary Once set the s...

Page 17: ...on will only recall the factory defaults of the display mode currently in use The other display modes are not affected 6 Function Press and release the Function button to set the front panel controls to the alternate mode for picture geometry and color adjustments Refer to Section 6 1 for more information on the use of the c Function button 7 Degauss This control eliminates the built up of stray m...

Page 18: ...he preset modes are defined as follows Display mode Resolution fH fV Polarity VGA 640 x 350 31 5 KHz 70 Hz VGA 720 x 400 31 5 KHz 70 Hz 9 VGA 640 x 480 31 5 KHz 60 Hz 3 SVGA 800 x 600 35 2 KHz 56 Hz 8514 A 1024 x 768 35 5 KHz 87 Hz VESA 640 x 480 37 8 KHz 72 Hz VESA 1024 x 768 48 9 KHz 60 Hz VESA 800 x 600 48 KHz 72 Hz VESA 1024 x 768 57 KHz 70 Hz CAD I CAE 1280 x 1024 64 KHz 60 Hz 8 ...

Page 19: ...h and stable surface 2 The monitor bottom side contains mounting holes for the tilt and swivel base These holes are represented as shaded areas in Figure 4 3 Make sure that the claws on the tilt and swivel base slips into their corresponding mounting holes on the monitor bottom surface Push the tilt and swivel base all the way toward the front of the monitor until it snaps into place Fig 4 Install...

Page 20: ... 1280 x 1024 modes Proceed to install the monitor as follows 1 Turn off the power to the monitor the computer system and other attached devices 2 If the display adapter is not yet installed in the computer system install it according to the instructions accompanying the display card 3 Connect the video cable on the monitor to the Spin output of the display adapter and tighten the fastening screws ...

Page 21: ...tor with the video adapter connector 4 Connect the monitor AC power cord to a properly grounded AC outlet 5 Turn the monitor s power on 6 Turn the computer s power on Note A quick power on off sequence may cause problems with the monitol After powering off the monitor wait for at least three 3 seconds before turning on the power again 7 With the screen displayed adjust the Brightness and Contrast ...

Page 22: ...rience may be required toperfonn some of these adjustments If any problems are encountered while adjusting the service controls just press Reset and start all over again 6 1 Using the c Function Button Press the Function button and either of the Brightness and Contrast controls to perform picture geometry and color adjustments The available picture geometry and color adjustments are listed as foll...

Page 23: ...stment made under either of the user defined color settings will be automatically saved 2 After adjustments are made press Function to exit Note Adjustments you make in color affects the entire image For example any decrease in red will affect the overall intensity of the image Should you encounter any problems while making color adjustments simply reset to the factory defaults and start all over ...

Page 24: ... After adjustments are done press Function to exit To reset to factory default 1 Press Function m for pincushion adjustments 2 Press Reset This brings the user back to the factory settings of the display mode currently in use 3 The LED display blinks two times indicating that the settings have been changed to default Press c Function to exit The Reset button will only recall the factory defaults o...

Page 25: ...ower saving feature proceed as follows 1 Press Function m 2 Press to enable power saving to disable 3 Press Function when done Fig 7 Press Function L3ZB and thea the corresponding keys to enable I disable the power savingfeature ...

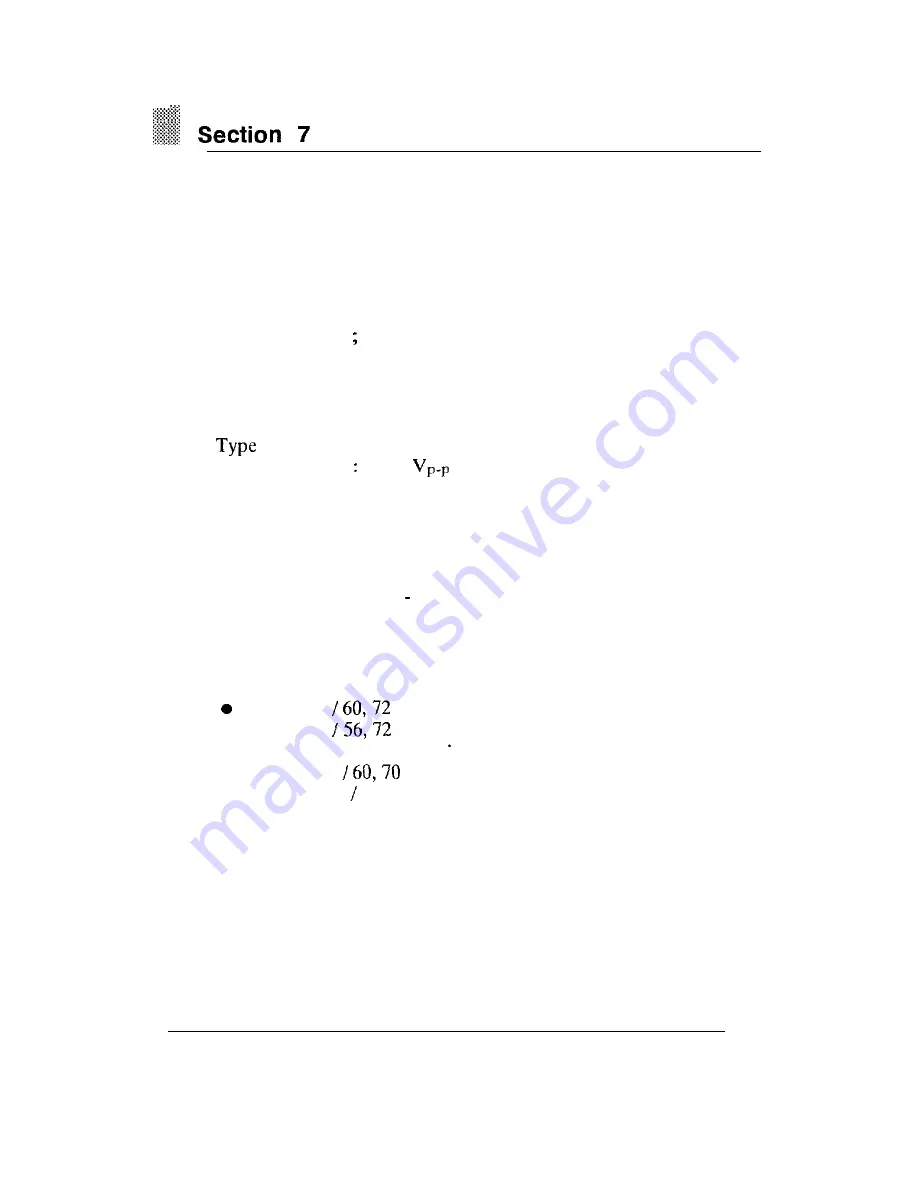
Page 26: ...parate sync TTL level 7 3 Deflection Characteristics H frequency 3 0 6 4 K H z V frequency 50 100 Hz Video Response 75 MHz 7 4 Recommended Resolution a 640 x 480 J 60 72 Hz l 800 x 600 56 72 Hz l 1024 x 768 interlace l 1024 x 768 60 70 Hz l 1280 x 1024 60 Hz 7 5 Display Size l 300 x 225 mm default setting l 316 x 237 mm full screen l Both display sizes dependent upon signal timing used 16 ...

Page 27: ...onnector Pin 1 Pin 2 Pin 3 Pin4 Pin 5 Pin 6 Pin 7 Pin 8 Red G r e e n Blue G r o u n d G r o u n d Red ground Green ground Blue ground Pin 9 No connection Pin 10 Ground Pin 11 Ground Pin 12 No connection Pin 13 H sync Pin 14 V sync Pin 15 No connection 7 10 Power Management This monitor is fully compliant with VESA DPMS and the EPA for Energy Star To take advantage of both display power management...

Page 28: ...vel 2 Off less than 8 Watts 8 1 Using Power Management under DOS The interval required to enter Level 1 and Level 2 of power saving may be set in either of two ways l through the Power Management Utility menu l directly through the DOS command prompt To use the Power Management Utility menu type OFFH at the DOS command prompt The following menu appears Power Management Utility Hitachi Please enter...

Page 29: ...e interval directly in the DOS command line OFFH V to view the current level1 and level2 settings OFFH R to release OFFH from memory Hot keys for DOS CTRL ALT H turns off H sync CTRL ALT V turns off V sync CTRL ALT O turns off H and V sync CTRL ALT N turns off video RGB signals Please note that the hot keys work under DOS only press any key to return to the normal mode 8 3 Power Management for Win...

Page 30: ...ter the level 1 power saving mode 6 Press the Setup button to invoke the Hitachi Power Saving dialog box Set the time interval between the level 1 and level 2 power saving modes Close the dialog box when done 7 From the Desktop dialog box press Test to enter level 1 power saving mode immediately Press any key or the mouse button to resume to the normal mode 8 Close the Desktop dialog box The power...

Reviews: