background image

13

Your Hisense TV comes with many TV setting features to allow you to customize the picture based on your viewing preference and 

environment. As you navigate throughout different screens to access settings, some of the indicators appear as words ‘On’ and ‘Off’ 
and some are open [o] and closed [I] symbols. An [o] indicator signifies a feature that is disabled.

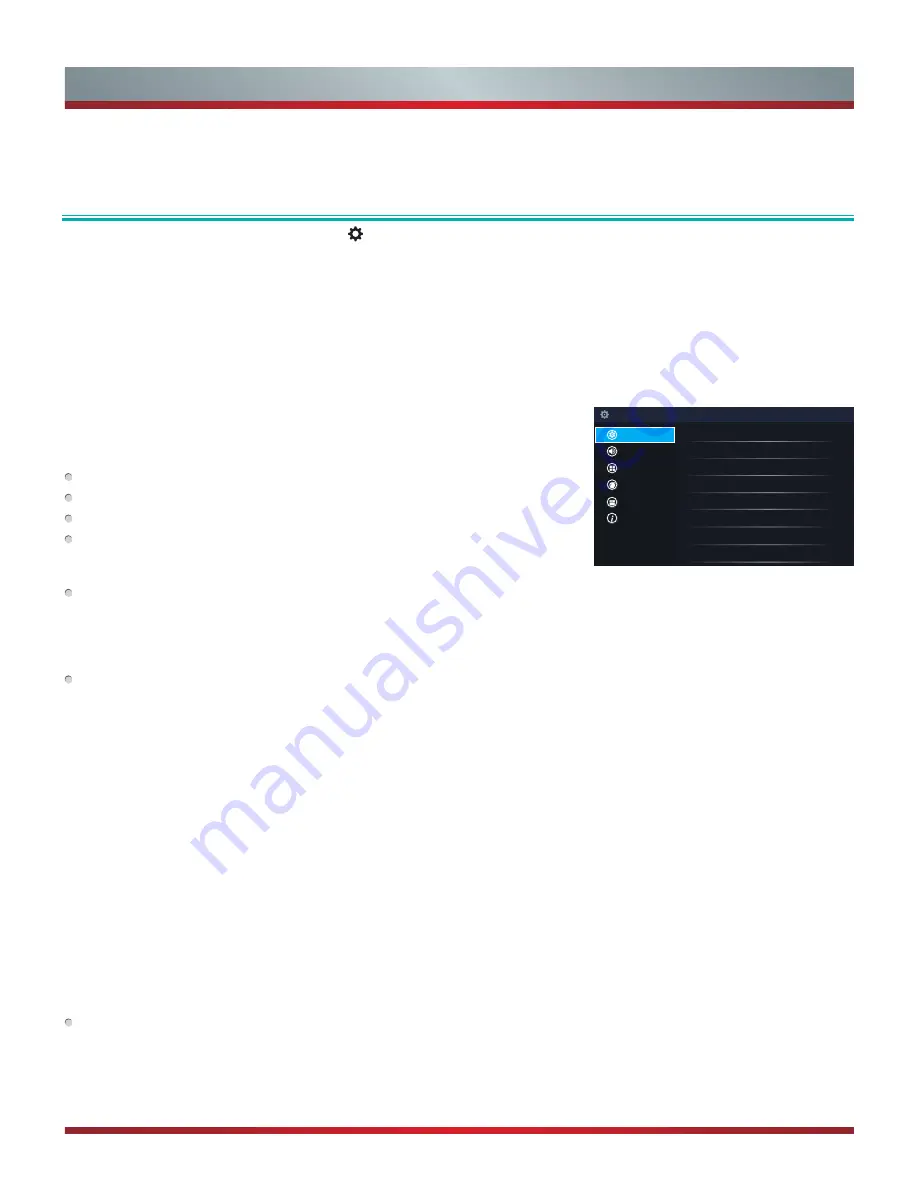
Accessing the Quick Setup Menu

You can press the [

Quick Setup

] menu button [ ] and press the right arrow on the D-pad to view the full menu settings. 

The 

Quick Setup

 menu consists of the following settings:

• 

Picture

• 

Sound

• 

Channel

• 

Network

• 

System

• 

About TV

                    Basic and Advanced TV Settings

Setup

Picture Mode

Standard

Brightness

50

Contrast

50

Color

50

BackLight

Aspect Ratio

Normal      

Advanced Picture Settings

Restore Defaults 

Picture
Sound
Channel
Network
System
About TV

Picture Menu

If you’d like to configure the settings for your picture, then there are six types of picture 

modes available: 

Vivid, Standard, Theater, Energy Saving, Game and Sport

.

Once you choose the mode, you can adjust the picture based on the following settings:

 Brightness:

 Adjust the Brightness level to generate lighter or darker images.

 Contrast:

 Adjust the Contrast level to increase or decrease how bright images appear.

 Color:

 Adjust the color intensity of the picture for a more vibrant image.

 Aspect Ratio:

 Adjust the Aspect Ratio to stretch or zoom in on your picture. You can 

choose from the following settings: 

Auto, Direct, Panoramic, Cinema, Wide, Zoom 

or Normal

.

 Backlight:

  This TV has a 

Dynamic Backlight Control

 setting that you can turn ‘On’ 

and set to high or low. The Backlight setting enables you to adjust how bright you want 

images to appear. In addition, an 

Eco Sensor

 setting is available that will enable the 

TV to automatically adjust the picture settings according to the amount of ambient light 

in your room. This is a money-saving feature because it reduces power consumption.

 Advanced Picture Settings:

 Adjust advanced picture settings based on your viewing 

preference.

   • 

Display:

 Adjust advanced picture settings in the component source.

   • 

OverScan:

 Disable the overscan for PC inputs to fully display all menu items at the 

edges of the screen.

   • 

Tint:

 Adjust the colors from a green to magenta tint to view the natural skin tones of 

people on the screen.     

   • 

Sharpness:

 Adjust how sharp or soft edges of images appear.


• 

Ultra Smooth Motion:

  This setting removes motion judder. You can adjust it from 

high, medium or low. A high setting will produce a smoother picture whereas a low 

setting will result in a picture that has less judder (shaking).

   • 

Noise Reduction:

 Improve how clear the picture appears by reducing noise.


• 

Adaptive Contrast:

 Automatically darken dark areas and lighten light areas of 

images to see more details.

   • 

Color Temperature:

 Select a preset color temperature.

  • 

White Balance:

 Adjust the intensity of red, green and blue lights to view the true 

colors of all images in the picture.

   • 

Color Tuner:

 Adjust the Hue, Saturation and Brightness of color settings.

 Restore Defaults :

 Restore all the picture settings in the current picture mode to the 

factory default values.

Summary of Contents for Vidaa 56" H7 Model Series

Page 1: ...ES A150203...

Page 2: ...English...

Page 3: ...part in any manner electronic or otherwise whether or not for a charge or other or no consideration without the prior written permission of Hisense Company Ltd Requests for permission to store reprod...

Page 4: ...on an as available basis without warranties of any kind either expressed or implied that the Application Service will be uninterrupted or error free including but not limited to vagaries of weather d...

Page 5: ...or other audio receivers 5 Connecting a digital sound bar to use ARC Audio Return Channel 6 Connecting your TV to a Wired or Wireless Network 7 Connecting to a Wireless network 7 Connecting to an Wire...

Page 6: ...channel 20 VOD 21 Netflix 21 Amazon Instant Video 21 Youtube and Viewster 21 Vudu 21 Dailymotion 21 Media 22 File formats that are supported 22 Viewing videos 22 Browsing content 22 Viewing Pictures a...

Page 7: ...provided 2 Connect the other end of the cable to the ANT CABLE jack on the side of TV 3 Using your remote press the INPUT button and select TV as the input source To connect an AV device with a compos...

Page 8: ...jacks 2 Plug the connected devices into the YPBPR and L R ports on the TV before switching it on 3 Using your remote press the INPUT button and select Component as the input source Figure 9 AV device...

Page 9: ...the connected devices into the main power socket before switching on the TV You can connect headphones to the AUDIO OUT port on your TV While the headphone is connected the sound from the built in spe...

Page 10: ...dvanced Audio Settings of the TV and select RAW to receive the 5 1 channel audio You will need to also go into the sound or audio settings of your device to ensure it is set to 5 1 Channel output It m...

Page 11: ...u must use the Hisense built in Wireless LAN Adapter to use a wireless network because the set does not support an external USB network adapter To use a wireless network your TV must be connected to a...

Page 12: ...e to enter them manually Most home networks are Dynamic Networks Some networks require a Static IP address If your network requires a Static IP address you must enter the IP address subnet mask gatewa...

Page 13: ...left right navigation buttons Volume up down Mute and restore sound Adjust Sleep timer setting Quick Setup menu Return to the previous place in the menu or app Live TV Infrared transmitter Change TV i...

Page 14: ...other household remote controls to your new Hisense television please refer to the User s Manual supplied by your Cable or Satellite provider The Cable or Satellite providers User s Manuals should in...

Page 15: ...o the Forward arrow and press OK TIP The edge of the drop down boxes and the back and forward arrows change to blue when you select them Terms of Service TERMS OF SERVICE Accept all Accept EULA Accept...

Page 16: ...lect how you receive your TV channels Choose from one of the following sources below and then move to the next screen TV AV Component HDMI NOTE If you use an antenna to receive channels then you must...

Page 17: ...Panoramic Cinema Wide Zoom or Normal Backlight This TV has a Dynamic Backlight Control setting that you can turn On and set to high or low The Backlight setting enables you to adjust how bright you w...

Page 18: ...the digital audio output delay time to sync sound from an external speaker with the images on the TV TV Speaker ARC Select the TV speaker or an external speaker for sound output Audio Out Change the...

Page 19: ...s by channels when you turn On the Parental Controls feature Program Block Blocks programs according to their TV or MPAA movie rating when you have turned on the Parental Controls feature and selected...

Page 20: ...If you connect an HDMI device that is not HDMI CEC compatible all the HDMI CEC Control features do not work Depending on the connected HDMI device the HDMI CEC Control feature may not work Advanced Se...

Page 21: ...n this occurs begin adding other settings to the Block Time Channel Block Program Block Input Block Change PIN or Restore Parental Control Defaults features All ratings that are higher than those you...

Page 22: ...tore Parental Control defaults from the Parental Controls settings menu Rating Defined as C Children C8 Children 8 years and older G General programming that is suitable for all audiences PG Parental...

Page 23: ...you to determine if you still have Internet connectivity as you use the TV In addition if you have connected a device such as a thumb drive to a USB port and your TV recognizes it then a device icon...

Page 24: ...ng a channel list After you have done an automatic channel scan if you re using an Antenna or are receiving your channels through a cable provider you can view your list of channels by pressing OK on...

Page 25: ...sword to sign in to your Netflix account If you don t already have an account then you can try the service FREE for one month by creating an account If you enjoy your trial membership then you don t h...

Page 26: ...not be supported Medium File Format Videos TRP M2TS MKV Picture JPG BMP PNG GIF Music MP3 Viewing Videos While viewing videos you will see a number of icons appear at the bottom of the screen You can...

Page 27: ...reate an account to use the service Once you click on the Vudu icon to launch the application you can register for the service directly from your TV Simply follow the on screen prompts to get started...

Page 28: ...your cursor there 4 Press OK on your remote to bring up the onscreen keyboard 5 Type the website address or search term on the text field 6 Press the Blue special function button towards the top of t...

Page 29: ...ved from the Apps list screen NOTES If an app is deleted the information related to that app is also removed Moving App Icons around Apps can not be moved around on the screen Customizing the name of...

Page 30: ...gs go to Network and turn on the Anyview Stream setting 2 Press the All Apps button on your remote and select the Anyview Cast app 3 Turn on your Android based device and go to Settings Display Cast S...

Page 31: ...g will not be interrupted Disabling the Auto Firmware Upgrade feature If you do not want your TV to automatically check for updates and to receive notifications when they are available then 1 Using yo...

Page 32: ...und Check the volume settings Check if Mute mode is set to On Sound but no picture or black and white picture If the picture is black and white unplug the TV from the AC outlet and replug it after 60...

Reviews: