User Manual
15
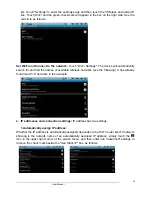
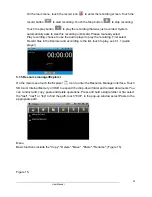
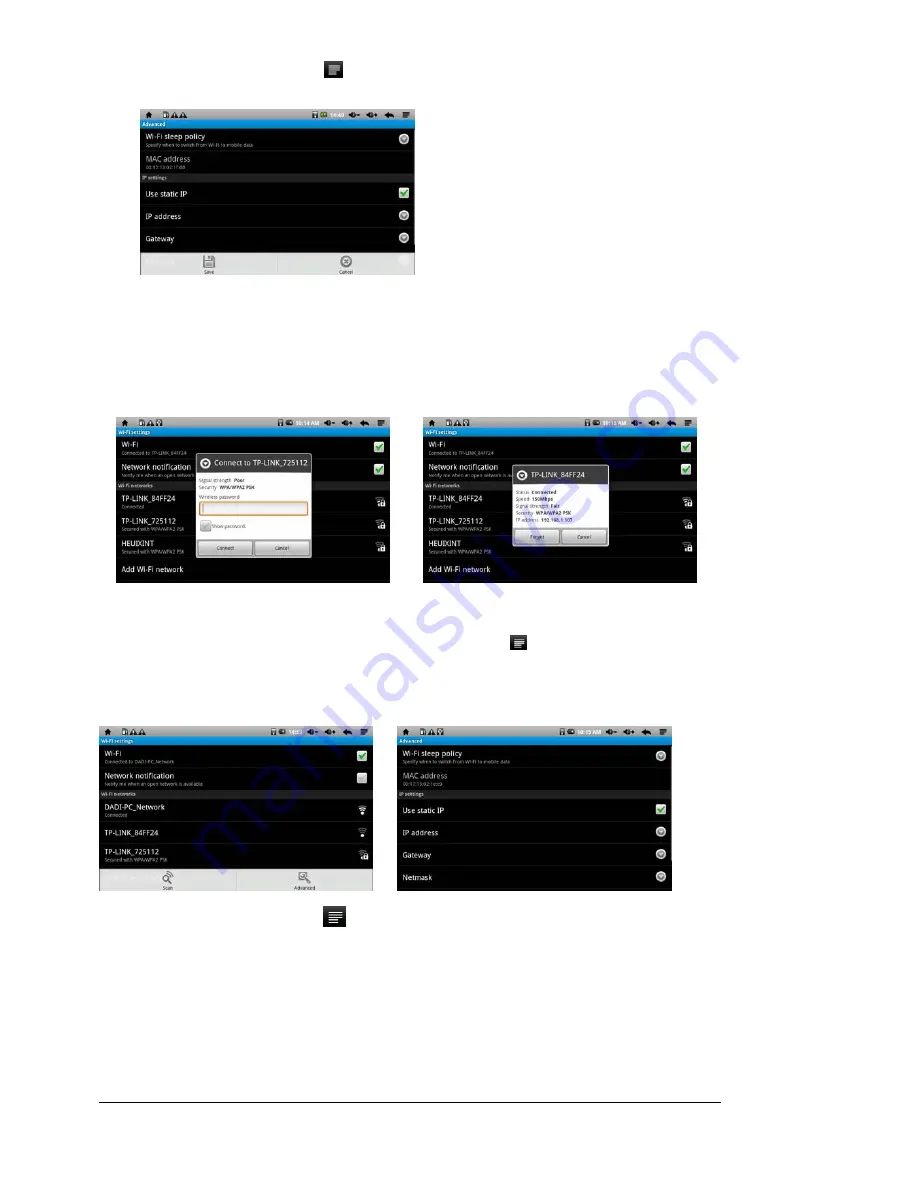
After setting, touch the
icon in the upper right corner of the screen menu, and then
touch “Save” setting, as follows
:
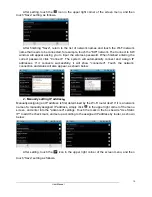
After finishing "Save", return to the list of network names and touch the Wi-Fi network
name that needs to be connected, for example, touch the "KW" network. The Connect to KW
window will appear asking you to input the wireless password. When finished entering the
correct password, click "Connect." The system will automatically connect and assign IP
addresses. If it connects successfully, it will show "connected". Touch the network,
connection and status will also appear, as shown below:
2. Manually setting IP address
:
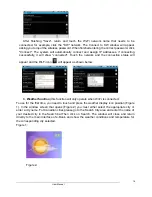
Manually assigning an IP address is first determined by the Wi-Fi router itself. If it is a network
name of a manually assigned IP address, simply click
in the upper right corner of the menu
screen, and enter into the "advanced" settings. Touch the mark in the box beside "Use Static
IP" to add the check mark, and set up according to the assigned IP address by router, as shown
below:
After setting, touch the
icon in the upper right corner of the screen menu, and then
touch “Save” setting as follows
:


