Typical use cases of the netRAPIDs
53/145
netRAPID Chip Carrier | Getting Started
DOC131104GS04EN | Revision 4 | English | 2017-09 | Released | Public
© Hilscher 2014 - 2017
If you are using Windows 7 or 8:
8. Check USB connection (Windows 7 and 8):
In the
Start
menu, choose
Control Panel
entry.
The
Control Panel
window
opens.
In the
Control Panel
window, choose
Hardware and Sound
entry.
The
Hardware and Sound
window opens.
In the
Hardware and Sound
window, below
Devices and Printers
,
click
Device Manager
entry.
The
Device Manager
window
opens.
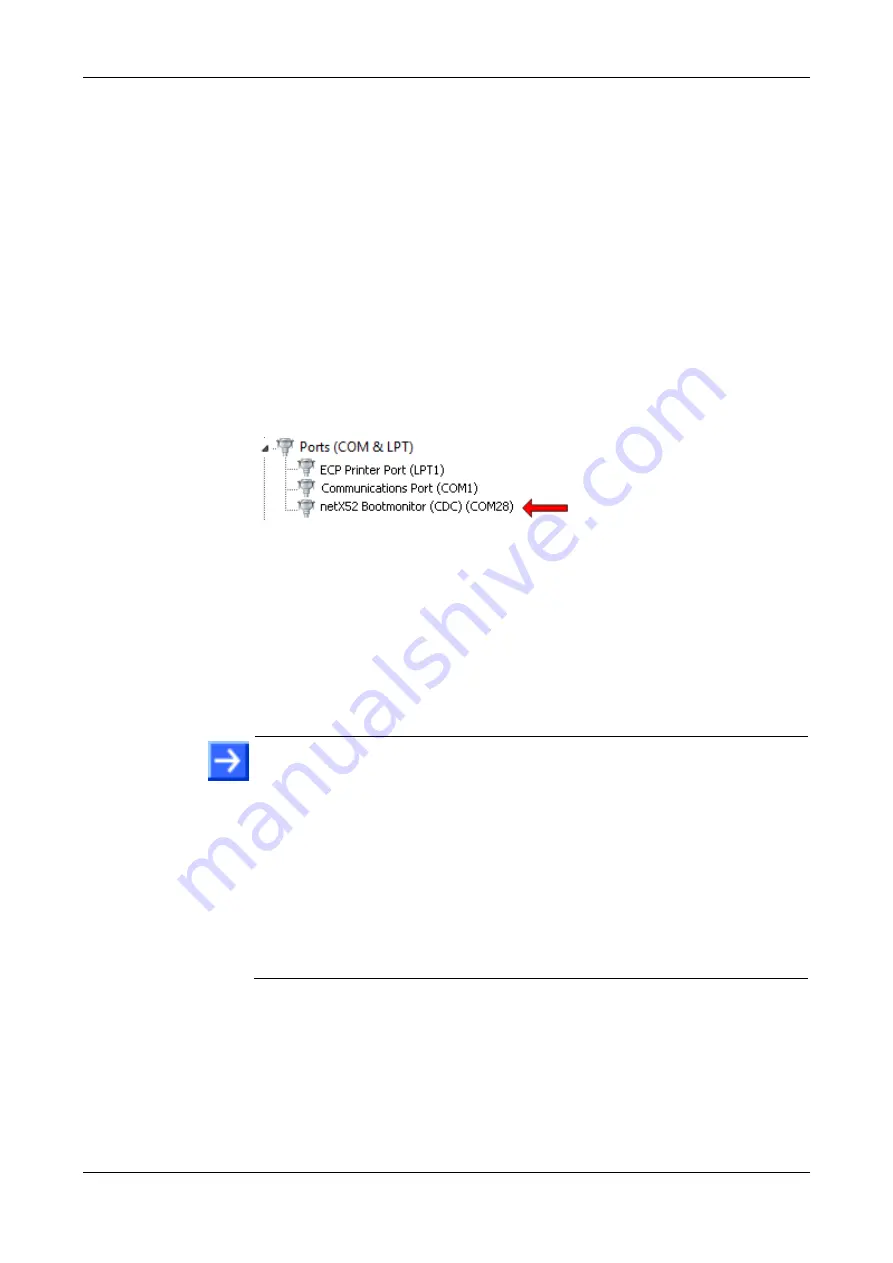
Check the entries under
Ports (COM & LPT)
for the
netX52
Bootmonitor
(if you are using the NRP 52-RE or the NRPEB 52-RE
board), respectively for the
netX51 Bootmonitor
(if you are using the
NRP 51-RE or the NRPEB 51-RE board):
Figure 24: Check USB Connection to netX 52 in Windows 7
The number of the COM port of your PC currently connected to the
netRAPID is indicated in brackets. In this example,
COM28
is
connected to the
netX52 Bootmonitor
(i. e. the ROM Loader running in
the netX 52 controller on the netRAPID).
Note or write down the number of the COM port (you will need the COM
number in the next step), then close the
Device Manager
.
9. Download image file.
Note:
The
Area Offset
in the
Flasher parameters
section of the
Bootwizard is set to
0
by default. This
Area Offset
parameter defines the
starting position of the flash operation and should be kept at
0
when
flashing a file to the NRP 51-RE or the NRP 52-RE. This is because the
rear area of the flash memory (starting approx. at offset
0x3ff000
) stores
device identification data which is protected by a Flash Device Label.
If you download a file to an area too close to the protected area (e.g. at
offset
0x3fe000
), the downloaded file might get truncated in order not to
violate the protected area. This may of course corrupt the downloaded file.
In any case, the Bootwizard will notify you with a message if you have
performed a flasher task that has been affected by a conflict with the
Flash Device Label.


