


4
Enrollment
5
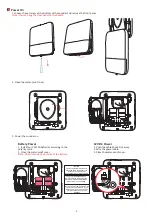
Installation
Enroll the Peripheral Locally
Enroll the Peripheral with APP
1. In the APP, tap the "Enrollment Mode" button on the control panel page to make the control panel enter the enroll-
ment status.
2. Push the power switch of the peripheral to on, and it will be automatically enrolled to the control panel.
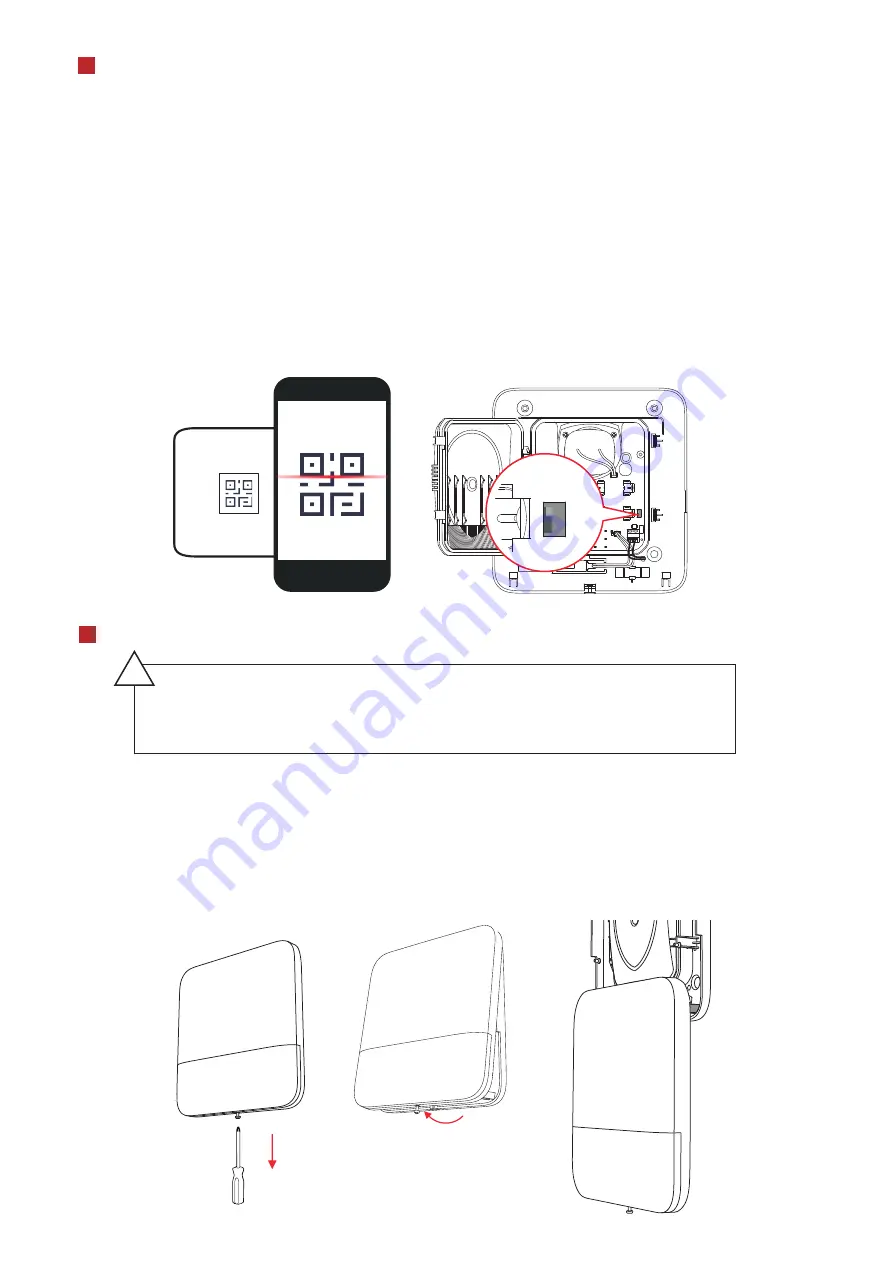
1. In the APP, tap the icon "+"and scan the QR code on the peripheral or enter the serial No. (Last 5 digit) of the peripheral.
2. Push the power switch of the peripheral to on, and it will be automatically enrolled to the control panel.
1.
Log in to the APP Store, download and install App.
2. Power on the security control panel.
3. Log in the APP and tap the icon "+" . Scan the QR code or input the control panel serial No. (Last 5 digit) to add the
control panel.
4. Enroll the peripheral locally, with OR code, or with serial No..
Note: for re-enrollment, you need to hold the tamper button while powering the peripheral on simultaneously.
ON
OFF
-12V+
ON
OFF
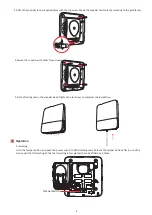
2.Loosen the set screw at the bottom of the sounder and remove the front panel.
Note: You can hang the front panel on the buckle.
1. Check signal strength and select tinstallation place
Enter the signal checking mode by operating on the control panel.
Signal indicator turns green for 3 s: Strong.
Signal indicator turns orange for 3 s: Medium.
Signal indicator turns red for 3 s: Weak.
Signal indicator flashes red for 3 s: Lost.
-The additional force shall be equal to three times the weight of the equipment but not
less than 50N. The equipment and its associated mounting means shall remain secure
during the installation. After the installation, the equipment, including any associated
mounting plate, shall not be damaged.
-Install the device on the place with nonflammable surface, such as concrete wall.
!
3