


9
A D D I P C A M E R A S
( c o n t i n u e d )
4.
Add camera(s) as follows:
Hikvision Camera Connected to Network
— Will automatically be detected and displayed at
bottom of camera list in yellow.
- To Add All Cameras
– Click the
One Touch Adding
button.
- To Add Select Cameras
– Click the + sign next to each camera you wish to add.
- To Add Cameras Manually by IP Address (undetected Hikvision or third-party cameras)
1) Click the
Custom Adding
button to display the
Add IP Camera (Custom)
window.
2) Enter the camera’s IP address and other information as required.
3) Press the
Add
button to add the camera.
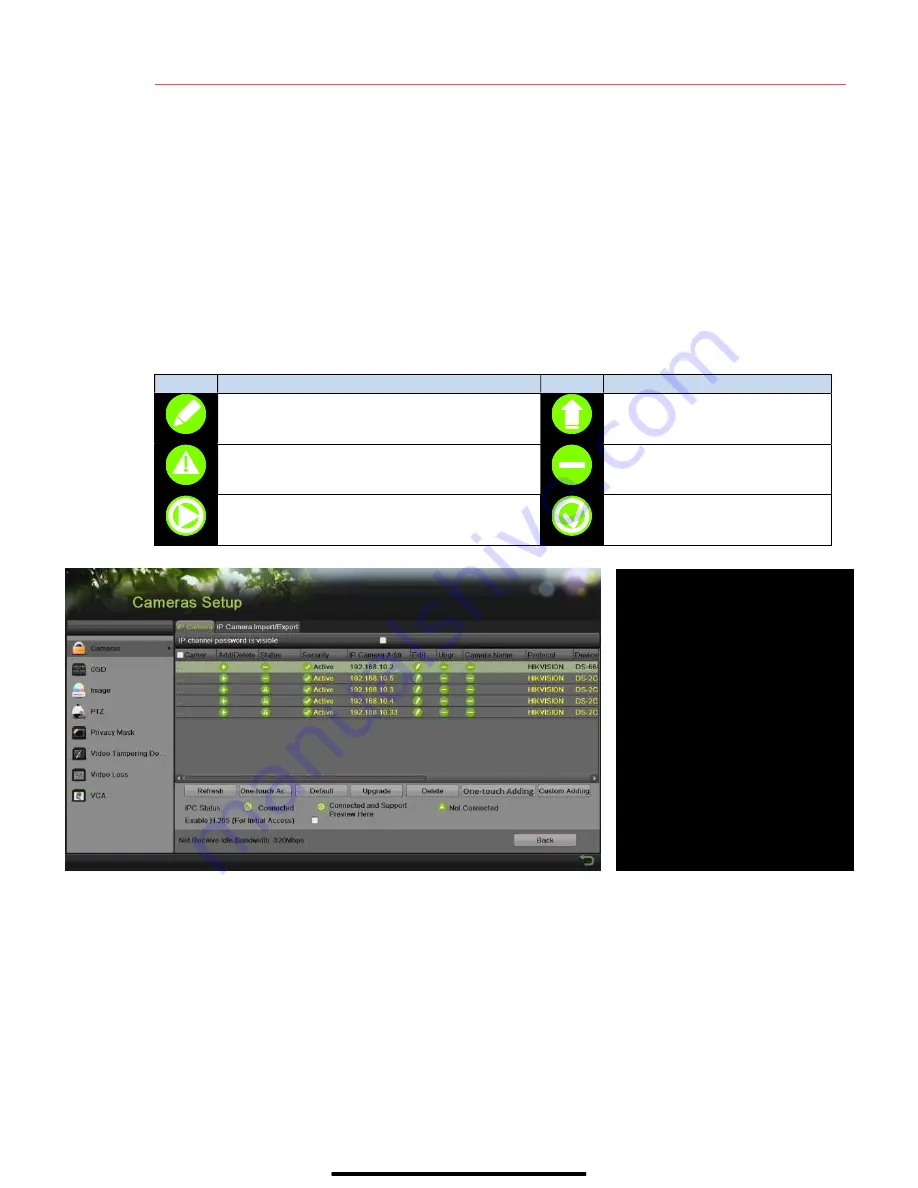
IP Camera Management Icons
Icon
Explanation
Icon
Explanation
Edit basic camera parameters
Upgrade the connected camera
Camera disconnected; click icon to get
camera’s exception information
Delete the IP camera
Play connected camera’s live video
Camera connected
CAMERA LIST (White)
Added cameras (white), detected
cameras, not added (yellow)
+
Click to add camera
CAMERA STATUS
Shows camera connected
, not
connected !,
ONE –TOUCH ADDING
Click to add all detected (yellow)
cameras
ENABLE H.265
Use H.265
NOTE:
To change camera


