


122
2.
Click
to repair the virtual disk.
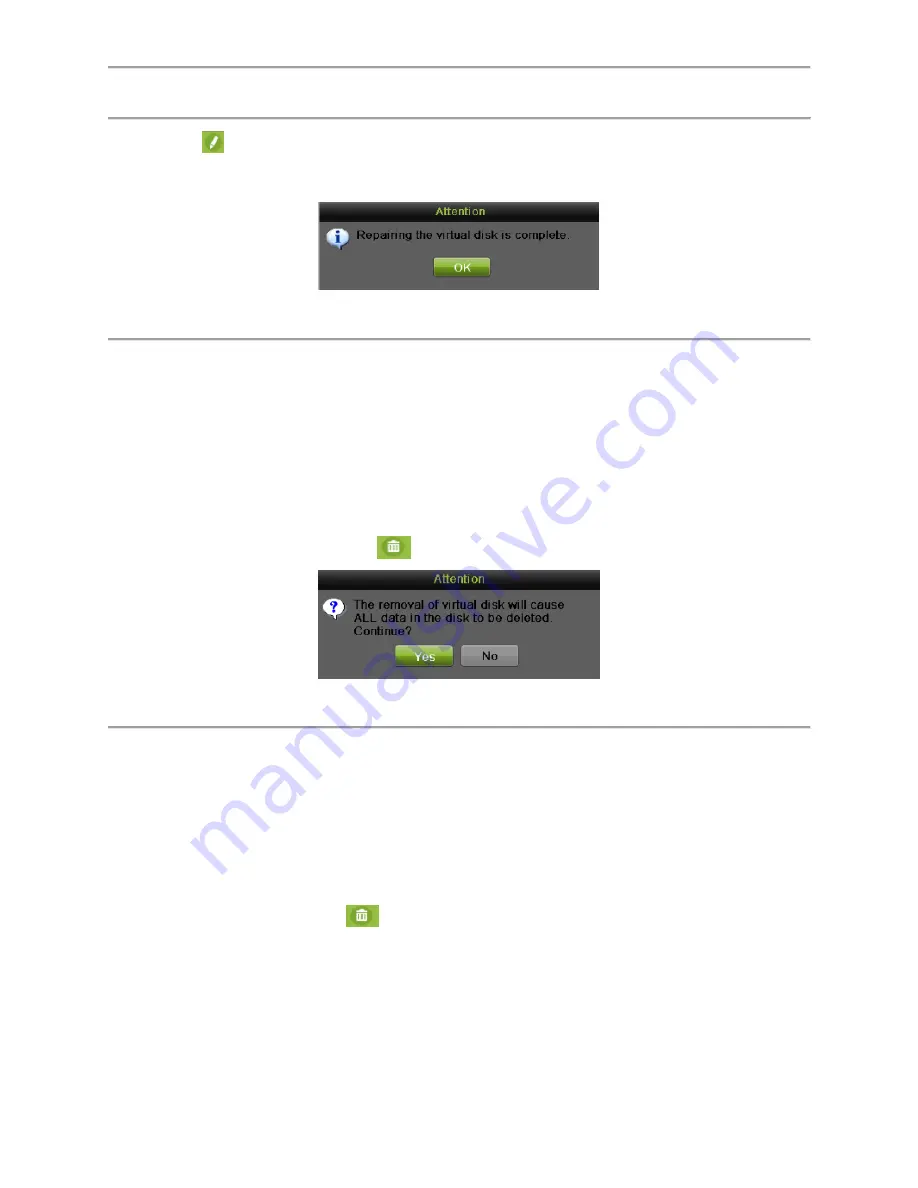
3.
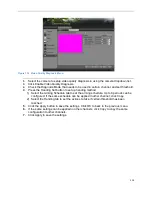
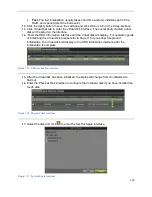
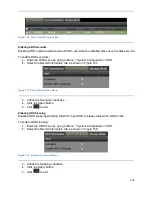
After successfully repairing, the following attention box will pop up. Click OK to finish the
settings.
Figure 143 Repair Attention Message
4.
You can see the disk again in the HDD Information interface.
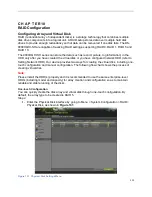
Deleting Array / Vitual Disk
You can delete the array and virtual disk. Before deleting the array, the virtual disk(s) under this
array must be deleted first.
Deleting the Virtual Disk
To delete the virtual disk:
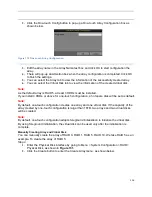
1.
Enter the Virtual Disk interface by going to Menu > System Configuration > RAID >
Virtual Disk.
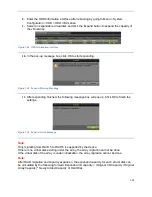
2.
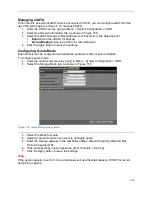
Select a virtual disk and click
to delete the virtual disk.
Figure 144 Attention Message
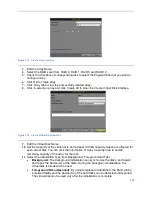
3.
Click the Yes button to confirm the virtual disk deletion.
Note:
Deleting virtual disk will cause to delete all the data saved in the disk.
Deleting the Array
If all the virtual disks under an array have been deleted, then you can delete that array. To
delete the array:
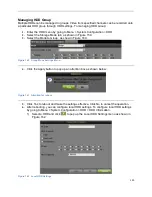
1.
Enter the Array interface by going to Menu > System Configuration > RAID > Array.
2.
Select an array and click
to delete the array.
3.
In pop-up attention box, click the Yes button to confirm the array deletion.
Note:
Deleting array will cause to delete all the data in the array.
Migrating and Expanding
Summary of Contents for DS-7200HGHI-SH Series
Page 18: ...17 Product Application Diagram Figure 7 Product Application Diagram ...
Page 28: ...27 Figure 14 Risky Inadequate Strength Password Figure 15 Invalid Password Message ...
Page 34: ...33 Figure 25 Password Field with Strong Strength Bar Figure 26 Confirmation Window ...
Page 36: ...35 Figure 27 iVMS 4200 Control Panel Figure 28 Inactive DVR NVR Status NVR Status Inactive ...
Page 38: ...37 Figure 31 Weak Adequate Password Strength Figure 32 Medium Adequate Password Strengt ...
Page 92: ...91 Figure 101 Main Menu ...


