


DS-8100HCI-ST Series DVR Quick Operation Guide
37
Live View
Some icons are provided on screen in Live Preview mode to indicate different camera status. These icons include:
Event Alarm
: Indicates video loss, video tampering, motion detection or relay alarm.
Record
: Indicates the current channel is recording. The recording may have been started manually, from a schedule,
and/or triggered from motion or alarm.
Event Alarm & Record:
Indicates the current channel is in event alarm & recording status.
Alarm Icon
: Indicates there is an alarm or exception.
PTZ Control
Settings for a PTZ camera must be configured before it is used. Before proceeding, verify that the PTZ and RS-485 of the DVR
are connected properly.
PTZ Settings
To configure PTZ settings:
1.
Click Menu > Settings > PTZ to enter the
PTZ Settings
menu.
2.
Select channel where PTZ camera is installed next to Camera label.
3.
Configure the settings of baud rate, date bit, stop bit, parity, flow control,
PTZ protocol and address.
4.
Click
OK
to save settings and exit the PTZ Settings menu.
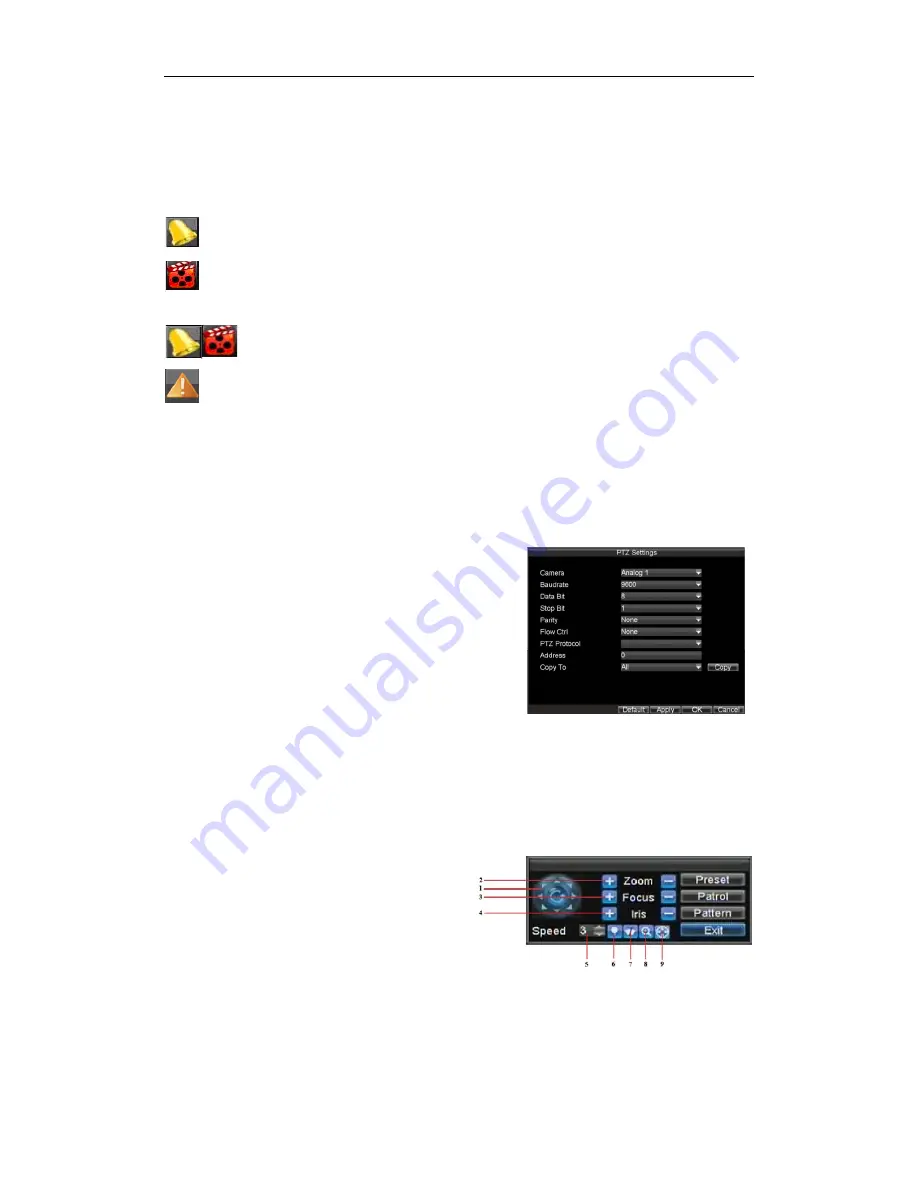
PTZ Control
The PTZ control panel in the live preview window provides a series of PTZ control buttons, as shown in the
following figure:
1.
Directional Pad/Auto-scan Buttons:
Controls the movements and directions of the PTZ. The center button is
also used to start auto-scan of PTZ.
2.
Zoom:
Used to zoom in and out with the PTZ.
3.
Focus:
Used to adjust the focus of the PTZ.
4.
Iris:
Used to open up or close the iris of the PTZ.
5.
Speed:
Adjusts the movement speed of the PTZ.
6.
Light:
Turns PTZ light (if applicable) on and off.
7.
Wiper:
Turns PTZ wiper (if applicable) on and off.
8.
Zoom In:
Instantly zooms PTZ in.
9.
Center
: Centers PTZ. Camera: Select a PTZ camera.


