


DS-3WF01C-2N Quick Start Guide
12
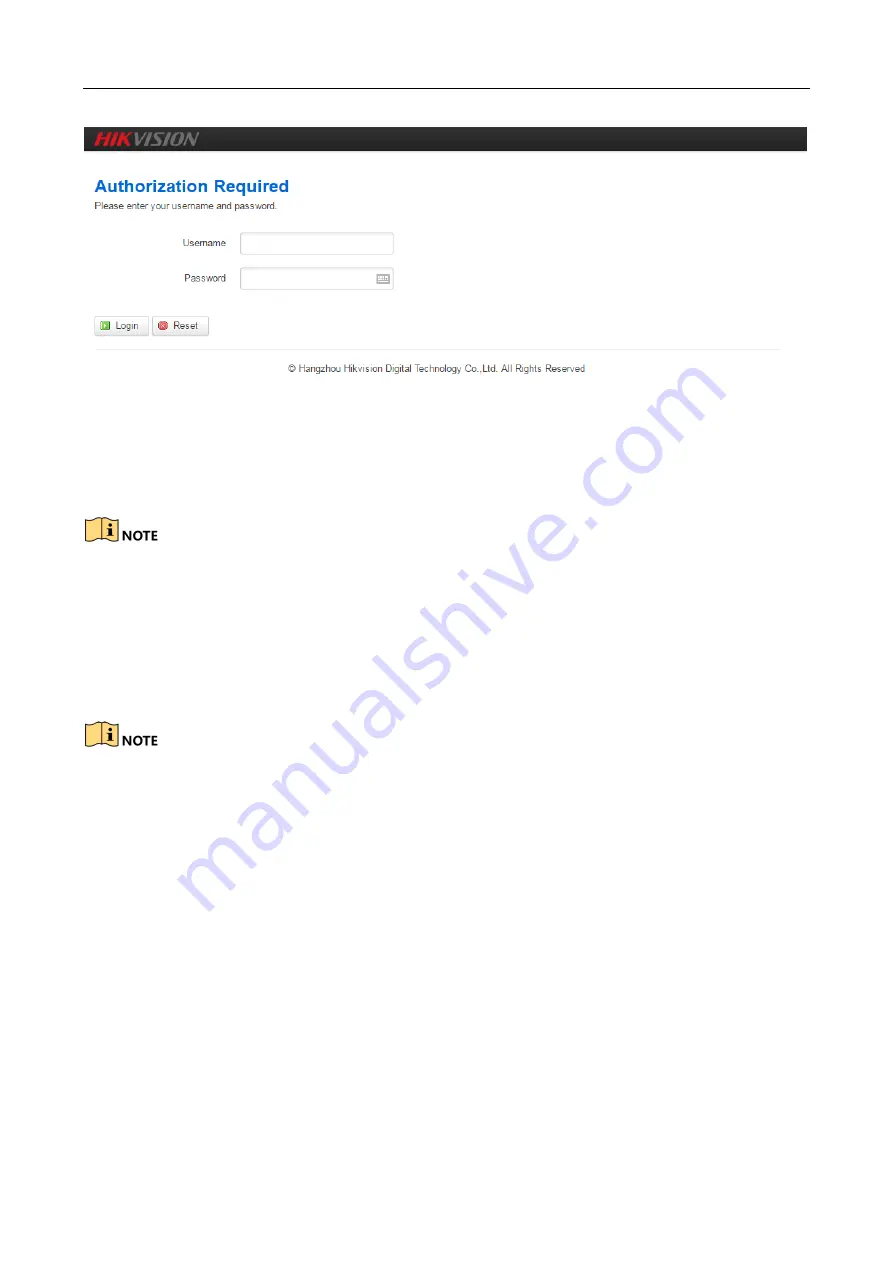
Figure 4-2 login
Step 2 The first page shown after log in is the Wizard page, and this page helps to set the basic
network parameters. The default mode is Bridge mode, and the default LAN IP address of AP
device is 192.168.1.35, the default LAN IP address of CPE device is 192.168.1.36.
If there are several devices connected in the Point-to-Point or Point-to-Multi-Point topologies,
they must be configured to different IP address to avoid conflicts.
AP: In this scenario mode, the device will be set to access point mode; it can be connected to a
client device. When you close the TDMA function, your phone or laptop can connect to the device.
CPE: In this scenario mode, the device will be set to client mode; it can be connected to an access
point device.
The default SSID of the AP device and the CPE device must be the same to directly
interconnect and transmit audio, video or data. If there are other DS-3WF01C-2N devices
within 500 meters, the SSID should be changed to be different in order to avoid connection
confusion.
Click Save & Apply button, the device will reboot and apply your configuration.