HIKVISION DS-2CE71D8T-PIRL User Manual Download Page 14


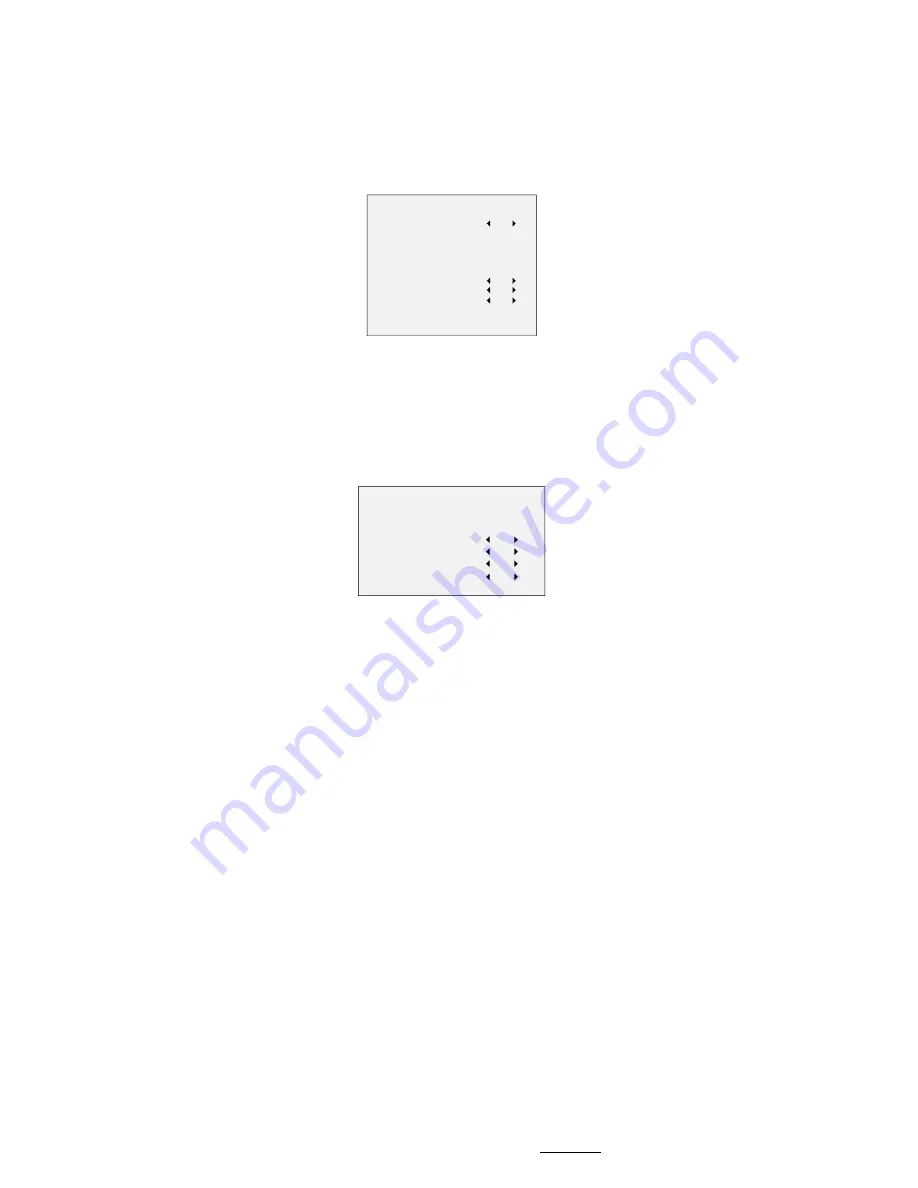
Select a PRIVACY area. Set the DISPLAY status as ON. 

Click up/down/left/down button to define the position, 
and the size of the area. 
MOTION 

In the user-defined motion detection surveillance area, 
the moving object can be detected and the alarm will 
be triggered. Up to 4 motion detection areas can be 
configured. 

MOTION 

MODE
AREA 0                 
AREA 1        
AREA 2
AREA 3
SENSITIVITY
COLOR
TRANSPARENCY                                       
RETURN           

OFF






50

RED

OFF


Figure 3-8


MOTION


Select a MOTION area. Set the DISPLAY status as ON. 

Click the up/down/left/right button to define the 

position, and the size of the area. Set the SENSITIVITY 
from 0 to 100. 
CAMERA ID 
Edit the camera ID on this section. 

CAM ID SETTING

MODE
CAM ID                  
X POSITION        
Y POSITION                                      
RETURN           

ON

75

36
16


Figure 3-9


CAM ID SETTING 

Set the MODE as ON. Click up/down/left/right button to 

choose the camera ID, and the position.   

3.4.6


RESET 

Reset all the settings to the factory default.


3.4.7


SAVE & EXIT   

Move the cursor to SAVE & EXIT and click Iris+ to save 
the setting, and exit the menu. 

UD07727B 

Summary of Contents for DS-2CE71D8T-PIRL

Page 1: ...tact the dealer This manual applies to the models below Model DS 2CE71D8T PIRL This manual may contain technical incorrect places or printing errors and the content is subject to change without notice...

Page 2: ...eration EU Conformity Statement This product and if applicable the supplied accessories too are marked with CE and comply therefore with the applicable harmonized European standards listed under the L...

Page 3: ...mounting is adopted If smoke odor or noise rise from the device turn off the power at once and unplug the power cord and then contact the service center Never attempt to disassemble the camera by unpr...

Page 4: ...conditions and the application scenarios include road warehouse underground parking lot bar etc The main features are as follows High performance CMOS sensor Low illumination 0 005 Lux F2 0 AGC ON 0...

Page 5: ...product does not function properly contact your dealer or the nearest service center Do NOT disassemble the camera for repair or maintenance by yourself 2 1 1 Ceiling Wall Mounting without Junction Bo...

Page 6: ...heck whether the image on the monitor is gotten from the optimum angle If not adjust the camera according to the figure below to get an optimum angle Rotation Position 0 to 360 Tilt Position 0 to 75 P...

Page 7: ...5 Install the inclined ceiling mount s body on the ceiling wall with four PA4 25 screws as shown in Figure 2 8 Figure 2 7 Fix the Inclined Ceiling Mount s Body 6 Combine the inclined ceiling mount s c...

Page 8: ...he junction box and align the screw holes of the turret camera s mounting base with those on junction box s cover 4 Fix the mounting base on junction box s cover by supplied screws Figure 2 10 Install...

Page 9: ...four screw holes of the bracket with expansion screws on the wall 3 Secure the mount with four hex nuts and washers Wall Mount Figure 2 13 Install the Bracket 4 Install the mounting base of the turret...

Page 10: ...SAVE EXIT PRIVACY EXPOSURE MODE AGC SENSE UP MODE RETURN MODE RETURN CONTRAST SHARPNESS COLOR GAIN 3 DNR MIRROR RETURN MOTION CAM ID RETURN LANGUAGE W LIGHT MODE Figure 3 2 Main Menu Overview 5 Click...

Page 11: ...MENU 3 4 1 AE AUTO EXPOSURE Auto Exposure describes the brightness related parameters which can be adjusted by BRIGHTNESS EXPOSURE MODE AGC and SENSE UP EXPOSURE BRIGHTNESS EXPOSURE MODE AGC SENSE UP...

Page 12: ...a is to adjust the color temperature according to the environment It can remove unrealistic color casts in the image You can set WB mode as ATW or MWB ATW Aoto Tracking White Balance Under ATW mode wh...

Page 13: ...SS value from 1 to 10 COLOR GAIN Adjust this feature to change the saturation of the color The value ranges from 1 to 10 3 DNR Digital Noise Reduction The 3 DNR function can decrease the noise effect...

Page 14: ...RED OFF Figure 3 8 MOTION Select a MOTION area Set the DISPLAY status as ON Click the up down left right button to define the position and the size of the area Set the SENSITIVITY from 0 to 100 CAMER...

Reviews: