


Keep the camera away from liquid while in use for
non-water-proof device.
While in delivery, the camera shall be packed in its
original packing, or packing of the same texture.
Mark Description
Table 0-1 Mark Description
Mark
Description
DC Voltage
1
Introduction
1.1
Product Features
The main features are as follows:
High performance CMOS sensor
Full time color
OSD menu with configurable parameters
Auto white balance
Internal synchronization
Smart light mode
3-axis adjustment
1.2
Overview
DC12V
IN
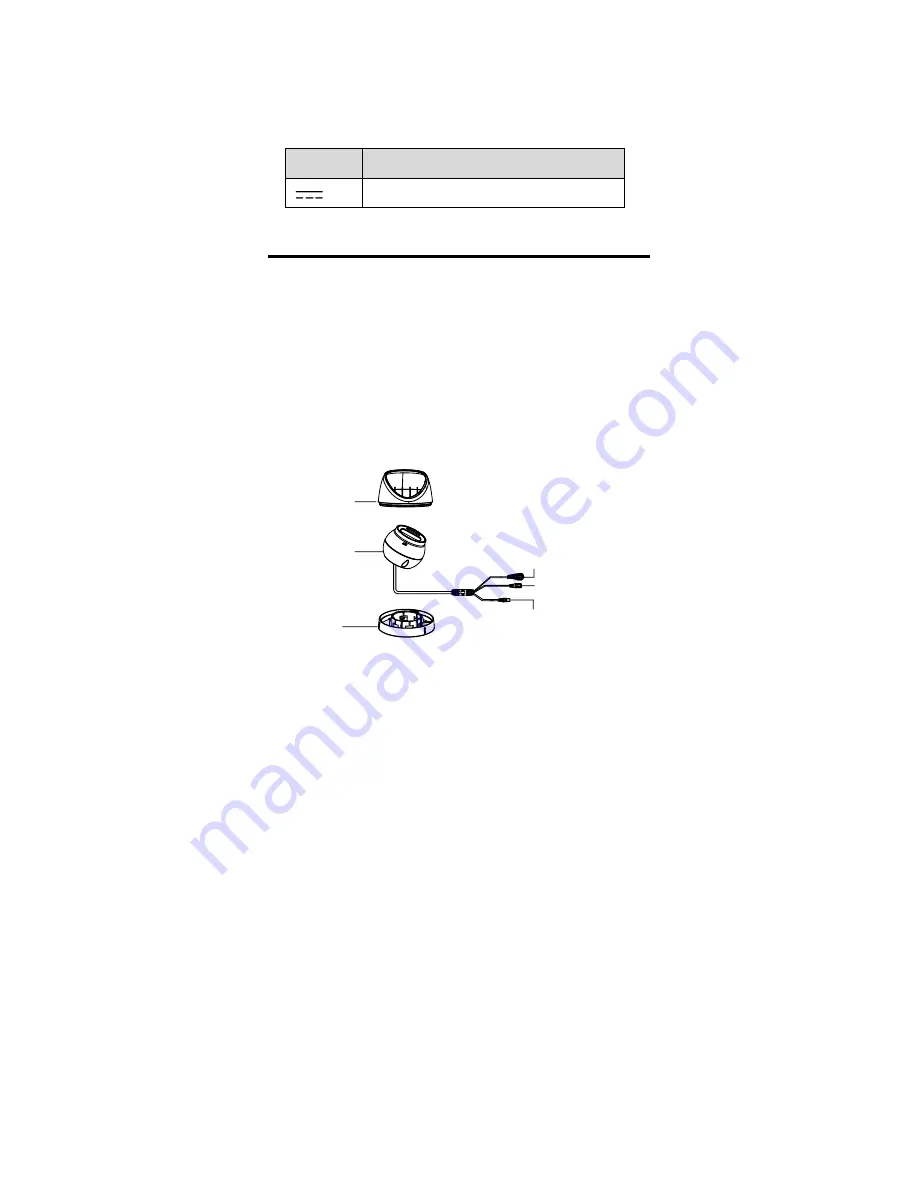
Enclosure
Main Body
Mounting
Base
Switch Button
Power Cord
(12 VDC)
Video Cable
Figure 1-1
Overview of Type I Camera
Note:
Press and hold the switch button for 5 seconds to
switch the video output. Four kinds of video outputs
are available: TVI, AHD, CVI, and CVBS.


