User Manual
34
5.3 Menu Lock
Considering a system safety feature you can click [ ] icon to lock system interface when leaving the
DVR. If you want to login to the DVR again, you would input device code and password to unlock the interface
shown as Picture 5-59
5.4 Split mode
The model displays 4/8 live images in the sequence of single, 4-split and 9-split modes.
If you enter into 4-split mode, the live images will be displayed in turn CH1~4, CH5~8…and CH13~16.
If you enter into 9-split mode, the live images will be displayed in turn CH1~9
CH10~16.
5.5PTZControl
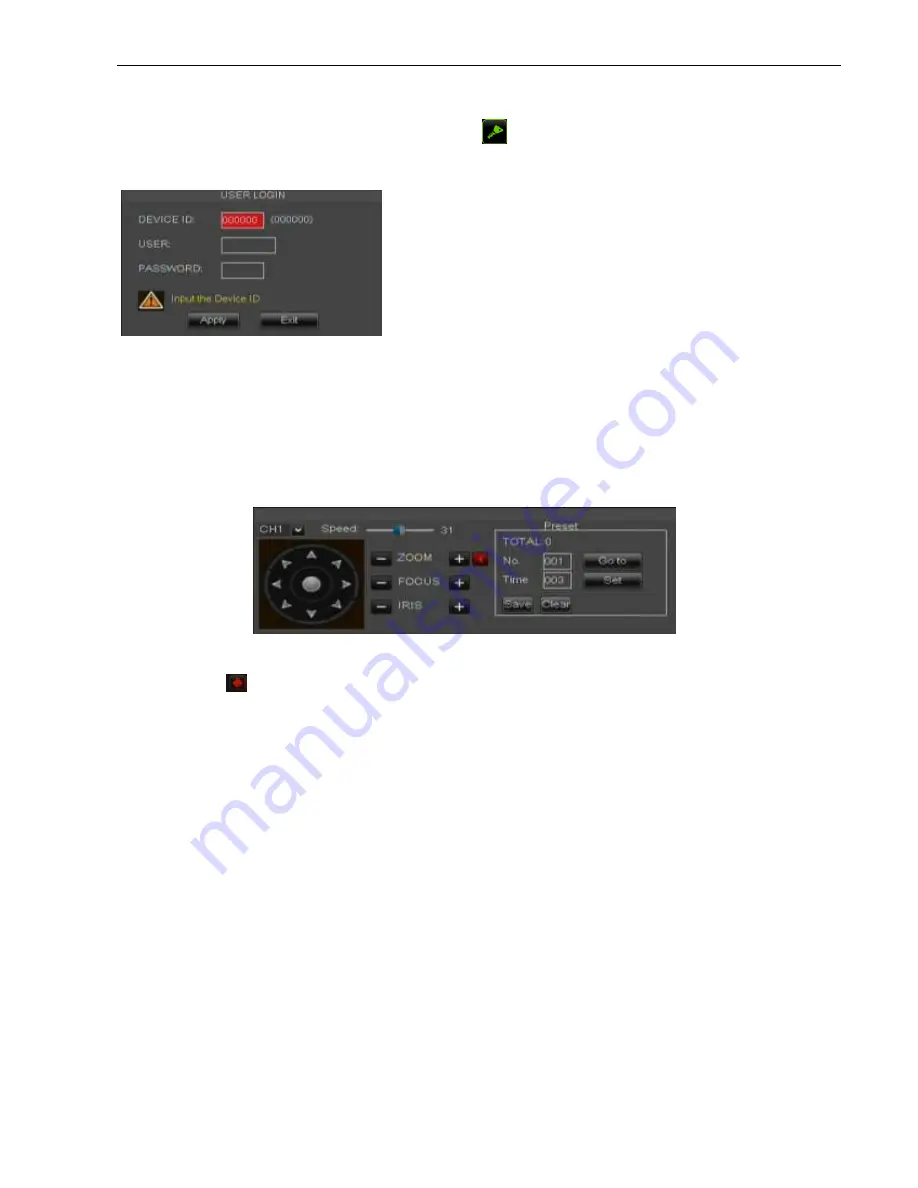
Click the [ ] icon to enter into [PTZ control] menu shown as Picture5-60. Now user can control the
camera with Pan, Tilt and Zoom capabilities.
Click [Zoom-/+] button to zoom in / out the image; Click [Focus -/+] button to focus the image; Click [Iris -/+]
button adjust iris to open or close.
How to set pre-set point
Total:
set up pre-set point quantity
Cur Point:
indicates starting point cruised. System default point is 01. The model support up to 255
pre-set points.
Stop time:
sets the stop time at each point and range is 1~255;
GOTO:
allow you go to a specific preset point.
Set:
allow you set a set of specific preset points of a PTZ camera.
1. Select a camera you desire to set a preset point;
2. Adjust the camera in a desired direction;
3. Click [Set] to set the point as preset point;
4. Click [Save] to save the preset point;
5. Follow the above step to add one more preset point.
Save:
save all the preset points
Clean
: allow you delete one selected preset point.
Note
: Up to 254pre-sets per one camera can be stored. However, actual preset quantity differs depending
on PTZ performance.
Friendly Reminder:
Administrator has full authority
over Main Menu operations and has an authority to
limit common user’s operation.
Picture 5-59
Picture 5-60
Summary of Contents for HI-1004
Page 1: ...User Manual ...


