background image

22 


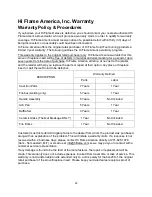
Hi Flame America, Inc. Warranty 

Warranty Policy & Procedures 

If you believe your Hi Flame® stove is defective, you should contact your nearest authorized Hi 
Flame America stove dealer, who will process a warranty claim. In order to qualify for warranty 
coverage, Hi Flame America must receive notice of a possible defect within thirty (30) days of 
being discovered, or reasonably could have been discovered. 

Hi Flame America offers the original retail purchaser of Hi Flame Solid Fuel burning products a 
limited 7-year warranty. The following outlines the Hi Flame America warranty program. 

This warranty applies to the original retail purchaser only. Hi Flame America warrants that this 
stove or fireplace insert will be free of defects in material and workmanship for a period of up to 
seven years from the date of purchase. Hi Flame America will ship, at no cost to the retailer, 
and the retailer will help you replace the parts or repair at their option, any stove or fireplace 
insert or part thereof found to be defective. 

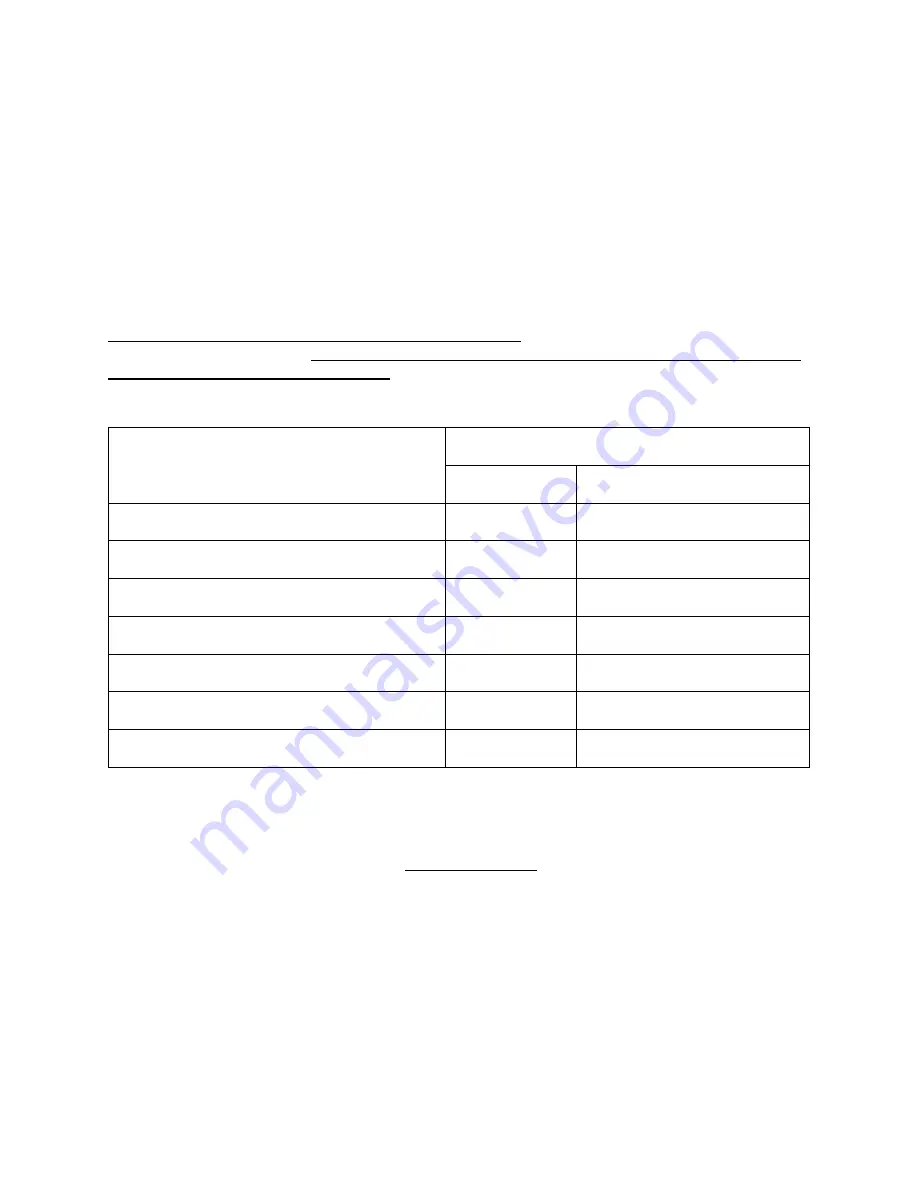
DESCRIPTION 

Warranty Defined 

Parts 

Labor 

Cast Iron Parts 

7 Years 

1 Year 

Firebox (welding only) 

5 Years 

1 Year 

Handle Assembly 

5 Years 

Not Included 

Ash Pan 

5 Years 

1 Year 

Baffle Set 

3 Years 

1 Year 

Ceramic Glass (Thermal Breakage ONLY) 

1 Year 

Not Included 

Fire Bricks 

1 Year 

Not Included 


Customer must first submit 3 digital photos to the dealer from whom the product was purchased, 
along with an explanation of the problem. This will initiate a warranty claim. If a response is not 
received within 2 business days, please contact Hi Flame America directly at 201-625-1978 
(9am - 5pm eastern, M-F) or email us at [email protected] so we may put you in contact with a 
customer service representative. 

If any damage is found to be the fault of the manufacturer, the repair or replacement will be 
made. This warranty does not include expenses incurred from travel time or loss of service. This 
warranty is not transferrable and is extended only to, and is solely for the benefit of, the original 
retail purchaser of the stove/fireplace insert. Please keep your dated sales receipt as proof of 
purchase. 


Summary of Contents for HF-717U

Page 1: ...Installation and Operation Instructions for USA only Model HF 717U Cast Iron Freestanding Stove EPA Approved KINDLY SAVE THESE INSTRUCTIONS FOR FUTURE REFERENCE ...

Page 2: ...PROPERTY DAMAGE BODILY INJURY OR EVEN DEATH FAILURE TO READ AND FOLLOW THESE INSTRUCTIONS BEFORE YOU PROCEED MAY RESULT IN DAMAGE VOIDING YOUR WARRANTY DO NOT INSTALL IN A MOBILE HOME DO NOT USE CHEMICALS OR FLUIDS TO START THE FIRE DO NOT BURN GARBAGE OR FLAMMABLE FLUIDS SUCH AS GASOLINE NAPHTHA OR ENGINE OIL HOT WHILE IN OPERATION KEEP CHILDREN CLOTHING AND FURNITURE AWAY CONTACT MAY CAUSE SKIN ...

Page 3: ...ir Provision 5 Installation 5 Floor Protection 6 Installation Clearances 7 Well Sealed Flue System 8 Chimney Connector 8 Chimney 9 Factory Built Chimney 10 Masonry Chimney 11 Masonry Fireplace 12 Combustible Wall Chimney Connector Pass Throughs 13 Operating Your Stove 14 Fuel 14 First Operation of Stove 14 Air Controls 14 Refueling 15 Ash Removal and Disposal of Ashes 15 Overnight Burning 15 Stove...

Page 4: ...3 Sample of Label ...

Page 5: ...ressure conditions may occur such as through the use of extraction fans unless an adequate air supply into the room is ensured as this may draw air through the stove and cause products of combustion to escape into the room 6 Creosote and soot may accumulate in your flue pipe and chimney This may ignite causing a chimney fire If you suspect a chimney fire evacuate people from the building close dow...

Page 6: ... combustible materials in proximity to the stove Adequate air provision It is essential for the safe and efficient use of your stove that you provide an adequate air supply when lighting a fire especially if there are extraction units such as cooker hoods or clothes dryers in the vicinity Crack the door open a little and allow air to enter Once the air in the stove and the flue stabilize you can t...

Page 7: ... please contact your dealer immediately The floor protection If the stove is to be installed on a combustible floor it must be placed on a non combustible hearth pad In the USA the floor protector must extend 8 203 2mm beyond each side of the fuel loading door and 16 to the front 18 457 2 mm to the front in Canada See fig 4 Floor protection under the stove must be a UL 1618 Type 1 Ember Protector ...

Page 8: ...h fire The clearance from the top of the unit to the ceiling is 75 190 5 cm All other clearances are found in the table below A combustible surface is anything that can burn i e sheet rock wall paper wood fabrics etc These surfaces are not limited to those that are visible and also include materials that are behind non combustible materials If you are not sure of the combustible nature of a materi...

Page 9: ...any other combustible materials of the house It is also essential that the flue system is kept clean and seals are maintained to ensure the draft is not lost The open end of the flue system must be above the height of the apex of the building and any other obstructions such as trees which are within 10 feet 3m of the flue system Failure to do this will affect the efficiency of the stove and may ca...

Page 10: ...s of the chimney connectors must be accessible for cleaning Where passage through a wall or partition of combustible construction is desired the installation must conform to National Fire Protection Association NFPA 211 and is also addressed in this manual Chimney DO NOT CONNECT THIS UNIT TO A CHIMNEY FLUE SERVING ANOTHER APPLIANCE DO NOT CONNECT TO ANY AIR DISTRIBUTION DUCT OR SYSTEM This room he...

Page 11: ...same manufacturer and install the ceiling support package or wall pass through and T section package firestops where needed insulation shield roof flashing chimney cap etc Maintain proper clearance to the structure as recommended by the manufacturer The chimney must be the required height above the roof or other obstructions for safety and proper draft operation ...

Page 12: ...sociation NFPA by having it inspected by a professional Make sure there are no cracks loose mortar or other signs of deterioration and blockage Have the chimney cleaned before the stove is installed and operated When connecting the stove through a combustible wall to a masonry chimney special methods are needed ...

Page 13: ...e There are listed kits available to connect a stove to a masonry fireplace The kit is an adapter that is installed at the location of the fireplace damper The existing damper may have to be removed to allow installation ...

Page 14: ...13 Combustible Wall Chimney Connector Pass Throughs ...

Page 15: ...u put the stove into full service Allow the stove to fully cool between each of these fires There may be some smell and a small amount of smoke from the stove during the initial operations This is perfectly normal and is merely the curing of the stove paint Opening a window or door to provide additional ventilation will help alleviate this Air controls Your stove needs air to burn the fuel This ai...

Page 16: ... combustible container as there may be hot ash in the center of the pile You should always wear protective gloves when removing ash from the stove This stove is not designed to operate with the door open Always close the stove door when you have taken out the ash tray and leave closed while disposing of the ash Only reopen to put ash pan back into the stove and close immediately afterwards Disposa...

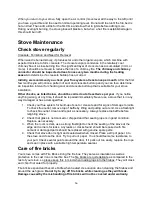
Page 17: ... use a stove that is in any way damaged or has a damaged flue 1 Check your flue system for build up of soot or creosote and for signs of damage to joints To check flue outlet remove top of baffle by lifting and pulling out at end Use a flashlight to check flue outlet Clean and repair as necessary Always replace top baffle before relighting stove 2 Check that glass is not cracked or chipped and tha...

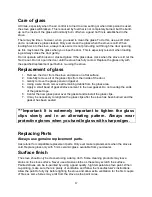
Page 18: ...e the glass panel and gasket 4 Using a wire brush remove all remaining debris from the glass area 5 Apply a small bead of gasket stove cement to the new gasket Do not overlap the ends of the gasket rope 6 Center the new glass panel over the gasket and reinstall the glass clips 7 It may be necessary to retighten the glass clips after the stove has been burned and the gasket has been seated Importan...

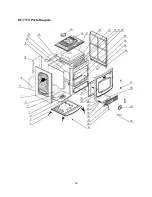
Page 19: ...18 HF 717U Parts Diagram ...

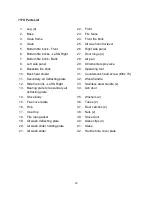
Page 20: ...ck 30 Operating tool 10 Back heat shield 31 Countersunk head screw M6 x 70 11 Secondary air deflecting plate 32 Wood handle 12 Side fire brick Left Right 33 Stainless steel handle 2 13 Bearing plate for secondary air deflecting plate 34 Ash door 14 Stove body 35 Washers 2 15 Flue cover plate 36 Tubes 2 16 Hob 37 Door catches 2 17 Inner top 38 Nuts 2 18 Fire rope gasket 39 Stove door 19 Air wash de...

Page 21: ...ood Smoke in room If the stove is properly installed it should not emit any smoke into your room Check to see if your chimney is blocked or obstructed and that you are not getting a down draft caused by the location of the open end of the flue pipe or chimney If the problem persists contact your dealer and ask him to get your chimney and stove installation checked Fire burning too quickly This is ...

Page 22: ...imney fires can be detected by sparks coming from the top of the chimney a roaring sound coming from the area of the stove or chimney or vibration in the stove or chimney In the event of a chimney fire close the air controls evacuate the building and call the fire department Do not relight the stove after a chimney fire until the stove and flue have been checked and any necessary repairs have been...

Page 23: ...any stove or fireplace insert or part thereof found to be defective DESCRIPTION Warranty Defined Parts Labor Cast Iron Parts 7 Years 1 Year Firebox welding only 5 Years 1 Year Handle Assembly 5 Years Not Included Ash Pan 5 Years 1 Year Baffle Set 3 Years 1 Year Ceramic Glass Thermal Breakage ONLY 1 Year Not Included Fire Bricks 1 Year Not Included Customer must first submit 3 digital photos to the...

Page 24: ...d by over firing which causes any part of the appliance to glow red as defined in the operation manual Over firing can be identified by warped plates rust colored cast iron paint pigment that has turned dusty white or bubbling cracking and discoloration of the enamel finish 3 Damage caused by unauthorized modification use or repair 4 Travel time or any other related expenses are not covered under ...

Reviews: