42
2.
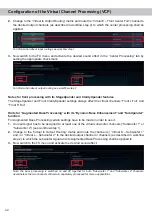
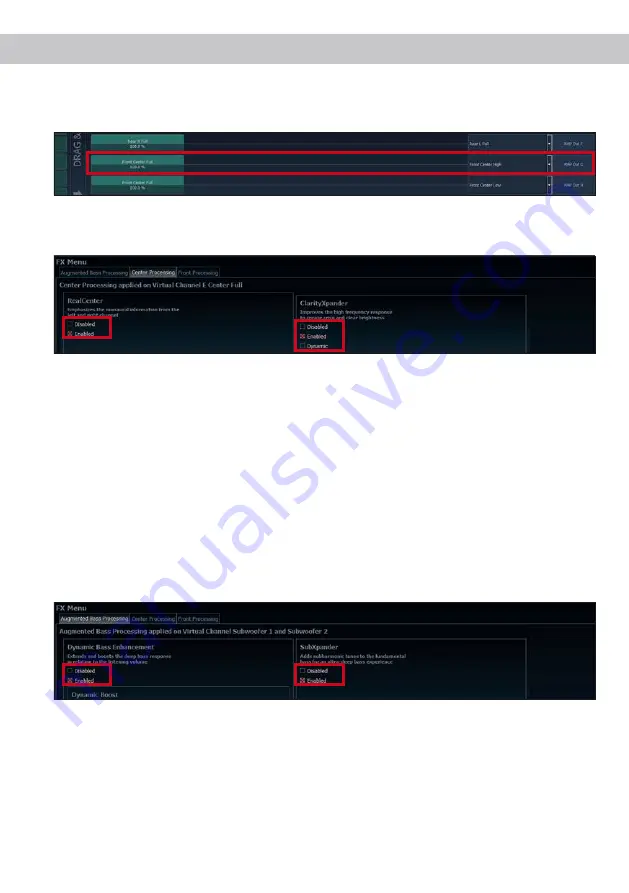
Change to the “Virtual to Output Routing” matrix and route the “Virtual E – Front Center Full” channel to
the desired output channels (as described in workflow step 2) to which the center processing shall be
applied.
3.
Now switch to the FX menu and activate the desired sound effect in the “Center Processing” tab by
setting the appropriate check mark.
Notes for front processing with its StageXpander and ClarityXpander features
The StageXpander and Front ClarityXpander settings always affect the virtual channels “Front L Full” and
“Front R Full”.
Hints for “Augmented Bass Processing” with its “Dynamic Bass Enhancement” and “SubXpander”
function
For Augmented Bass Processing certain settings have to be made in order to use it.
1.
An input signal has to be assigned to at least one of the virtual subwoofer channels (“Subwoofer 1” or
“Subwoofer 2”) (see workflow step 1).
2.
Change to the “Virtual to Output Routing” matrix and route the channel (s) “Virtual K – Subwoofer 1”
and / or “Virtual L – Subwoofer 2” to the desired output channel or channels (as described in workflow
step 2) to which the subwoofer signal and its Augmented Bass Processing shall be applied to.
3.
Now switch to the FX menu and activate the desired sound effect.
For information about input routing see workflow step 1
For information about output routing see workflow step 2
Note: the bass processing is switched on and off together for both “Subwoofer 1” and “Subwoofer 2” channels,
nevertheless the two channels still remain separately processed for stereo applications.
Configuration of the Virtual Channel Processing (VCP)


