


Heat & Glo • 350TSI-P-CEM • 2033-973 Rev. G • 4/17
40
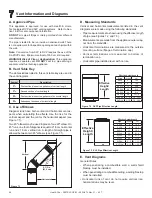
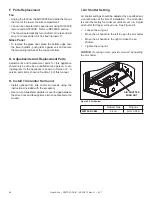
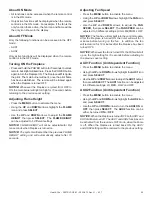
I. Air Shutter Setting
Air shutter settings should be adjusted by a qualified ser
-
vice technician at the time of installation. The air shutter
is set at the factory for minimum vertical vent run. Adjust
air shutter for longer vertical runs. See Figure 9.8.
•
Loosen the wing nut.
•
Move the air handle to the left to open the air shutter.
•
Move the air handle to the right to close the air
shutter.
•
Tighten the wing nut.
NOTICE:
If sooting occurs, provide more air by opening
the air shutter.
AIR SHUTTER
WING NUT
Figure 9.8 Air Shutter
Natural Gas
Propane
350TSI-P-CEM
0,6 cm
FULL OPEN
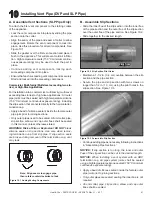
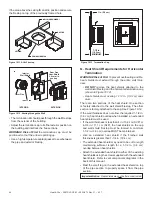
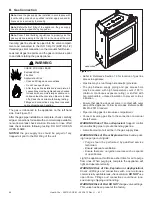
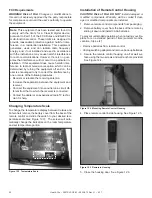
F. Parts Replacement
Fan
• Unplug the fan from the AUX300CE and slide the fan out
the front of the lower controls compartment.
• Fan can be operated at 3 speed levels using RC300CE
remote and AUX300CE. Refer to RC300CE section.
• The fan will automatically turn on after 3 minutes and will
stop 12 minutes after unit has been turned off.
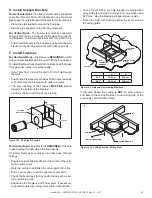
Glass Panel
• To replace the glass door, place the bottom edge onto
the lower holders, push glass against unit and secure
the two spring latches at the top and bottom.
G. Adjustments And Replacement Parts
Adjustments and replacement parts for this appliance
should only be done by a qualified service person. A wir
-
ing diagram for the appliance is shown in Section 12. A
service parts list is shown in Section 16 of this manual.
H. Install Trim and/or Surround
• Install optional trim kits and/or surrounds using the
instructions included with the accessory.
• Use non-combustible materials to cover the gap between
the sheet rock and the appliance (when applicable to the
model).