background image

Optional Connections

Page 25

Page 26

Optional Connections

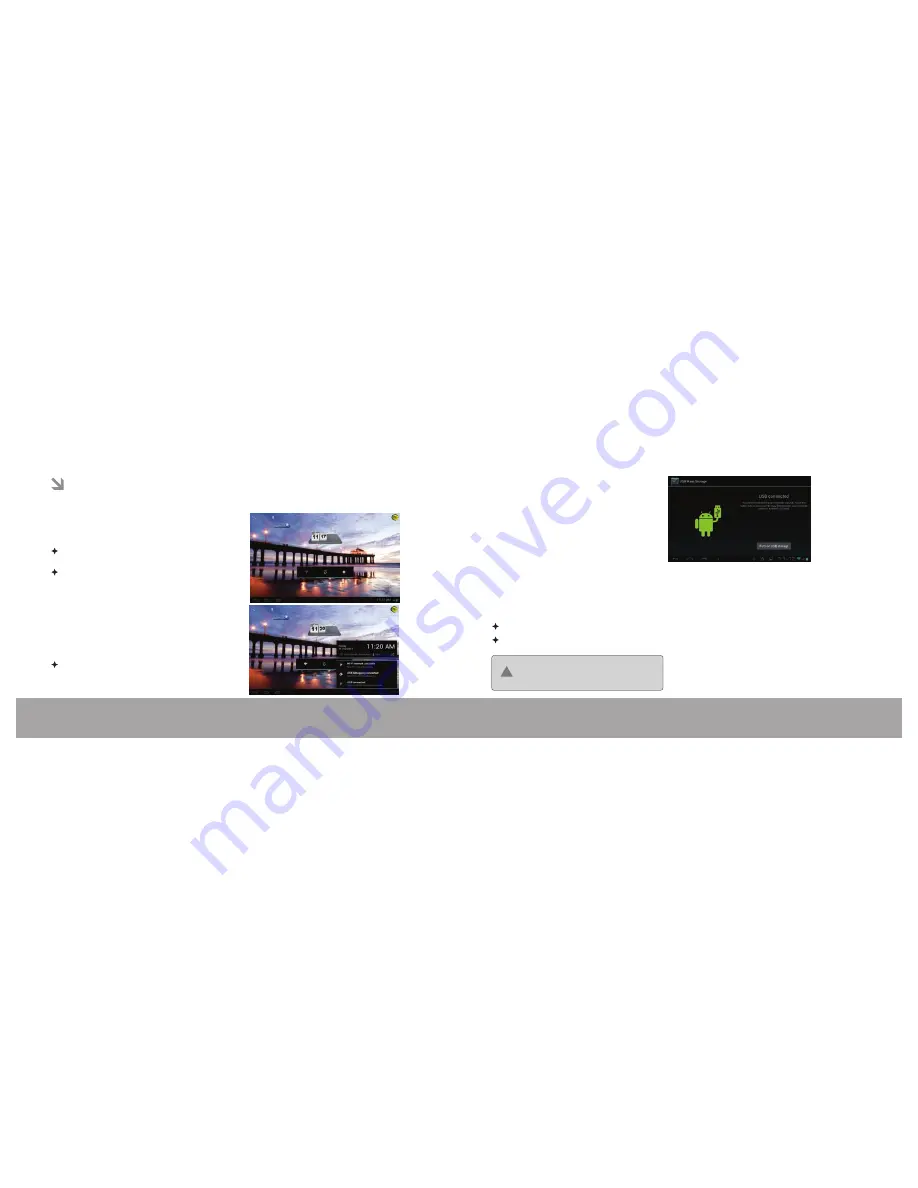
Connecting to a Computer

Connect the tablet to a computer to transfer files.

1.  Connect  your  tablet  to  the  computer.  With  the 
included USB cable:

       Plug the small end of the cable into the USB 2.0 

Hi-speed connector of the tablet.

      Plug  the  large  end  of  the  cable  into  an  available     

USB 2.0 Hi-speed port on the computer.

2.When


your


tablet


is


connected

a


USB  icon


will 

appear


in


the


Notification window.

    Touch


Notification


window


to


expand.

3. Mount the storage drive.    

   Touch USB connected to mount the tablet's built-in 

storage,  then  touch  Turn  on  USB  storage  when 
prompted  to  confirm.  When  mounted,  you  can 
copy files to/from your computer to it.

Optional Connections

Your tablet will be recognized by the computer as a 
Removable  Storage  drive.  Drag  and  drop  files 
between  your  tablet  and  the  computer.  To  learn 
more  about  copying  files,  please  refer  to  the 
documentation  included  with  your  computer  or 
operating system.

Connect a pair of Earphones to the tablet to enjoy media in private.

Lower the volume level of the tablet before connecting Earphones, and then slowly raise the volume 
to a comfortable listening level.

    The Earphones must have a 3.5 mm (1/8 in) plug.

    When Earphones are connected, speaker output will be disabled automatically.

Connecting Earphones

Constant exposure to high volumes can lead 
to  hearing  loss.  If  you  should  experience 
ringing  in  the  ears  or  hearing  loss, 
discontinue use and seek medical advice.

!

Summary of Contents for U2 Series

Page 1: ...ME Tablet U2 User Manual Please read carefully before use For Series U2 Ver 1 0 ...

Page 2: ...chscreen Actions 7 About the Orientation Sensor 8 Charging the Tablet 9 Inserting a Memory Card 9 GETTING STARTED 11 Turning the Tablet On and Off 11 Turning the Screen On and Off Standby 12 Unlocking the Screen 12 Home Screen at a Glance 13 Menu 14 About Notifications 14 CONNECTING TO THE INTERNET 15 Requirements 15 Connect to a Wi Fi Network 15 ME Tablet U2 ...

Page 3: ...ns and information found in this guide are subject to change without notice Any changes therefore will be incorporated in future editions The manufacturer assumes no responsibility for errors or omissions in this document Actual product may vary from photos shown in this guide Menu screen and its application shown in the picture may vary from actual product Trademarks All brand and product names a...

Page 4: ...5 7 10 11 8 6 12 9 Mini HDMI Micro USB 2 0 Hi speed port Connect to external display Monitor TV Camera MIC LED VOL Power key VOL Touch screen LCD Microphone used for audio chatting and sound recorder Using Micro USB to USB data cable Tablet can be connected to the computer as device ...

Page 5: ...e screen do not touch it with excessive force or with any object other than your finger For best response make sure your hands are clean before using the touchscreen controls Note All screens may not support screen orientation feature and also screen orientation depends upon apps too To activate an on screen item e g application icons buttons menu items and the letter symbols of the on screen keyb...

Page 6: ...ur tablet Charging the Tablet Do not attempt to insert objects other than a microSD memory card into the card slot A compatible memory card should fit easily into the card slot if you encounter resistance check the alignment of the card To release and remove a memory card 1 UNMOUNT the memory card To avoid damage and data corruption do not remove a memory card while data is being written to or rea...

Page 7: ...he Power key until the LCD screen turns on Wait until the Home screen appears the tablet is now ready for use To turn the tablet off 1 Press and hold the Power key until the Device Options menu appears Getting Started 2 Touch Power off on the screen A confirmation message will appear 3 Press OK to turn off the tablet To conserve battery power the screen can be set to turn off automatically when th...

Page 8: ...If user touch hold home screen option to change Not all items have a context menu if a menu does not exist nothing will happen if you touch and hold the item Page 14 Page 13 Getting Started Getting Started Virtual buttons in the System Bar let you navigate instantly to Back Home RecentApps and menu The system Bar and virtual buttons are present across all apps but can be dimmed by applications for...

Page 9: ...i Fi status 1 Turn on the Wi Fi radio if it is not already on To turn on Wi Fi Requirements In order to connect to the Internet you will need the following 1 A wireless router or access point with a broadband Internet connection 2 The wireless router network settings You will need to know the name of your network SSID as well as the password or other credentials if your network is secured These se...

Page 10: ...y server through wi fi Connecting to proxy server through wi fi Step 1 Press the Menu Button Step 2 Select the System settings option Step 3 In the following screen make sure Wi Fi is switched on Step 4 Now long press on the network with which the proxy settings is to be used ...

Page 11: ...wi fi Step 5 In the following screen select Modify Network option Step 6 Now click on Show Advanced option Step 7 In the following screen in the Proxy Settings option please select Manual Option Step 8 Now enter the proxy details Proxy Hostname Proxy Port as given by the network administrator ...

Page 12: ... to the Internet Description 1 2 3 4 5 Browser The Android Browser offers an experience that s as rich and convenient as a desktop browser 2 1 3 4 5 Step 9 Also please ensure that the correct IP settings are done as provided by the network administrator Step 10 Now click on Save option Address bar Search tool To open new tab max 16 tabs To bookmark the visited web page To view book marked pages To...

Page 13: ...ch the Add tile 4 If desired you can modify the name of the bookmark or its location URL address Otherwise touch OK to finish adding the bookmark 1 Select the Mail from All apps Launcher 2 Enter the email address and password 3 Select Next for auto configuration of mail settings 4 If auto configuration fails manually imap settings has to be fed by selecting Manual setup Note For setting details co...

Page 14: ... When mounted you can copy files to from your computer to it Optional Connections Your tablet will be recognized by the computer as a Removable Storage drive Drag and drop files between your tablet and the computer To learn more about copying files please refer to the documentation included with your computer or operating system Connect a pair of Earphones to the tablet to enjoy media in private L...

Page 15: ...ings Wireless Networks Wi Fi Data usage More Used to turn on and off the wi fi and options available to set the wi fi settings Data usage controls let you monitor total usage by network type and application and then set limits if needed Option available to configure the 3G dongle for detail refer Connecting 3G dongle section Setting the System Options Accessing USB Drive and Micro SD Card Follow t...

Page 16: ...e any settings HCL ME Tablet Info Used to view system information Setting the System Options Device Sound Display Storage Used to customize the sound settings of your Tablet Used to control brightness sleep time auto rotate screen Used to view storage details of device and external micro SD card if used and also option available to mount un mount the micro SD card Battery Used to view battery leve...

Page 17: ... Front facing camera 0 3MP Built in speaker Android 4 0 4 Rechargeable Li poly battery 3 7V 3000mAh Power Adapter DC 5V 1GHz ARM Cortex A9 CPU Built in flash memory 4GB 8GB Optional Support external TF card maximum capacity of 32GB 7 0 touchscreen Capacitive TFT LCD 800 x 480 WVGA Widescreen 16M color IEEE 802 11 b g n Micro USB 2 0 Hi speed and USB 2 0 OTG Power For procedure to connect USB based...

Page 18: ...n the device again Warning By doing Factory data reset application which are installed will be erased Below is the process to do factory reset by doing this it will restore the default optimal setting and clear the applications which are residing at data memory space Follow this instruction if system seems to work unstable after doing this also problem didn t solve then please contact HCL support ...

Page 19: ...verload wall outlets extension cords or integral convenience receptacles as this can result in a risk of fire or electric shock 9 Object and Liquid Entry Never push objects of any kind into this product through openings as they may touch dangerous voltage points or shout out parts that could result in a fire or electric shock Never spill liquid of any kind on the product 10 Servicing Do not attemp...

Page 20: ...rs to this product ask the service technician to perform safety checks to ensure that the product is in proper operating condition 14 Heat The product should be situated away from heat sources such as radiators stoves or other products including amplifiers that produce heat 15 Dropping Don t drop the product over hard surface or strike the product with hard substance which leads to damage of the p...

Reviews: