20
protocol your network is set on. Note: If you do not have this
information please contact your system administrator for answers and
assistance.
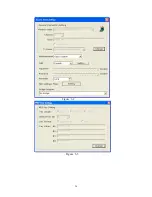
- Select “
TKIP
” or “
AES
” mode from the “
Encryption
” drop down menu
depending on what is used in your specific network.. WPA , WPA PSK ,
WPA2 or WPA2 PSK encryption modes will use TKIP or AES.
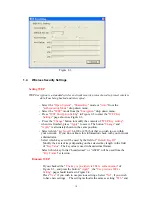
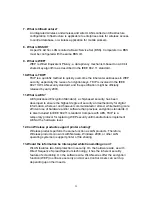
- Select “
WPA Encryption Settings
” in Figure 2-2 to enter the “
WPA
Settings
” page shown in Figure 2-5.
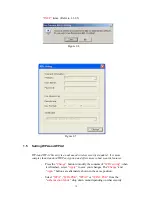
- After selecting the Authentication Protocol (i.e. WPA or WPA2) you must
select “
TLS
” or “
PEAP
” from the “
Protocol”
drop down menu . If
TLS
is
selected, the
User name
and
Certificate
of your network will be required
to connect to a WPA/TLS enabled network. If
PEAP
is used, the
User
name
,
Password
and
Certificate
need to be used for authentication to a
specific network.
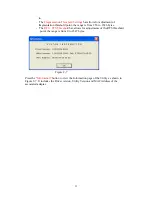
- If you selected the pre-share-key (WPA PSK or WPA2 PSK) protocol, you
can enter your password in the “
Passphrase
” field for access to the specific
network . If the ASCII format is checked, the password length can be
selected from 8 bytes to 63 bytes depending on the user and network
settings. If you check the Hexadecimal format, 64-bit characters must be
keyed in.
1.6
Using Profiles
Profiles can be used to save the connection and authentication settings of previously
connected networks. These profiles can be accessed at a later time when the network is
present by simply loading a saved profile:
- Select the profile that has been saved previously from the “
Profile name
”
drop down menu, then press the “
Load
” button to load the previously saved
profile.
- Write the profile name in the “
Profile name
” field , and press the “
Save
Current
” button to save the current status of the profile.
- Select the profile name that you wish to delete from the “
Profile name
” drop
down menu, and press “
Delete
” button to delete it

