


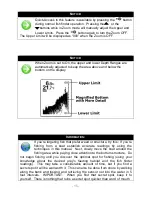
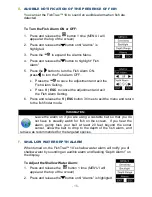

- 13 -
•
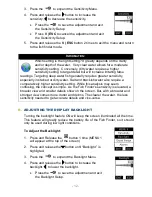
Press
V | ESC
to cancel the adjustment and exit the Backlight Setup.
5. Press and release the
V | ESC
button 2 times to exit the menu and return
to the fish finder mode.
C.
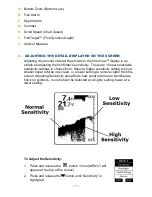
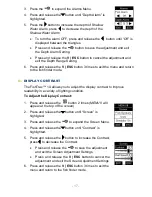
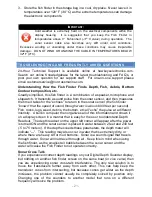
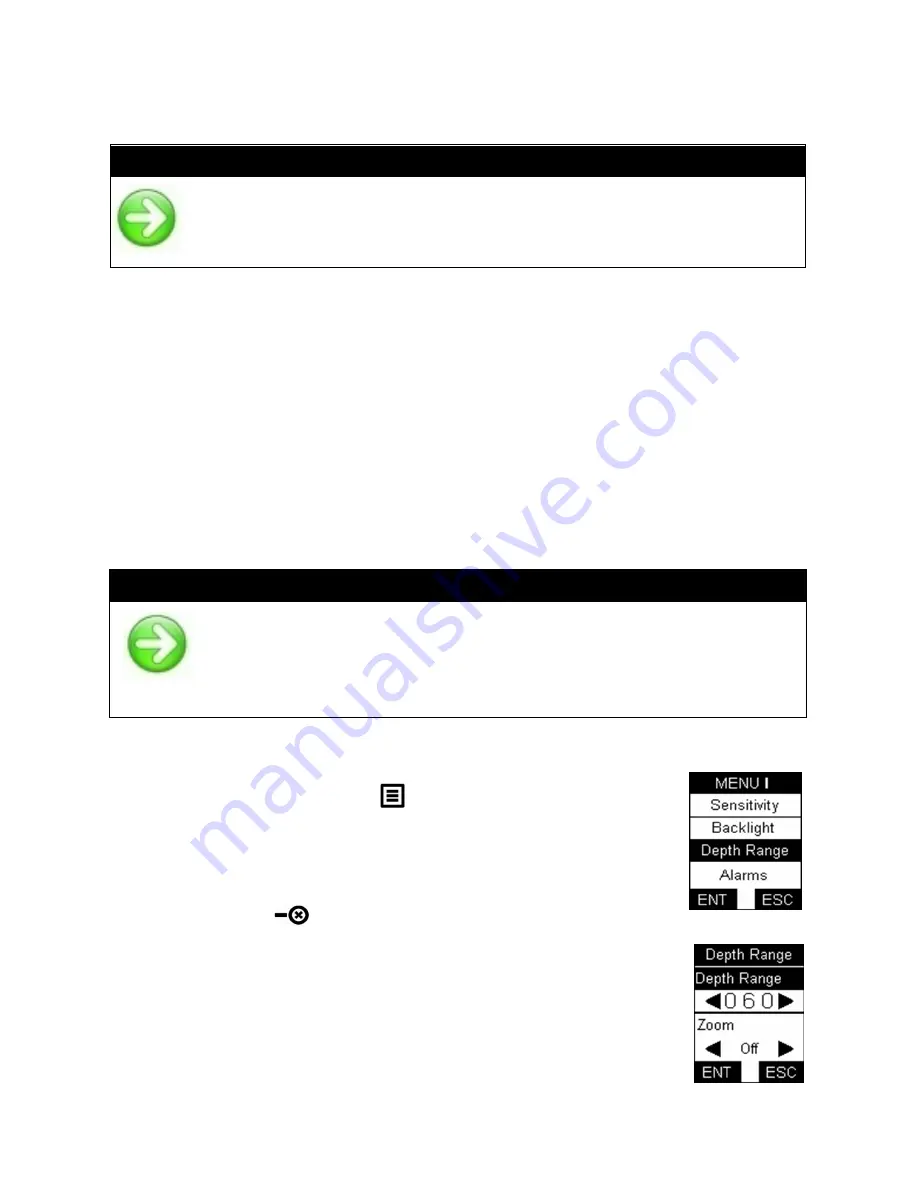
ADJUSTING THE DEPTH RANGE DISPLAYED ON THE SCREEN
You can set the display on the FishTrax™ 1X to automatically adjust the
display range to the water depth, or manually set it to lock the display in a
specific depth range.
Select AUTO to have the display automatically adjust the depth range for the
detected water depth. Advanced users may want to manually select 5, 15,
20, 30, 60, 120 or 240 ft. to only see sonar echoes in those ranges. Keep in
mind this locks the depth range of the display to this preset range and ONLY
sonar returns from that range will be displayed.
N
OTICE
:
The Depth Range setting is an advanced feature. For best results it should
be set to AUTO. Only change the setting if you are only interested in sonar
echoes in a specific depth range. In manual operation, if the water depth is
greater than the depth range setting, the bottom will not be visible on-
screen.
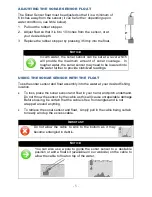
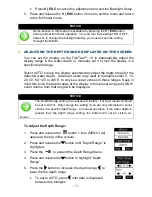
To Adjust the Depth Range:
1. Press and release the
button 1 time
(MENU I will
appear at the top of the screen)
2. Press and release the
button until “Depth Range” is
highligted.
3. Press the
to expand the Depth Range Menu.
4. Press and release the
button to highlight “Depth
Range”
5. Press the
button to increase the depth range,
to
lower the the depth range.
•
To set to AUTO, press
until Auto is displayed
between the triangles.
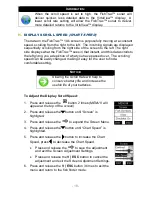
N
OTICE
:
Quick-Access to this feature is available by pressing the
V | ESC
button
during normal fish finder operation. You can turn the backlight ON or OFF,
however, to change the backlight intesity, you must access the setting
throught the MENU.