6
4.4. Electric discharge when using new batteries etc.
As the internal chemical contained in new batteries or those that haven’t been used for a long period of time is not
active, the electric discharge may be lower when used for the first and second time. This phenomenon is temporary,
and the normal time required for recharging will be re-established by recharging the batteries 2 or 3 times.
4.5. How to make the batteries last longer.
4.5.1. Recharge the batteries before they are totally dead. If you note that the electrical tool has less power, then
stop using it and recharge the battery. If you were to continue using the tool until the batteries are completely
dead, this could damage the battery and shorten its useful life.
4.5.2. Do not recharge at high temperatures. A battery will heat up immediately after use. If you were to recharge
this battery immediately after use then its internal chemical would deteriorate, shortening the battery’s useful
life. Leave the battery to cool down for a while before recharging.
4.6. CAUTION
4.6.2. If you charge the battery whilst hot, after remaining some time in direct sunlight or because it has just been
used, it is possible that the charger green pilot light turns on. If this should happen, leave the battery to cool
down first before recharging.
4.6.3. When the red pilot light flashes quickly (at intervals of 0,2 seconds) inspect the charger battery compartment
and remove any foreign objects there. If there are none, it is possible that either the battery or charger is not
functioning correctly: consult your supplier.
4.6.4. As the built-in microprocessor takes 3 seconds to confirm that the battery being charged with the UC14FY2
has been taken out, wait at least 3 seconds before reinserting it, to continue charging. If you reinsert the
battery before 3 seconds have gone by, it is possible that the battery will not be adequately charged.
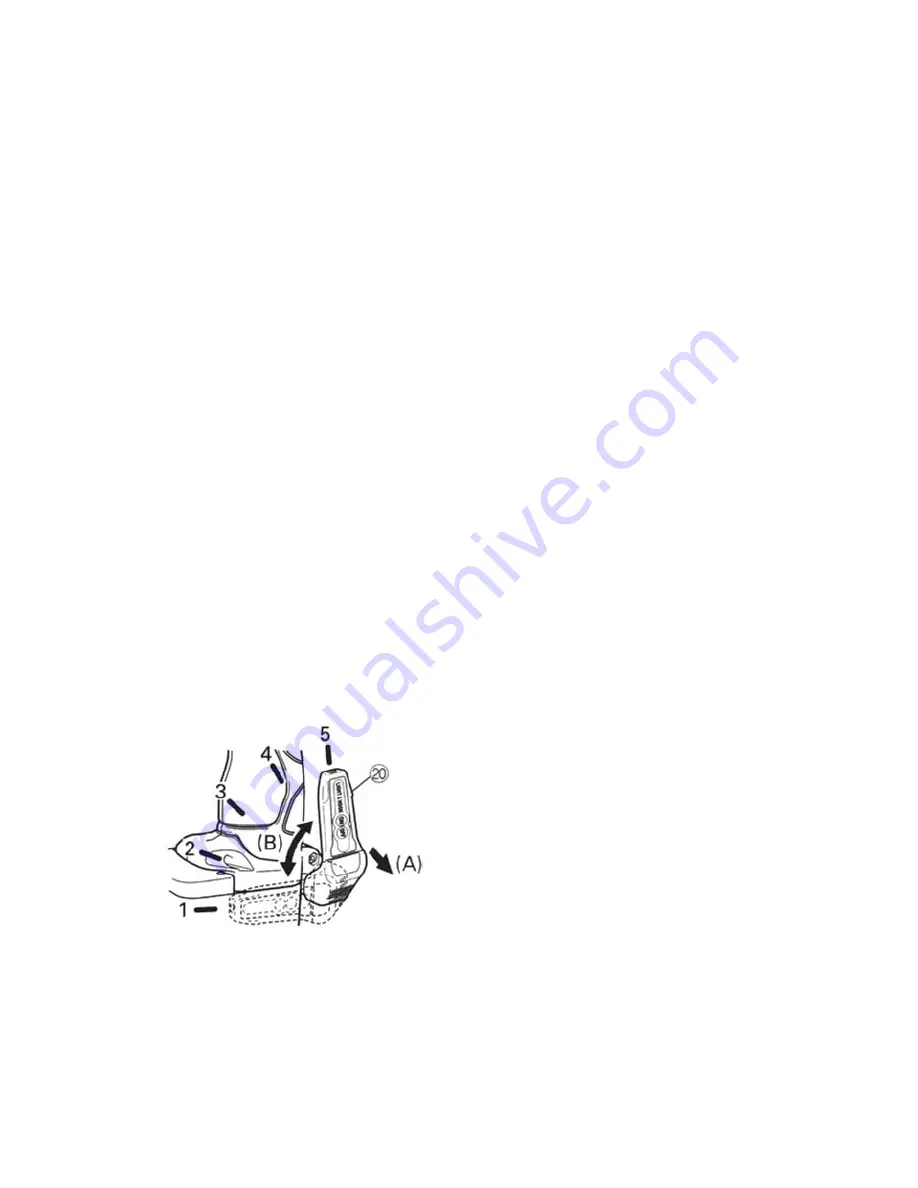
4.7. AUXILIARY LIGHT (Tools that are equipped with this).
4.7.1.
Adequate use of the torch.
The torch may be conveniently installed on the right or left side. The angle may
be adjusted in 5 steps between 0º and 80º.
4.7.2. Using the torch support:
a. Pull the torch support towards you, in the direction of arrow (A) and rotate it in the direction of arrow (B).
b. The angle may be adjusted in 5 steps (0º, 20º, 40º, 60º, 80º). Adjust the hook angle so that it is in the
most convenient position for use.


