PROJECT PLAN
Skill Level:
Intermediate
Finished Dimensions:
19-3/36"W x 24"H x 19-3/16"D
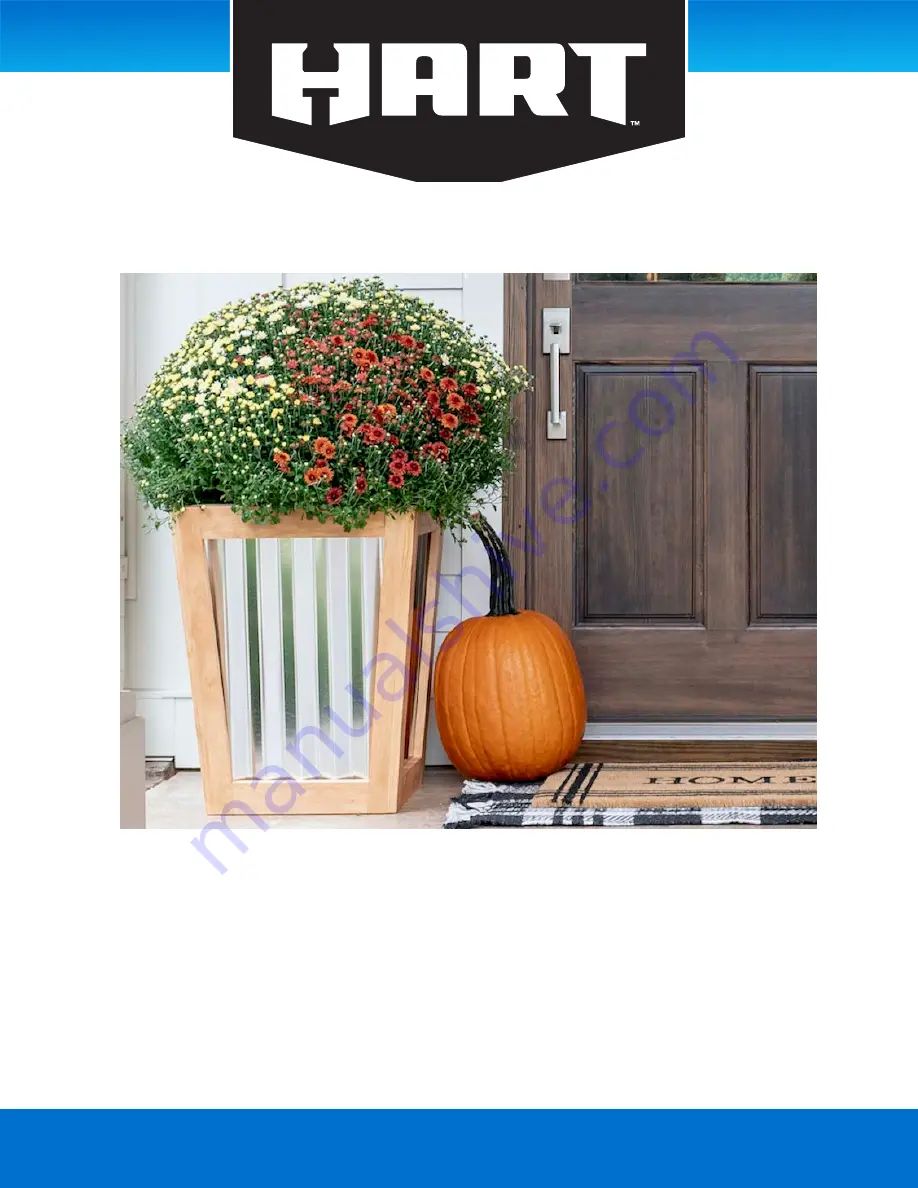
Mums Planter
Page 1: ...PROJECT PLAN Skill Level Intermediate Finished Dimensions 19 3 36 W x 24 H x 19 3 16 D Mums Planter...
Page 2: ...he paper Heavy sand ing would require 60 to 80 grit medium sanding would require 120 to 220 grit and finish sanding would require 320 to 400 grit Super fine sanding would be 600 grit and higher A sele...
Page 3: ...11 15 16 SD 2 1 x 2 Shelf Slats 11 1 4 4 2 x 2 Inner Frame 23 5 8 4 Board dimensions are nominal Actual dimensions are smaller due to lumber industry standards Cuts are actual length Lumber Sheet Layo...
Page 4: ...4 Lumber Sheet Cut Layout Guide 23 13 16 14 1 8 14 5 8 10 1 2 10 14 1 4 23 7 8 17 5 8 13 7 16 16 1 8 11 15 16 11 1 4 23 5 8...
Page 5: ...for hole locations and be sure to drill holes on the correct edges see diagram Drill countersink holes in boards so you have 2 sets of symmetrical stiles Step 3 Mark points for the countersink holes o...
Page 6: ...Step 5 Take the 2 1 x 3 x 14 1 4 shelf support boards and mark for countersink holes on both ends Follow the diagram for measurements The supports will be symmetrical Drill countersink holes in both S...
Page 7: ...build the front frame take 2 of the 1 x 3 x 23 13 16 stiles 1 of the 1 x 3 x 14 1 8 top rails 1 of the 1 x 3 x 10 bottom rails and align them to match the diagram Place a small amount of glue at each...
Page 8: ...s in the center of the side frame Apply glue to the joining surfaces and attach using 8 x 1 1 4 wood screws Step 11 To build the side frames take 2 of the 1 x 2 x 23 7 8 stiles 1 of the 1 x 3 x 14 5 8...
Page 9: ...e to 1 of the side frames using 8 x 1 1 4 wood screws These wood screws will be used to attach all frames Step 15 Attach the back frame to the assembly Step 14 Attach the opposite side frame to the as...
Page 10: ...referred to in Step 17 are shown in the diagram Step 18 Use the Aviation Snips to cut along the line A total of 4 panels will need to be cut Step 17 Mark the insert shape on the corrugated panel using...
Page 11: ...8 inner frame boards into the planter box They should be even with the bottom edge Make sure the countersink holes are facing outwards as shown in the diagram Attach using the 8 x 2 1 2 wood screws in...
Page 12: ...Step 24 Equally space the 4 1 x 2 x 11 1 4 shelf slats on the support boards and attach with 8 x 1 1 4 wood screws Step 23 Align the top edge of the 1 x 3 x 14 1 4 shelf support boards to the 12 5 8...
Page 13: ...hes imperfections Followed by using 120 220 grit to smooth Finish Sanding Use 320 400 grit sandpaper Super fine sanding Use 600 grit sandpaper Step 25 Sand and finish to your desire Because of the mul...