


30
ACO6800
+
Installation and Operation Manual
Copyright © 2009, Harris Corporation
Chapter 3: Configuration and Operation
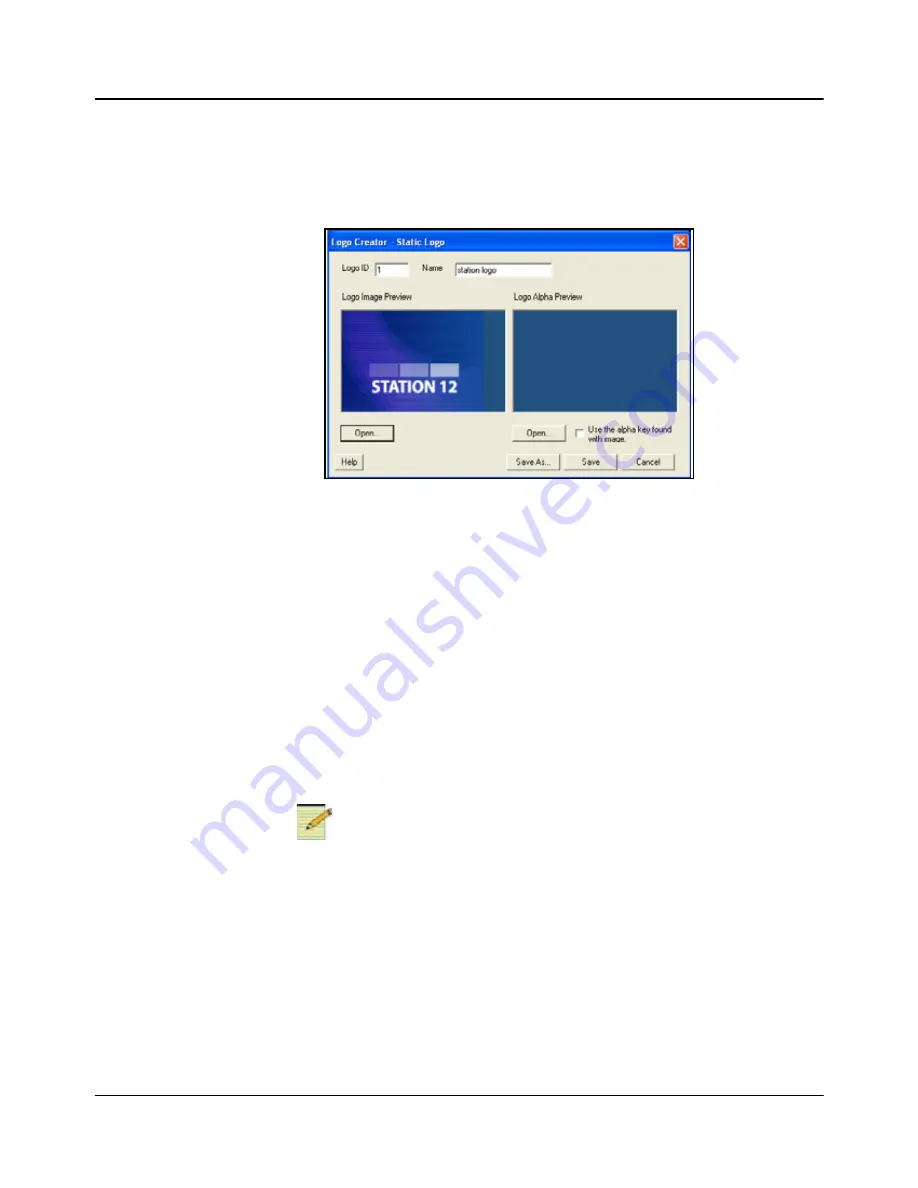
5. Click the
Open
button below the
Logo Image Preview
window.
The
Open
dialog box displays.
6. Select your existing logo file and click the
Open
button to open the logo in
the
Static Logo
dialog box.
Figure 3-4. Static Logo Dialog Box
•
A preview of the composited logo displays in the
Logo Image Preview
area.
•
A preview of the image alpha displays in the
Logo Alpha Preview
area
if the file contains alpha.
7. Select a file to use as the alpha channel for your logo.
You must select a file before you can save the logo.
•
To use the original image’s alpha channel, select the
Use the alpha key
found with image
checkbox.
•
To use a different image for the alpha channel, clear the
Use the alpha
key found with image
checkbox, and then click the
Open
button to
select a new file for your alpha channel.
Note
An alpha channel is an 8-bit layer in a graphics file format that expresses
transparency. Typically, you define the alpha channel on a per-object basis.
Different parts of an object will have different levels of transparency
depending on how much background you want to show through.
8. Click the
Save
button in the
Static Logo
dialog box.
The
Save Logo File
dialog box opens. In this dialog box, you can save your
logo as a .mg2 file. Once you save the logo as a .mg2 file, the logo displays
in the LogoCreator workspace.