background image

ASSEMBLY AND OPERATION
INSTRUCTIONS

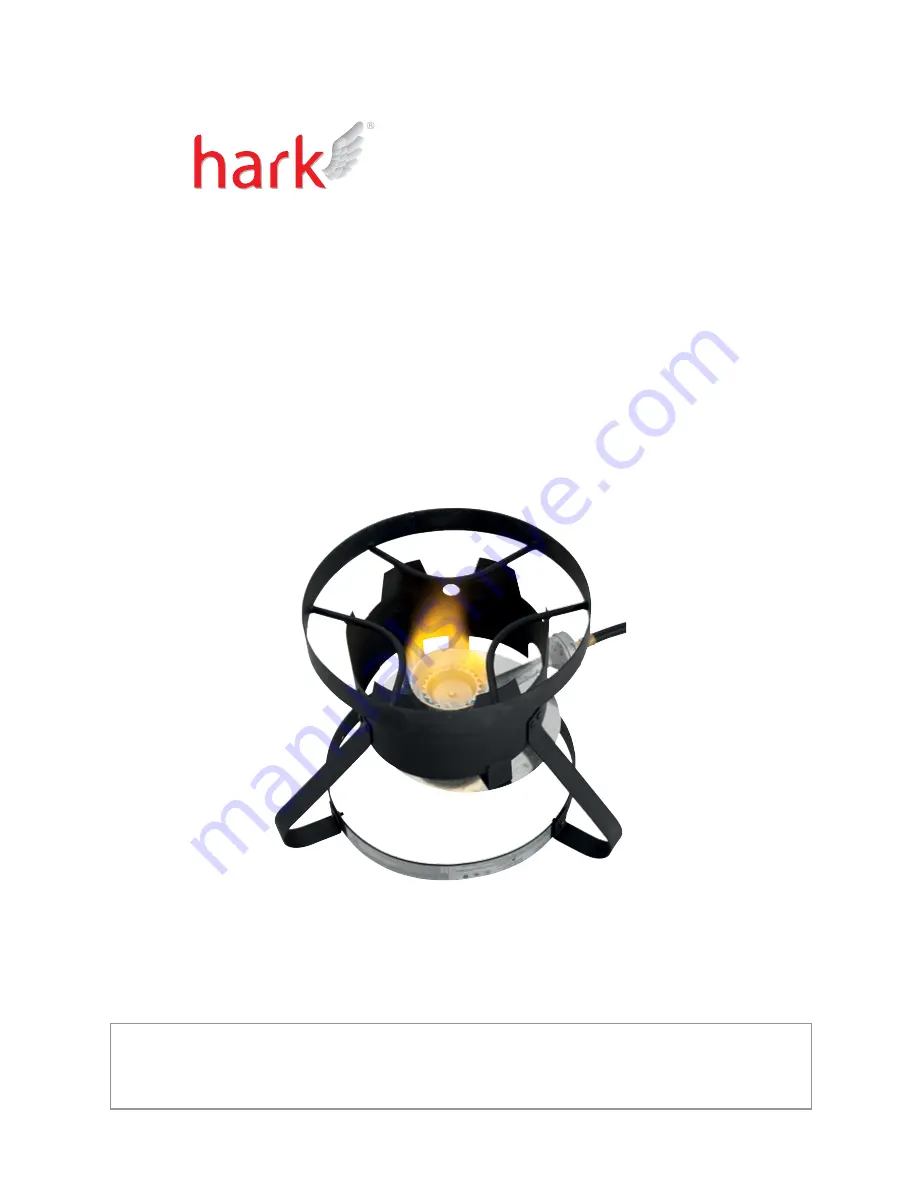
OUTDOOR JET-PRO COOKER

g r i l l   r o a s t   s m o k e

IMPORTANT

READ THESE INSTRUCTIONS FOR USE CAREFULLY. FAMILIARISE YOURSELF WITH THE APPLIANCE BEFORE 
CONNECTING IT TO A GAS CONTAINER. KEEP THESE INSTRUCTIONS FOR FUTURE REFERENCE.

Summary of Contents for HK0511

Page 1: ...ONS OUTDOOR JET PRO COOKER g r i l l r o a s t s m o k e IMPORTANT READ THESE INSTRUCTIONS FOR USE CAREFULLY FAMILIARISE YOURSELF WITH THE APPLIANCE BEFORE CONNECTING IT TO A GAS CONTAINER KEEP THESE INSTRUCTIONS FOR FUTURE REFERENCE ...

Page 2: ......

Page 3: ...goods come with guarantees that cannot be excluded under the Australian Consumer Law You are entitled to a replacement or refund for a major failure and for compensation for any other reasonably foreseeable loss or damage You are also entitled to have the goods repaired or replaced if the goods fail to be of acceptable quality and the failure does not amount to a major failure The benefits given t...

Page 4: ... BEFORE ASSEMBLING RETAIN THIS MANUAL FOR FUTURE REFERENCE FOR YOUR SAFETY If you smell gas 1 Shut off gas to the appliance 2 Extinguish any open flame 3 If odour continues immediately call your gas supplier or your local fire department PRECAUTIONS 1 Leak test all connections after each tank refill 2 Never check for leaks with a match or open flame 3 Do not store or use gasoline or other flammabl...

Page 5: ...Phillips Head Screwdriver not included Before assembly Please read all instructions thoroughly before proceeding Find a large clean area in which to assemble your Jet Pro Cooker Please refer to the parts list and assembly diagram as necessary Ensure any transit protection or packaging is removed Do not throw out any packaging until Jet Pro Cooker is fully assembled in case parts are still enclosed...

Page 6: ...st be installed before placing the nut on the burner post and tightened Fasten the cast burner screw securely to the burner mount bar with the nut STEP 2 LEG ASSEMBLY Locate 3 x legs 6 Join each of the legs to the base ring so that the two holes of each leg are aligned with each set of two holes on the base When in position the legs should be projecting outward from the center of the base Securely...

Page 7: ...ility brackets 7 to the Metal base ring as shown with an M6x10 screw and M6 nut The screws should be inserted from the center of the ring outward Note that the T shape faces outward from the ring STEP 5 HOSE REGULATOR ASSEMBLY Return the base to the upright position allowing the unit to stand on its newly assembled legs Carefully insert the threaded orifice end of the hose and regulator 3 into the...

Page 8: ...LE Only use the hose assembly supplied with this appliance for direct connection to the cylinder DO NOT USE ADAPTORS Do not use any other hose assembly Check the gas hose for damage or signs of abrasion before each use Keep the hose clear of sharp edges and hot surfaces Avoid twisting or kinking the flexible hose If damaged do not use the hose and replace it immediately If there is any doubt conta...

Page 9: ...ammable materials 2 OTHER PRECAUTIONS Do not obstruct any of the ventilation openings in the Jet Pro Cooker body Also position the gas supply cylinder on level ground next to the Jet Pro Cooker and safely away from any source of heat Should you need to change the gas cylinder confirm that the cylinder is off and that there are no sources of ignition cigarettes open flame sparks etc near before pro...

Page 10: ...er unattended when hot or in use DO NOT modify this appliance Turn off the gas supply at the gas cylinder after use Do not tamper with any parts Any modification of this appliance is dangerous and will nullify any warranty The use of protective gloves is recommended when cooking or handling any parts of the Jet Pro Cooker while it is hot or in use In the event of a gas leak shut off gas supply imm...

Page 11: ...e regulator control can adjust the heat setting of the burner To increase the heat output the regulator control valve is turned in a clockwise direction marked with the on arrow and to reduce the heat output the regulator control is turned in an anti clockwise direction marked with the off arrow TURNING THE BURNER OFF If the burner is no longer to be used and to reduce the risk of the gas jet gett...

Page 12: ...12 WARNING All cooking vessels must fit inside the top ring of the burner ...

Page 13: ...more or less air to enter the burner which will adjust the flame composition 2 STORAGE Store your Jet Pro Cooker in a cool dry place Cover the burner with aluminium foil in order to prevent insects or other debris from collecting in burner holes The gas cylinder should be disconnected from the Jet Pro Cooker and stored outdoors When using the Jet Pro Cooker after extended periods of storage please...

Page 14: ... NATURAL CONVECTION THIS JET PRO COOKER IS NOT DESIGNED FOR MARINE USE ANY ENCLOSURE IN WHICH THE APPLIANCE IS USED SHALL COMPLY WITH ONE OF THE FOLLOWING An enclosure with walls on all sides but at least one permanent opening at ground level and no overhead cover refer to example 1 Within a partial enclosure that includes an overhead cover and more than two walls Refer to example 2 Figure 1 Outdo...

Page 15: ...nrestricted Refer to examples 3 4 and 5 In the case of balconies at least 20 of the total side back and front wall areas shall remain open and unrestricted Both ends open Open side at least 25 of the total wall area Figure 3 Outdoor Area Example 3 Figure 4 Outdoor Area Example 4 Open side at least 25 of the total wall area 30 or more in total of the remaining wall area is open and unrestricted Fig...

Page 16: ...50 50 Minimum clearance of Jet Pro Cooker to combustible surfaces is 100cm at the sides 100cm from back and 100cm above the Jet Pro Cooker Made in China This burner is manufactured by Huzhou Metalwork Co Ltd Industrial Park Donglin Zhejiang Province China Made in China Imported by Hark Enterprises Pty Ltd Unit 11 41 49 Norcal Rd Nunawading VIC 3131 Local Call 1300 799 787 Excl mobiles Phone 03 987...

Page 17: ...Hark Enterprises Pty Ltd Unit 11 41 49 Norcal Rd Nunawading VIC 3131 T 1300 799 787 E service hark com au W www hark com au ...

Reviews: