1 3
INSTALLATION INSTRUCTIONS CONT.
GAS CONNECTION
WARNING!
• This appliance must be installed and connected in accordance with installation regulations in force in the
county in which the appliance is to be used.
• This appliance is supplied to run on natural gas only and cannot be used on any other type of gas without
modification. Conversion for use on LPG and other gases must be undertaken by a qualified person.
• Turn off the power for safety and appliance protection. Close middle valve to prevent gas leakage.
• Keep flammable materials away from the appliance.
• Before work put on gloves.
CAUTION!
• Cool off the appliance for a while right after using appliance for your safety, burners can reach a high
temperature during use.
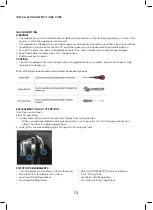
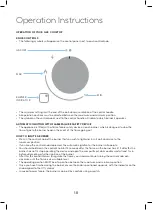
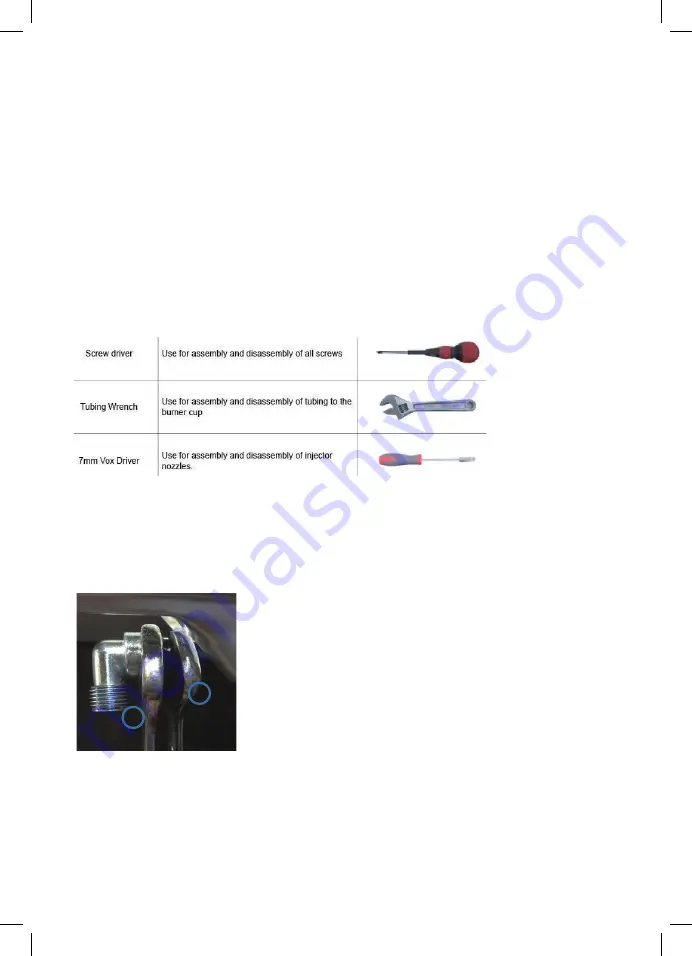
Most of the tools required are shown below. Some are optional.
REPLACEMENT OF GAS-TYPE FITTING
Tool: Open-end wrench
Steps for operation:
1. Disassemble with a wrench the gas-type fittings from main gas tube.
When you disassemble/assemble gas connection, use 2 spanners. One for fixing gas connection
elbow, the other for tightening gas hose.
2. Look tightly a replaceable gas-type fitting onto the main gas tube.
STATUTORY REQUIREMENTS
• This installation must conform with the following:
• Manufacturer’s Installation instructions
• Local Gas Fitting Regulations
• Municipal Building Codes
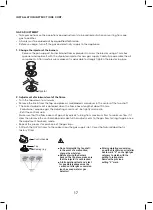
Gas Connection
18
Keep away from inflammable materials around appliance.
Before work, put on gloves.
CAUTION
Cool off the appliance for a while right after using appliance for your safety
because you can get
burners by high temperature from the appliances.
B: Look tightly a replaceable gas-type fitting onto the main gas tube.
Turn off power for safety and appliance protection. Close middle valve to
prevent gas leakage.
Most of the tools that you might need are shown below. Some are optional.
Replacement of gas-type fitting
Tool: Open-end wrench
Steps for operation:
A: Disassemble with a wrench the gas-type fittings from main gas tube.
When you disassemble/assemble gas connection, use 2 spanners. One for fixing gas
connection
elbow, the other for tightening gas hose.
Ŷ7KLVDSSOLDQFHPXVWEHLQVWDOOHGDQGFRQQHFWHGLQDFFRUGDQFHZLWKLQVWDOOD
WLRQUHJXODWLRQVLQIRUFHLQWKHFRXQWU\LQZKLFKWKHDSSOLDQFHLVWREHXVHG
Ŷ7KLVDSSOLDQFHLVVXSSOLHGWRUXQRQQDWXUDOJDVRQO\DQGFDQQRWEHXVHGRQ
DQ\RWKHUW\SHRIJDVZLWKRXWPRGL¿FDWLRQ&RQYHUVLRQIRUXVHRQ/3*DQG
RWKHUJDVHVPXVWRQO\EHXQGHUWDNHQE\DTXDOL¿HGSHUVRQ
1
2
• Refer to AS/NZS 5601.1 for Gas Installations
• S.A.A. Wiring Code
• Local Electrical Regulations
• Any other statutory regulations

