MOUNTING
INSTRUCTIONS
The basis for durable and safe mounting is an assembly frame which corresponds to the appropriate
structural requirements, which is securely anchored to the ground, to the roof, or to a façade, and
whose long-term stability is guaranteed. The mounting structure and the module attachments
must be designed in accordance with the local wind and snow loads. Ensure that the modules are
mounted over a fire resistant roof covering rated for the application. To prevent bending, vibration,
mechanical stress or warpage, mount the module onto a flat contact surface.
5
•
Always secure the module with the correct number of clamps or screws or use appropriate mounting rails
•
The distance between modules should be selected carefully respecting thermal expansions. In no
way modules should touch each other at any operating temperature to avoid unfavorable forces.
Keep in mind, different modules, mounting systems, and building materials do have different
thermal expansion coefficients. Hanwha Solar recommends a minimum distance of 20 mm between
modules
•
Avoid direct contact between glass and metal (e.g. mounting rails)
•
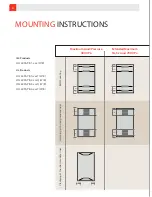
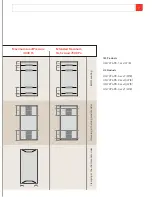
Modules can be installed in both landscape and portrait modes. Reduced snow loads may apply,
depending on mounting method
•
For portrait installations, the junction box should be located in the upper area of the module and the
cables should hang downwards
•
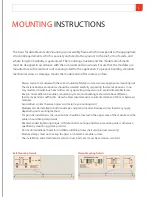
Recommended tightening torque: 10Nm for bolt mounting and clamp mounting unless otherwise
specified by mounting system provider
•
Do not drill additional holes for installation (drilling holes shall void product warranty)
•
Module clamps must not overlap the glass or shade the module surface
•
The installation and attachment materials (nuts, bolts, etc.) must be corrosion-resistant
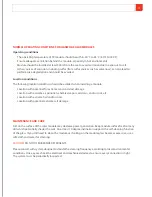
Bolt Mounting Details
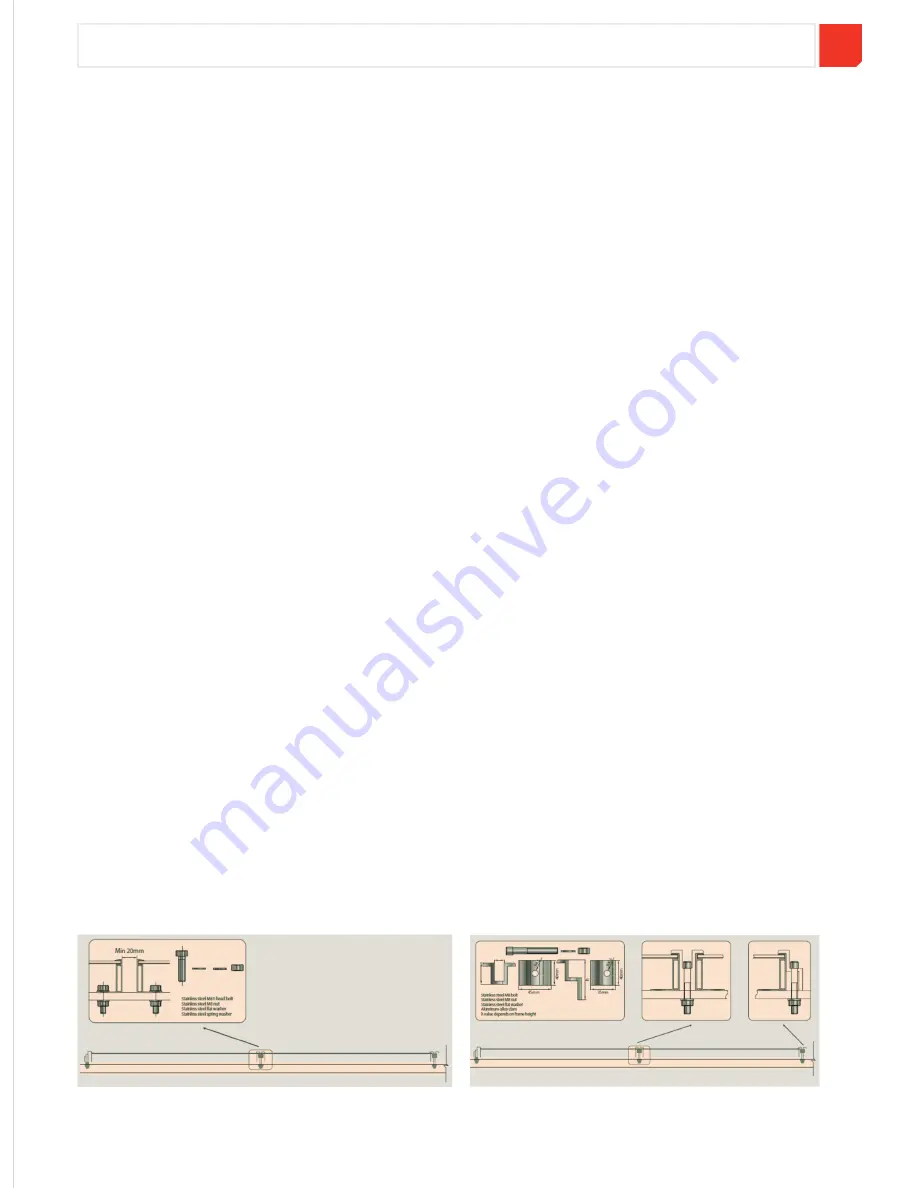
Clamp Mounting Details


