NetDisk™ User Manual Network Direct Attached Storage / NDAS™
—————————————————————————————————————————————
NetDisk™ Cable Installation
•
Newer NetDisk
™
does not have dip switches on
them.
•
Newer NetDisk
™
has the capability of automatically
recognizing NetDisk
™
Mode without the dip switch.
In such case, please skip step 1 (dip switch setting)
from the instructions below.
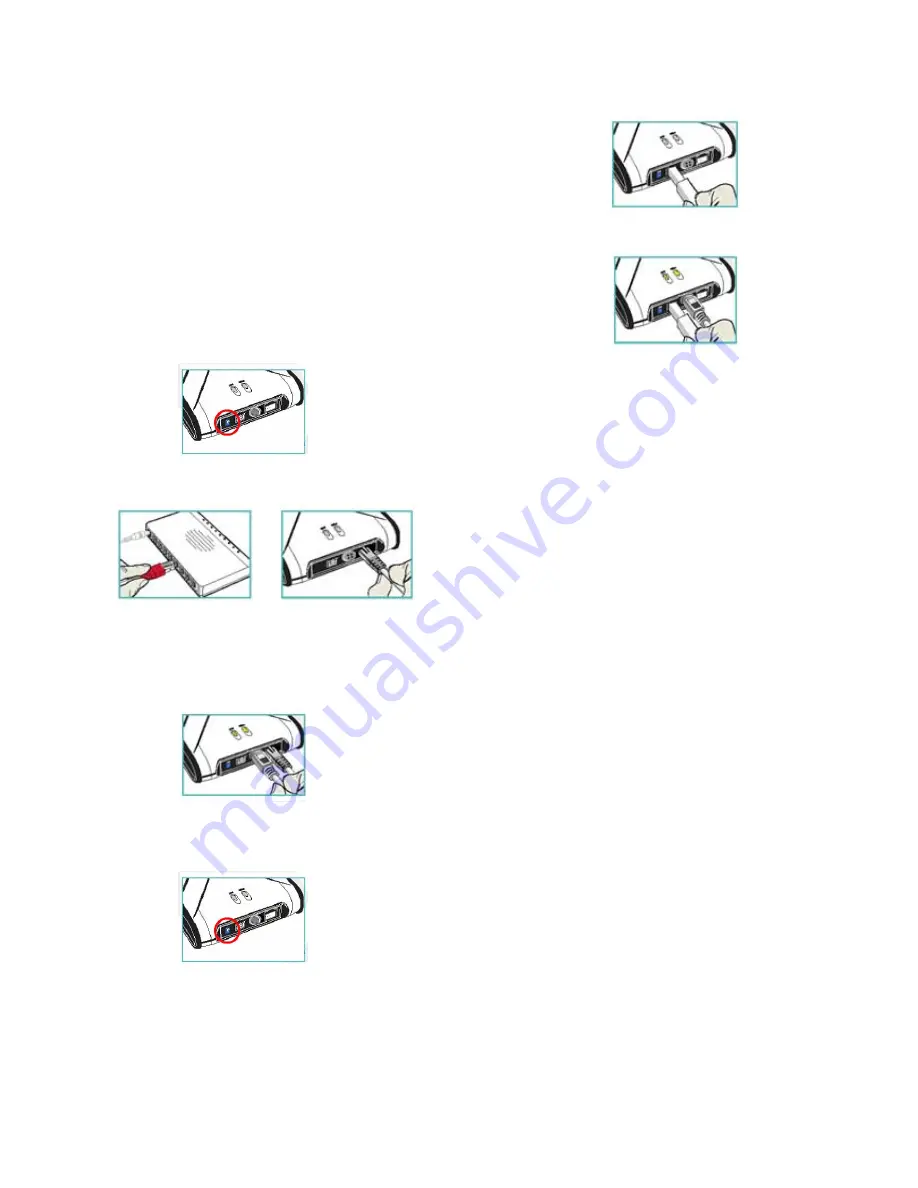
Make sure the power connector is connected firmly.
•
NDAS™ Mode
Flip both dip switches down for NDAS™ Mode.
•
NetDisk™ Mini Cable Installation
•
Turn on NetDisk™ Mini by sliding On/Off Switch to
ON
position.
Connect NetDisk™ to your switch (100 Base-TX)
with included Ethernet cable.
•
NDAS™ Mode
Connect NetDisk™ Mini to your switch (100 Base-
TX) with included Ethernet cable.
•
•
•
•
For wireless users - Connect NetDisk™ Mini to your
wireless router or access point with included Ethernet
cable.
•
For wireless users - Connect NetDisk™ to your
Make sure the power connector is connected firmly.
wireless router or access point with included Ethernet
cable.
USB Mode
Make sure the power connector is connected firmly.
•
Connect NetDisk™ Mini directly to your Computer’s
USB port using included USB cable.
NetDisk
™
Office
Cable Installation
USB Mode
•
Turn on NetDisk™ Office by sliding On-Off Switch
to
ON position.
Flip both dip switches up for USB Mode.
•
NDAS™ Mode
•
Connect NetDisk™ Mini to a switch (100 Base-T)
with included Ethernet cable.
•
Wireless users: Connect NetDisk™ Mini to your
Connect NetDisk™ directly to your Computer’s USB
port using included USB cable.
•
wireless router or access point with included Ethernet
cable.
•
Make sure the power connector is connected firmly.
www.XIMETA.
de
—————————————————————————————————————————————
4


