


13
OPERATION
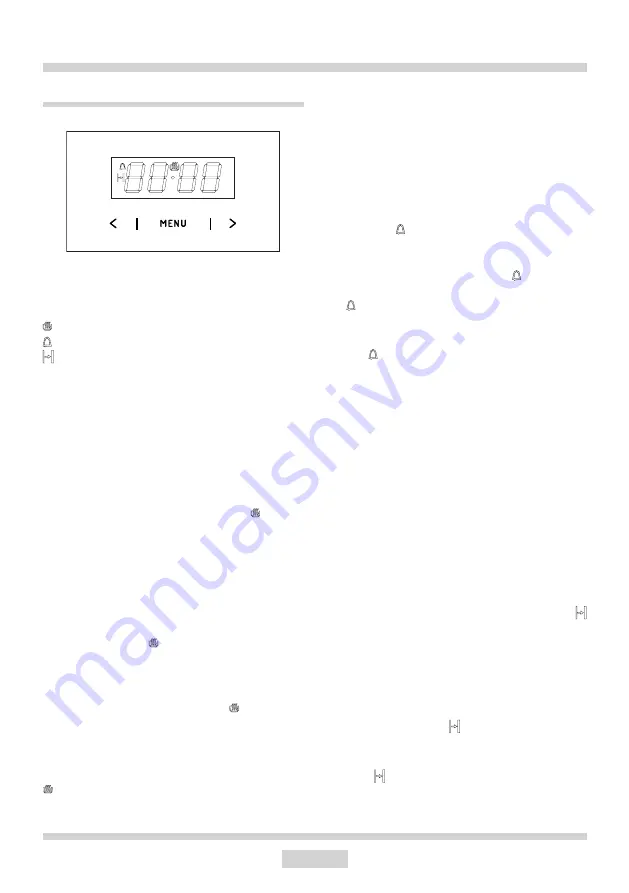
Electronic timer
Setting the time
When the appliance is plugged into the elec-
trical mains supply, or when power is restored
after power outage, the digital display will
show flashing
0.00.
l
Touch and hold
MENU
((or simultaneously
touch
<
/
>
)
until you will see on the
display and the dot below the symbol is
flashing,
l
Touch
<
/
>
within 7 seconds to set the
current time.
To store the new time setting, wait approxi-
mately 7 seconds after time has been set.
The dot below the
symbol will stop flashing.
You can adjust the time later. To do this touch
<
/
>
simultaneously and adjust the current
time while the dot below the symbol is
flashing.
Note:
The oven can be turned on when you see the
symbol on the display.
MENU
— select the mode of operation
>
— higher setting sensor
<
— lower setting sensor
— appliance on indicator
— Kitchen timer
— Duration
Kitchen Timer
You can active the Kitchen Timer at any time,
regardless of the status of other functions.
The Kitchen Timer can be set from 1 minute
up to 23 hours and 59 minutes.
To set the Kitchen Timer:
l
Touch
MENU
, then the display will show
blinking :
l
Use the
<
/
>
, sensors to set the Kitchen
Timer. The display will show the set time
and Kitchen Timer symbol . Once the
set time elapses, alarm sounds and the
icon flashes,
l
Touch and hold
MENU
or simultaneously
touch and hold
<
/
>
to mute the alarm,
the
will be off and the display will show
the current time.
Note!
If no button is touched, alarm will turn off
automatically after approximately 7 minutes.
Timed operation
To set the appliance to switch off after a
specific duration:
l
Set the operation mode knob and the tem-
perature control knob to your preferred
settings.
l
Touch
MENU
repeatedly until the display
shows
dur
(duration) briefly and the
symbol will be flashing,
l
Set the desired duration from 1 minute to
10 hours using the
<
/
>
sensors.
The set duration will be memorised after
about 7 seconds. The display will show the
current time and the symbol.
Once the Duration has elapsed the oven will
turn off automatically. You will hear an alarm
and the
symbol will be flashing.
Summary of Contents for FCGS6 Series
Page 1: ...EN INSTRUCTION MANUAL UA IO CBI 2809 8515907 04 2023 v1 FCGS6...
Page 28: ...28...
Page 29: ...29 30 34 36 38 44 48 53...
Page 30: ...30...
Page 31: ...31 15...
Page 32: ...32 1 40 10...
Page 33: ...33 100...
Page 34: ...34 O L R...
Page 35: ...35...
Page 36: ...36 Y 100 C 230 1N 50 3 x 1 5 2 1 5 16 A...
Page 38: ...38 250 30 Ts Ts 0 00...
Page 39: ...39 Ts A 0 00 l MENU l 7 l MENU l 7 7 MENU 1 23 59 l MENU l l MENU 7 l l MENU dur...
Page 41: ...41 0 0 Supergrill 2 3 i 50 50 10 0 1 5 0 20 0 2 5 0 0...
Page 42: ...42 R L R L L L R...
Page 43: ...43 5 250 190...
Page 44: ...44 5 20 30 1...
Page 48: ...48 Steam Clean 0 25 1 50 C 30 0 G9 230 25...
Page 49: ...49 D 1 2 1 2...
Page 50: ...50 1 2 A B C...
Page 51: ...51 D 1 2 3 1 2 3 1 2 3 3 D D1 4...
Page 52: ...52 1 2 0 00 3...
Page 53: ...53 230V 50 Hz 2 9 kW 59 5 x 59 5 x 57 5 cm EN 60335 1 EN 60335 2 6 EN 60350 1 IEC 60350 1 ECO...
Page 54: ...54...
Page 55: ...55...
Page 56: ......