


69
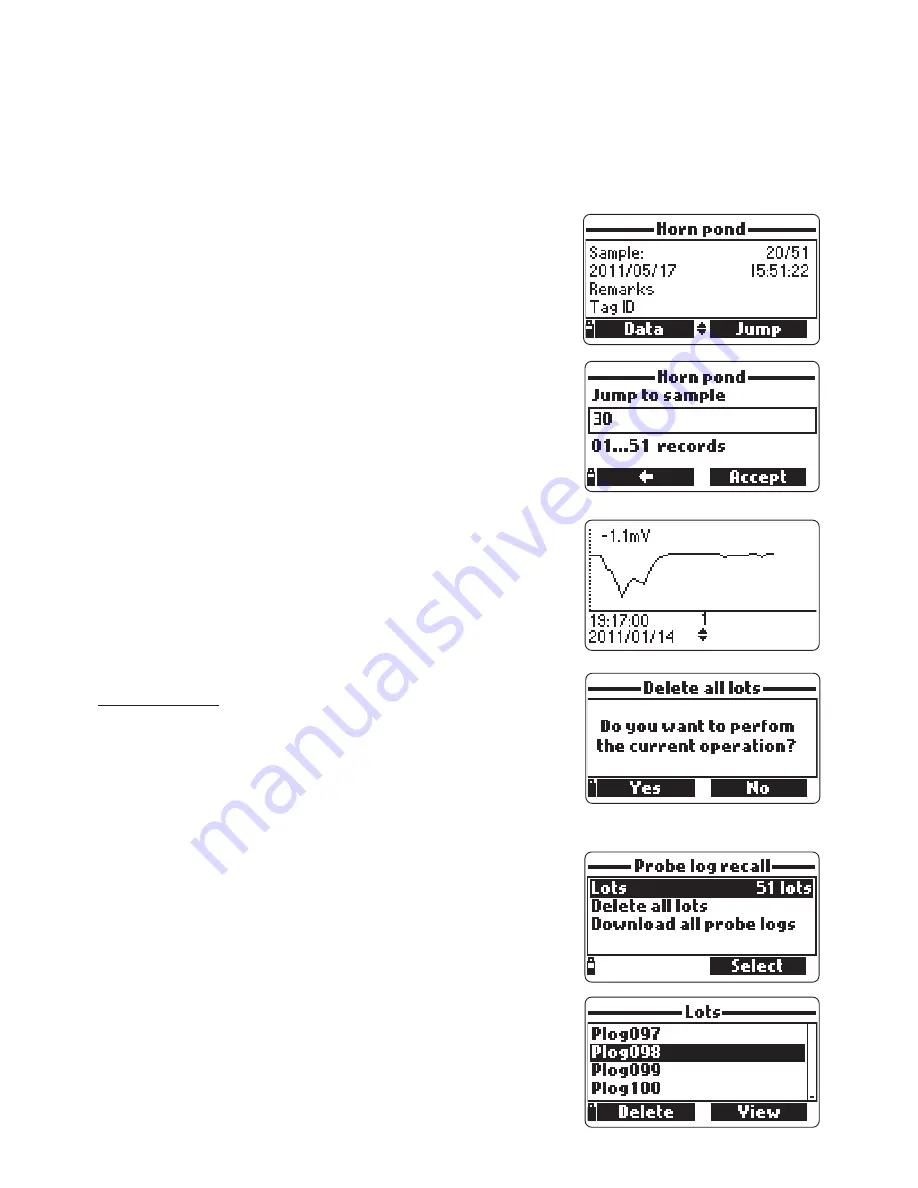
• Press <Info> to see record information for the current sample (time & date,
remark, location (only for model with GPS) and tag ID or serial number (if
available).)
• Press <Data> to return to the previous screen or <Jump> to select a different
sample in the same lot. When <Jump> is pressed, a text box appears to insert
the desired sample number.
• Press ESC to return to the menu.
• Choose “Plot” and the meter will create a list with
all available parameters that can be plotted.
• Use the arrow keys to select the desired param-
eter. Press <Select> to view the graph.
• Use the arrow keys to move the cursor in the graph
and highlight a sample. The sample data are dis-
played below the graph.
• Press ESC to return to the parameter list.
• Press ESC again to return to the menu.
Note
The number of lot samples that can be plot
ted is limited by the display resolution. To
view a complete graph download data to
PC.
Delete all lots
• From ‘’Meter log recall’’ choose “Delete all lots”
and the meter will display the message “Do you
want to perform the current operation?”. Press
<Yes> to delete or <No> to return to the previ-
ous screen.
• To return to the “Log recall” menu, press ESC.
11.4.2 Probe log recall (Logging Probe only)
• Select “Probe log recall” to view and manage lots
that are stored on the probe.
• Select ”Lots” to display a list of available lots on
the probe (logs have a Plog prefix).
• To view basic information about the highlighted
lot, press <View>.
Summary of Contents for HI 9829
Page 2: ...2...
Page 29: ...29 5 4 SETUP MENU STRUCTURE...
Page 64: ...64...
Page 74: ...74 MetertoPCdata a Selectparameterunits b SelectMeterfromtoolbar c SelectLot d SelectMap...
Page 76: ...76 ProbeInfoScreen LotDataScreen...
Page 98: ...98...
Page 99: ...99...


