52
Hangar 9 F4U-1D Corsair 50 ARF
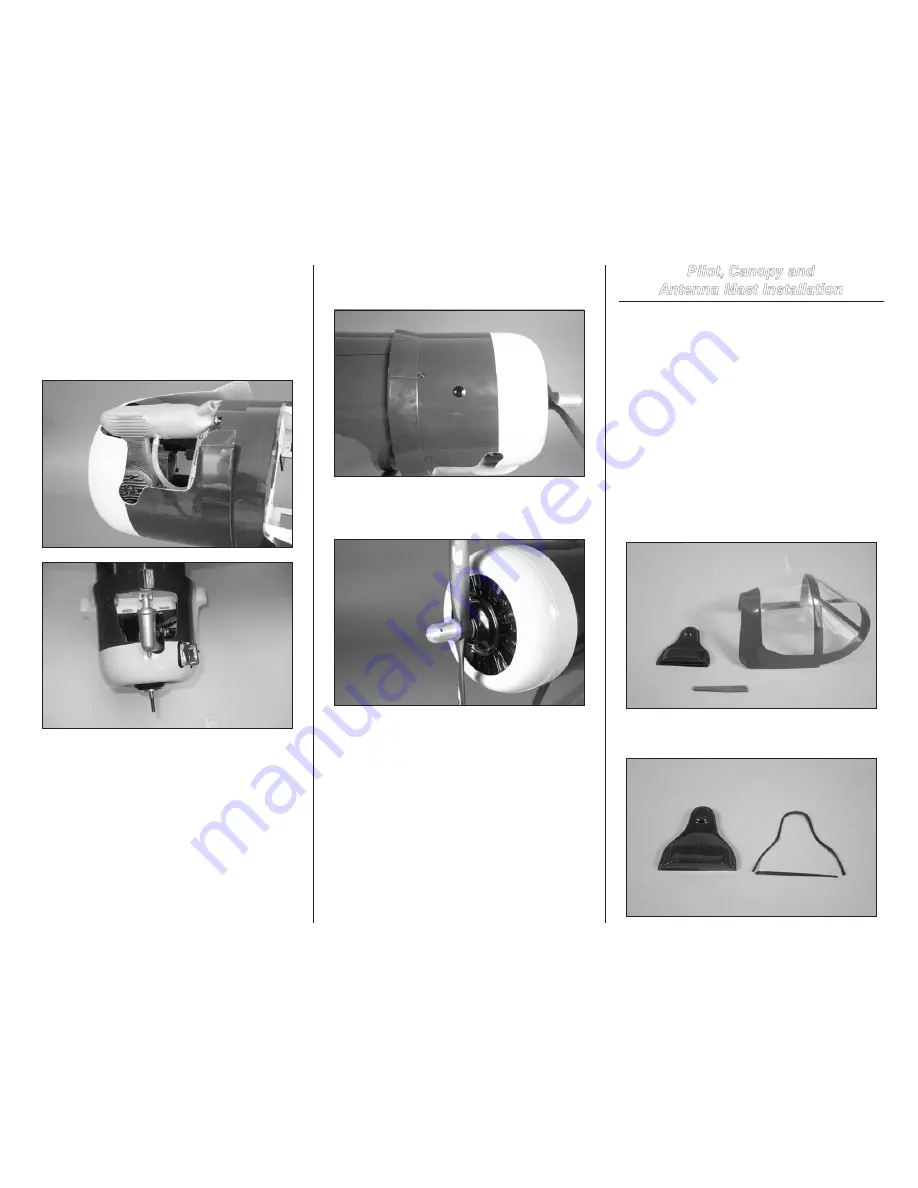
14. (Glow/Gas Only) Connect the fuel lines from the tank
to the engine. The line from the vent attaches to the muffler,
while the line from the clunk attaches to the carburetor. Fit
the cowl over the engine, trimming as necessary to fit over
the muffler. Also make an opening for the needle valve so the
engine can be tuned without removing the cowl. Make sure
to cut the cowl to provide an air outlet for the incoming air
that will be cooling the engine.
Note
: We installed a fuel filler to make fueling
the model easier with the cowl on.
15. Attach the propeller to the engine using the spinner
nut. Use a long-handle wrench that fits through the hole in
the spinner nut to tighten it securely to the propeller shaft.
Note
: It may be necessary to use a reamer to enlarge
the hole in the propeller to fit the motor shaft. Always
balance your propeller. An unbalanced propeller can
cause vibrations to be transmitted into the airframe,
which could damage the airframe or other components
as well as produce unwanted flight characteristics.
Pilot, Canopy and
Antenna Mast Installation
Required Parts
Fuselage assembly
Canopy
Headrest
Antenna mast
Instrument panel decal
Pilot (optional)
Decal sheet
Required Tools and Adhesives
Low-tack tape
Hobby knife with #11 blade
Hobby scissors
Medium CA
Felt-tipped pen
Medium grit sandpaper
Canopy glue
1. Locate the items necessary to attach the canopy and
antenna mast to the fuselage. The fuselage will also be
required for this section of the manual.
2. Use hobby scissors to remove the flashing from the
outside of the headrest.


