30
Step 9:
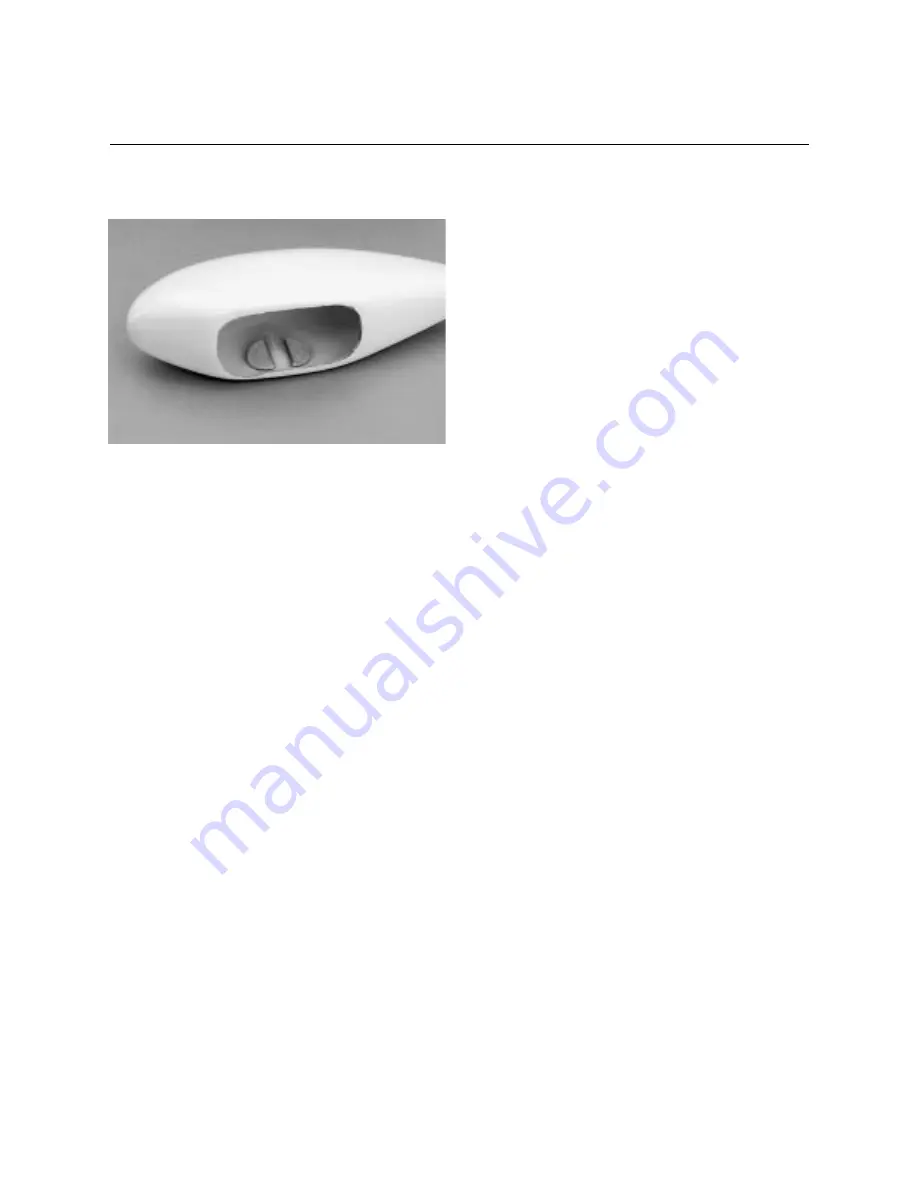
Epoxy the plywood spacer to the inside of the pant, on
either side of the indentation in the nose wheel pant.
Step 10:
Once the epoxy has cured, mark the center line of the
wheel opening by trial fitting the nose wheel in the opening of
the wheel pant.
Step 11:
Measure up approximately 1/4
″
in the groove of the
nose wheel pant and mark the location.
Step 12:
Drill a 5/32
″
hole in the wheel pant.
Step 13:
Attach the wheel pant, with the wheel inside, to the
nose gear. As the gear is threaded through to the wheel pant,
attach the wheel collar to the axle. Once the wheel is centered in
the opening, tighten the wheel collar screw. Use Blue Locktite
242 to secure it.
Step 14:
The metal clip and screws are used to hold the nose
wheel pant in the proper position. Place the clip over the nose
gear and mark the holes so they are on either side of the gear.
Drill 1/16
″
holes and attach the screws. Be sure the orientation
of the wheel pant is parallel to the ground and that the wheels
turn freely.
CONTINUED
Section 11: Assembling and Mounting
the Wheel Pants


