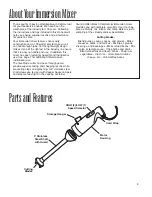
4
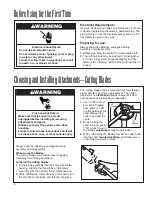
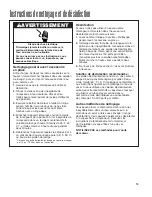
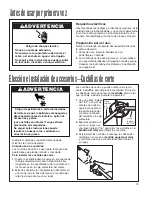
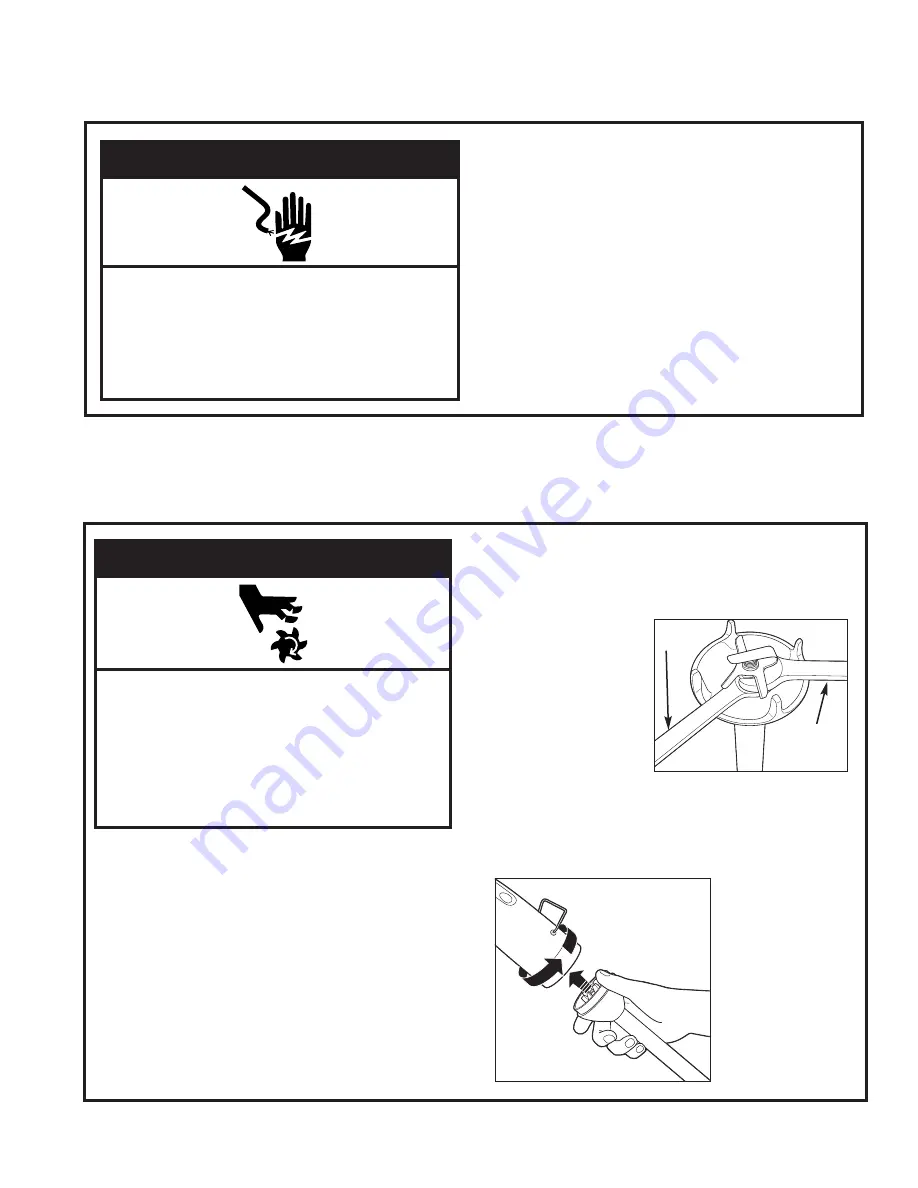
The cutting blades can be removed from the stainless
steel shaft for cleaning or replacement. The cutter
head shaft has
left-hand
threads to prevent it from
coming loose or slipping during operation.
1.
Use a 7/32
″
wrench
or a pair of needle
nose pliers to hold
the flat portion of the
shaft between the
cutter head and the
guard.
2.
While holding the
shaft in place, use a
7/16
″
wrench to turn
the blades
clockwise
to loosen the blades.
3.
When reinstalling the blades, thread the cutter head
into the shaft
counterclockwise
, and make sure it
is tightened securely in place.
Choosing and Installing Attachments–Cutting Blades
w
WARNING
Electrical Shock Hazard
Do not use an extension cord.
Do not immerse motor housing, cord, or plug
in water or any other liquid.
Failure to follow these instructions can result
in death, fire, or electrical shock.
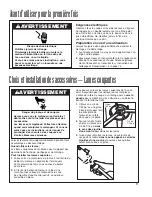
Before Using for the First Time
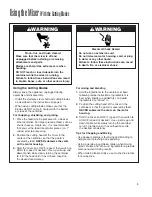
Electrical Requirements
Observe all governing codes and ordinances. This unit
is double insulated and features a polarized plug. The
plug will only fit into the electrical socket one way. Do
not modify the plug in any way.
Preparing for use:
Always keep the appliance unplugged during
assembly and disassembly.
1.
Before use, wipe the unit with a clean damp cloth.
2.
The cutting blade may be washed in a dishwasher
or in hot, sudsy water. Rinse thoroughly and dry.
Refer to the Cleaning and Sanitizing Instructions on
page 6.
7/32
″
Wrench
7/16
″
Wrench
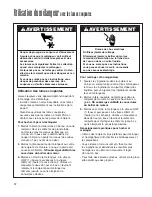
w
WARNING
Pinch and Cut Hazard
Make sure that the mixer is off and
unplugged before installing or removing
attachments and parts.
Blades are sharp! Use extreme care when
handling.
Failure to follow these instructions can result
in broken bones, cuts, or other serious injury.
Always keep the appliance unplugged during
assembly and disassembly.
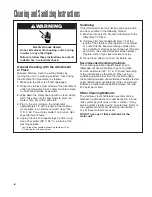
When to use the blades:
The cutting blades are used for most chopping,
shredding, and mixing operations.
To install the cutting blades:
1.
Fit the blade assembly into the end of the motor
housing, aligning the three tabs on the blade
assembly with the notches in the motor housing.
2.
While holding the motor housing in one hand, turn
the shaft base clockwise until it locks into place.


