30
2.6.2 Date and time settings
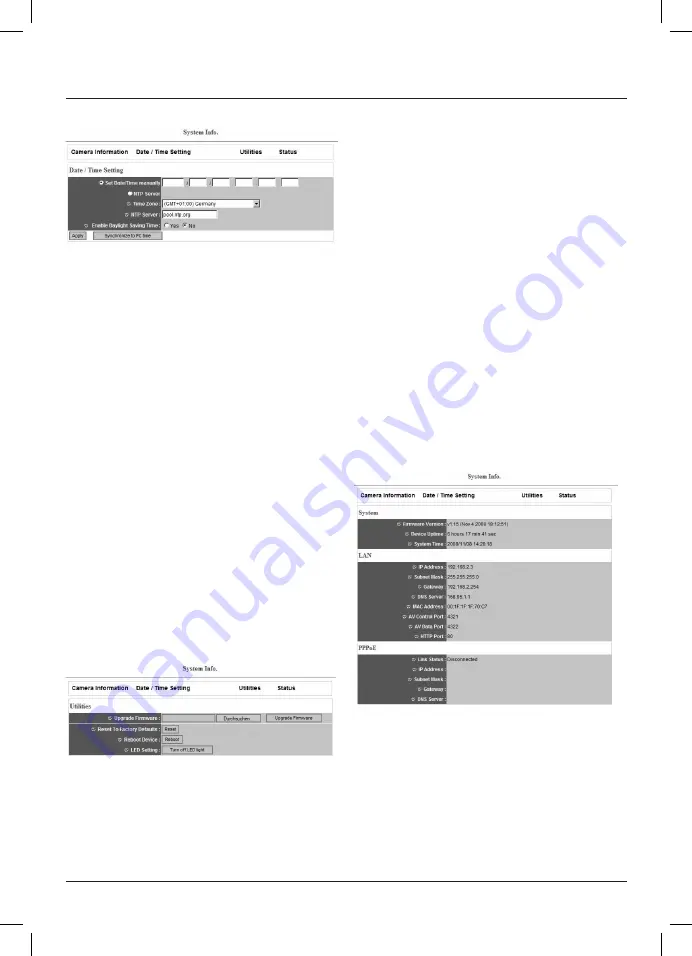
This menu item enables you to change the network camera‘s
time and date settings.
Click
„Synchronise with PC time“
to set the network camera‘s
clock to the same time as your PC‘s clock.
You can set
time and date manually
.
The format for this is:
YYYY / MM / DD HH:MM:SS. The system
uses the 24-hour clock
.
Example:
09th May 2008 1.50 pm
Entry:
2008/05/09 13:50:00
NTP server:
Activate this field if you want to synchronise the
camera‘s system time with an NTP server via the
Internet.
Time zone:
Select the required time zone.
NTP server:
This allows you to enter the IP address of an NTP
server (NetworkTimeProtocol server) for date and
time synchronisation. You can also use the default
server
„pool.ntp.org“.
Activating
summer time:
Select
„Yes“
or
„No“,
depending on whether you
want to activate automatic Summer/Winter Time
adjustment.
Confirm your settings by clicking
„Apply“.
2.6.3 Tools
This menu item provides you with various items designed to
assist you, e.g. firmware update or camera restart.
Update firmware:
If an updated firmware is available
for downloading on www.hama.de,
you can use this tool to update the
camera. Click on
„Browse“
and select
the firmware file in the window that
appears.
Then
click
„Upgrade“
to start the
firmware update. The camera restarts
automatically after the latest
firmware is installed.
Reset to factory settings:
By clicking
„Reset“
, you can reset the
camera to the original factory settings.
Please note that after you have reset
the camera, its IP address will be set
to
„192.168.2.3“.
Restart camera:
Click
„New start“
to restart the
camera.
LED settings:
You can use this function to turn off the
„Sound“,
„LAN“
and
„WLAN“
LEDs, so
that the camera will not indicate
that data is being transferred. You can
also use this function to reactivate
the
LEDs.
2.6.4 Status
This menu provides you with important information such as the
firmware version, runtime, IP address or PPPoE connection.
2.6.5 System log
The camera automatically stores certain processes such as the
logging in of different users on the camera. The recordings can
be viewed here.


