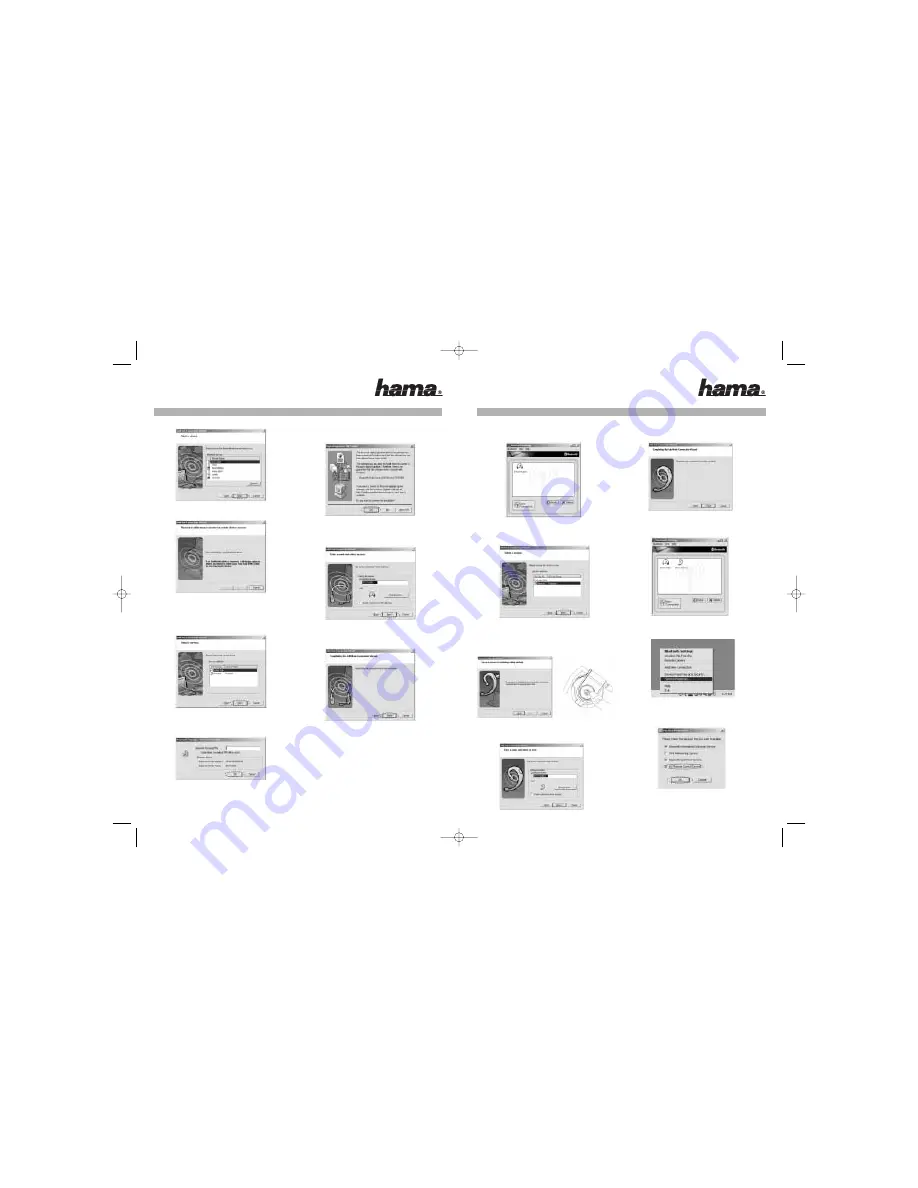
7). System now is connecting to the headset.
8). The headset provides two different services -
Audio Sink and Headset. Users are recommended
to setup both of them. First, setup the Audio Sink
service. Select "Audio Sink" item and click "Next".
9). You will be required to enter a passkey. The default
passkey is "1234".
10). A "Digital Signature Requiring" may appear. Click
"Yes" to continue the installation.
11). Enter a name for the stereo headset or click "Next"
to use the default name.
12). Now the pairing process has completed. Please
click "Finish".
13). An icon "BSH-150" should appear if pairing is
succeeded.
14). Repeat the pairing procedure 2 ~ 6 to setup
Headset service. Select "Headset" item and click
"Next".
15). Users will hear a signal reception tone from the
stereo headset. Press the "Answer" button to
establish a connection.
16). Enter a name for the stereo Headset or click "Next"
to use the default name.
17). Now the pairing process has completed. Please
click "Finish".
18). An icon "BSH-150 (1)" will be added after the
pairing process is completed.
19). Right click the Bluetooth icon on the task bar and
select "Service Properties..."
20). Make sure the item "AV Remote Control Service" is
checked and then click "OK". Stereo Audio (Audio
Sink) & Headset Services
Note:
AV Remote Control Service is required in order to
use track control on the Stereo headset.
00057186bda 24.03.2006 8:03 Uhr Seite 16


