41
g
Operating Instruction
2.7.2 Date and time settings
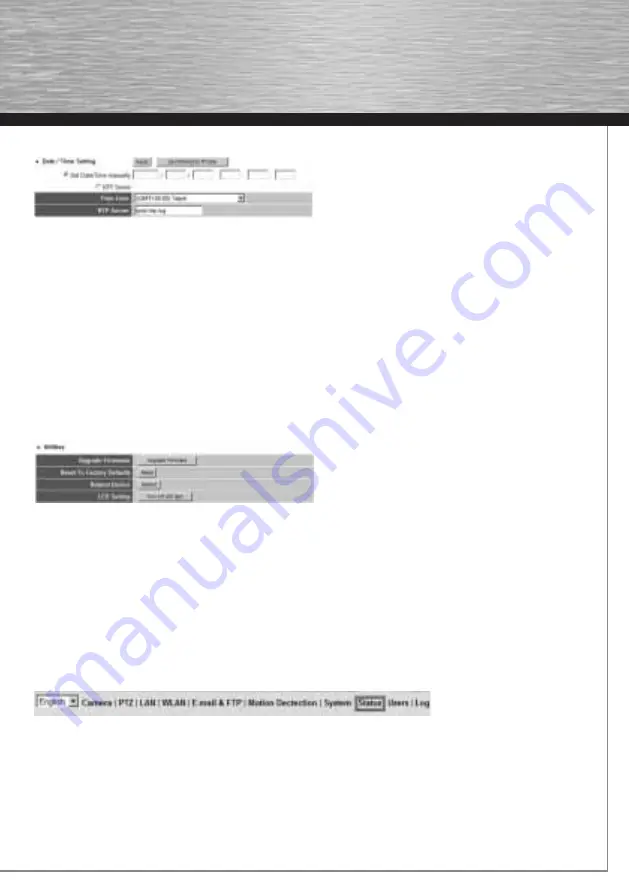
This menu item enables you to change the network camera’s time and date settings.
Click
Synchronise with PC time
to set the network camera’s clock to the same time as your PC’s clock.
You can alter the time and date via
Set time and date manually.
Format: YYYY / MM / DD HH:MM:SS
The system uses the 24-hour clock.
Example:
9th May 2008, 1.50 pm
Clock entry:
2008/05/09 13:50:00
Time zone:
Select the required time zone.
NTP server:
Enter the IP address of an NTP server (Network Time Protocol server) for synchronising the date and time.
You can also use the default server pool.ntp.org.
Confi rm your settings by clicking
Apply.
2.7.3 Tools
This menu item provides you with items designed to assist you, e.g. fi rmware update or camera restart.
Update fi rmware:
If an updated fi rmware is available for downloading on www.hama.de, you can use this tool to update the
camera. Click
Update fi rmware
and then select
FirmwareFile
in the window that appears.
The camera restarts automatically after the latest fi rmware is installed.
Reset to factory settings:
Click
Reset
to return the camera to its factory settings.
Please note: when you reset the camera, the
IP address
switches to
192.168.2.3.
Restart device:
Click Restart to start the camera again
.
LED settings:
You can use this function to turn off the
LAN
and
WLAN LEDs
. When they are deactivated, the camera does
not
indicate that data is being transferred. You can use this function to
activate
the LEDs.
2.8 Status
This menu provides you with important information such as fi rmware version, runtime, IP address or PPPoE connection.


