


7
Afterwards, you are mostly asked to enter
the network
security key
. For reasons of
safety, we advise you against using uncoded
networks.
Click “
Connect
” for confi rmation.
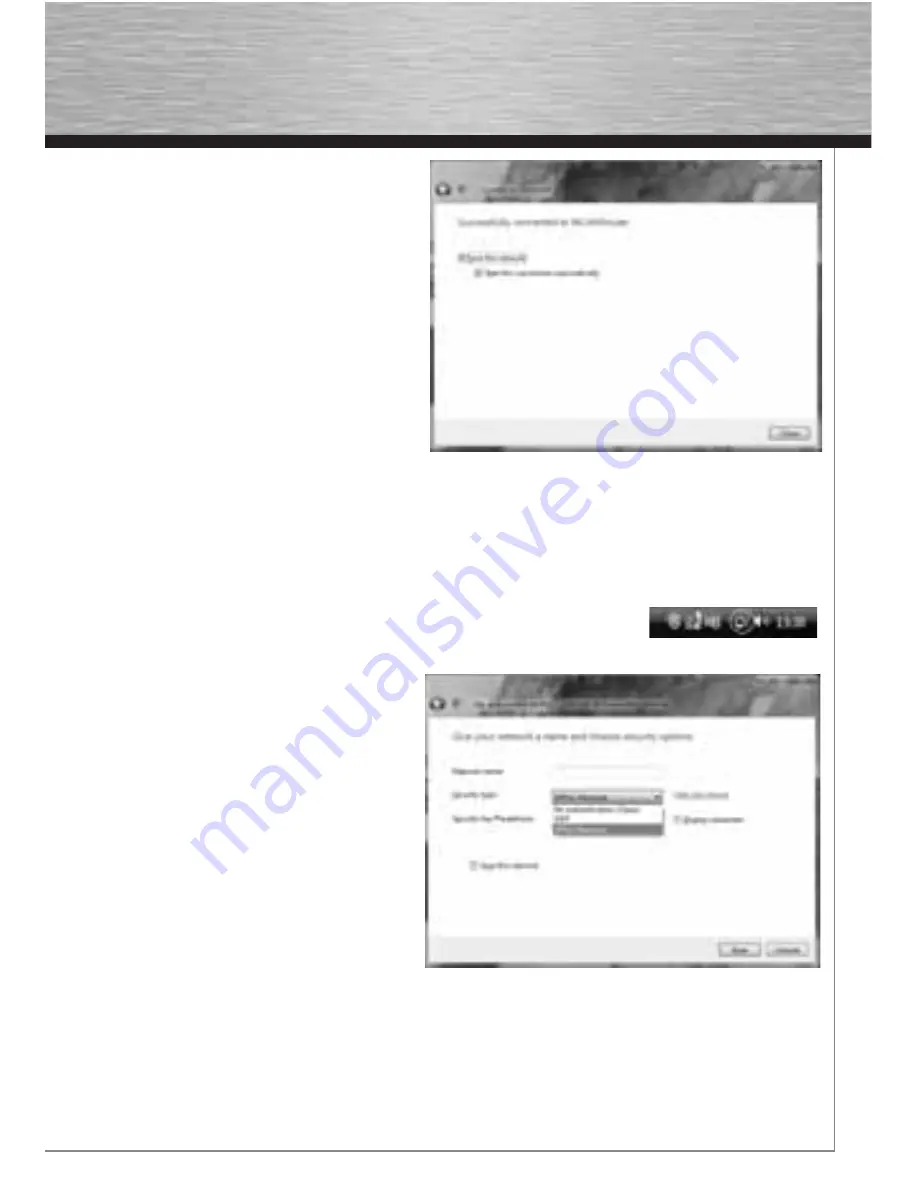
Windows establishes now the connection
to the desired WLAN. Afterwards, you can
store the network and start it automatically
next time. The connection is so automatically
established in future. Finish the confi guration
by clicking with the mouse “
Close
”.
3.2 Setting up an Ad-hoc network
This enables direct connections to another Wireless LAN Client device, e.g. a USB stick or a WLAN PCI
add-in card. No wireless LAN router or Accesspoint is required for this.
If such a network already exists, you can establish a connection with this one as described above.
If it is to be set up a new, so that other users can connect themselves, you have to proceed as descri-
bed below:
Click the symbol with the two computer monitors in the task bar with the
left mouse
button:
Click
“Connect to a network”, “Set up a
connection or network”
and then “
Set up
a wireless Ad hoc (computer-to-computer)
network
”. Confi rm with
-> Next -> Next
.
In the next window, you are asked to enter
data concerning the network name and the
security type. More information is shown
if you move the mouse cursor towards the
appropriate fi eld.
Additional remarks concer-
ning the network name and WPA2 security
key
. Here, you should only use letters from
A-Z, as well as numbers from 0-9.
Confi rm your specifi cations with
-> Next ->
Close
.
Summary of Contents for 00039749
Page 2: ...N O T E B O O K 00039749 WLAN USB Stick 54 Mbps...
Page 14: ...13...


