background image

12

3

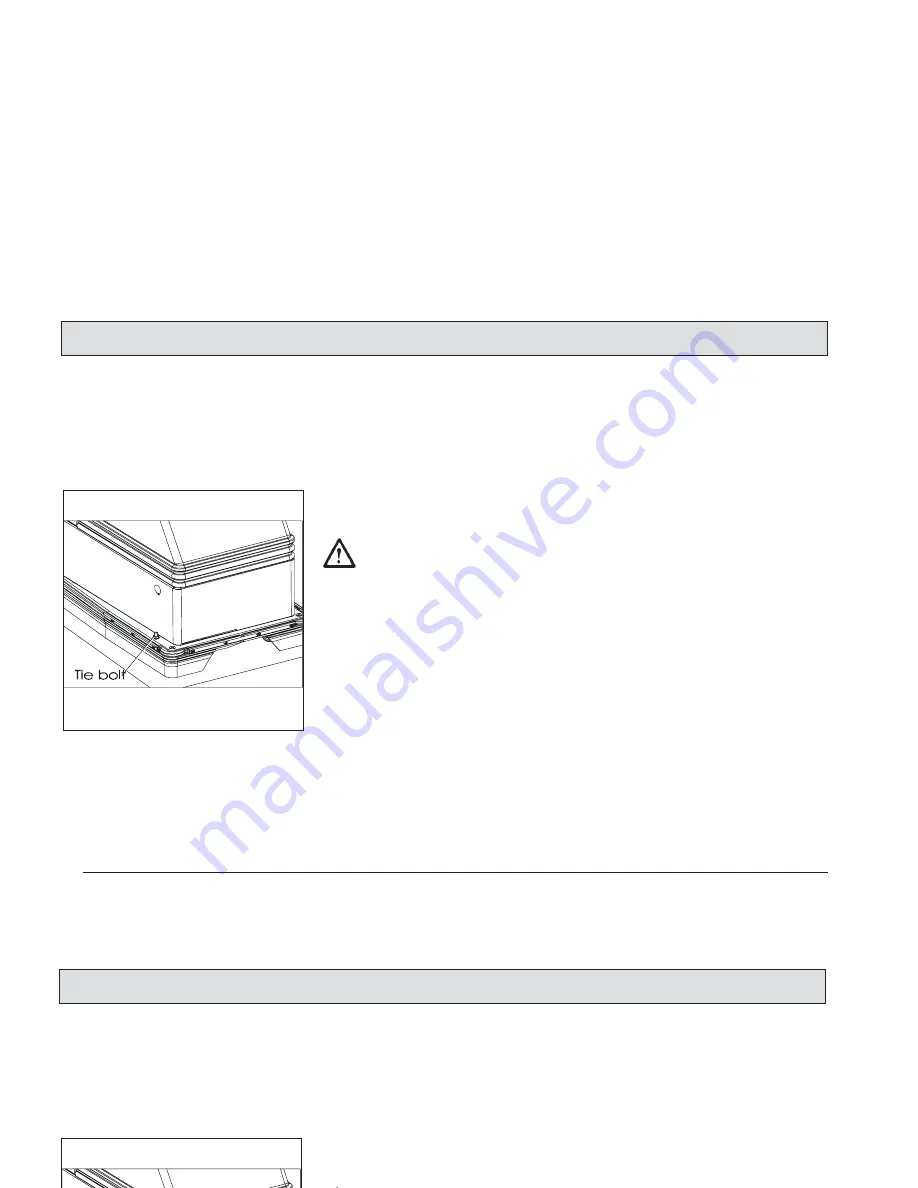
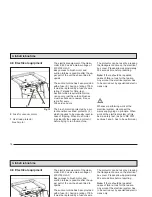
Close the body back and secure it

with screws and Rubber caps. Re-

move the two tie-bolts  outside the

body of the Machine .

4 Take the machine out of the pallette

carefully. Fit the drain hoses 

(2 Nos.) ensuring the position of

hooked end of the hoses. Take the

power cord through the cable retai-

ner.You now can take machine from

the platform.

IMPORTANT

- If the supply cord is

damaged, it must be replaced by a

special cord available from the manu-

facturer or an authorised service

agent.

4. Taking into operation

Fig.10

Summary of Contents for Hakomatic E 430

Page 1: ...Instruction Manual Hakomatic E 430 7324 12...

Page 2: ...ve ral places and identifies particular are as that are of essence for your safety Please pass all safety instruction on to other operators Please comply with the General provi sions for safety chapte...

Page 3: ...confirmed in the Maintenance certificate which is the warranty document The following is excluded from warranty Natural wear and tear after overload fuses and damages caused by inex pert handling and...

Page 4: ...3 1 Mounting of squeegee first time 14 4 3 2 Removal of squeegee 14 4 3 3 Replacement of sealing strips 14 4 4 Water infeed 15 4 5 Operating procedure Hakomatic E 430 16 4 5 1 Soiled and fresh water t...

Page 5: ...as clearly specified by the owner or his authorized representati ve Never leave the machine unattended as long as the motors are running and the machine is not protected against unintended movements T...

Page 6: ...r intervals we recommend a yearly check at least and after modification or repair The Hakomatic must be equipped with brushes and pads as specified by the manufacturer refer to the Technical data para...

Page 7: ...uaran teed Caution Any work at the electrical system e g maintaining or servicing has to be executed by qualified personal only and by means of appropriate tools as for example in Germany in accor dan...

Page 8: ...u to save money and to take care of the environment If there is much foam this will affect the performance of the machine Actually it indicates that there is exces sive dosage or improper suitability...

Page 9: ...n turbine speed selector High suction power When the floor is rough B shall be at this position Low suction power When the floor is smooth B shall be at this position C On off switch for brush motor i...

Page 10: ...not over exert the lever A gentle force is enough to close open 3 3 Pedal for lifting the brush 1 Pedal for lifting brush 2 Speed control lever is used to lift and lower the brush O For lowering first...

Page 11: ...e speed O Take it to the right to decrease speed 3 5 Raising lowering the squeegee O To lower the squeegee move the le ver knob to your left O To raise the squeegee move the le ver knob to your right...

Page 12: ...the fresh water Note The tank requires rinsing at regular intervals Please follow the below Procedure for draining tanks O Slowly open the cap and allow drai nage of the water O Re close the cap O Re...

Page 13: ...movement during transport Remove this screw and check for the up and down move ment of brush motor Also remove the tie bolt indicated 4 Taking into operation Rubber cap screw Fig 8 Fig 9 Screw Tie bo...

Page 14: ...rm IMPORTANT If the supply cord is damaged it must be replaced by a special cord available from the manu facturer or an authorised service agent 4 Taking into operation Fig 10 3 Close the body back an...

Page 15: ...2 Removal of brush O Empty the tanks O Lift the squeegee and the brush O Machine switch on O Turn on switch D for unlocking of Brush O Machine switch off O Press the rear end of the machine downwards...

Page 16: ...Lift the squeegee O Unscrew the stra shaped knob 2 O Remove the squeegee towards the bottom side 1 squeegee 2 star shaped knob 3 squeegee bracket group 1 Knurled nuts 2 supporting strip 3 sealing str...

Page 17: ...ot the suction turbine Can damage by formation of excessive quantities of foam We recommend using our agents for cleaning and care which are adapted to the Hakomatic Those products comply with the pro...

Page 18: ...pe by stripe In case of unoccupied areas it will be useful to Clean at first the border areas passing with the machine along those areas in counterclockwise sense Cleaning of the remaining areas then...

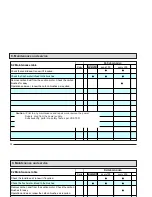
Page 19: ...and rinse the soiled water tank refer to section Soiled add fresh water tanks O Clean the sealing strips at the squeegee O Check the strainer upstream of the intake opening in the fresh water tank cl...

Page 20: ...y 30 seconds time before resetting Note If there should be repeated cases of failure look for the reason Any work at the electrical system has to be carried out by specialized electri cians only Whene...

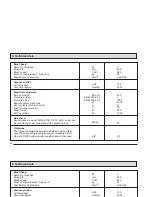
Page 21: ...ate wet Tyre Front wheel dia width Rear wheel dia width Tank capacities Fresh water tank Soiled water tank mm mm mm mm mm m2 h km h kg kg mm mm l l 930 450 750 807 870 430 750 1700 4 76 98 75 28 150 3...

Page 22: ...measured at the operating area Vibrations The frequency weighted acceleration which has an effect upon the upper limbs hand arm system measured accor ding to EN 1033 under normal condition does not e...

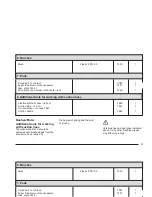
Page 23: ...yoursafyty Brush Plastic PPN 0 5 7433 1 Poly Pad 41 cm braun 7087 1 Super Pad brown also necessary 7437 1 drive plate 7436 Drive plate pad holder with center lock 7436 1 Flexible synthetic hose 300 c...

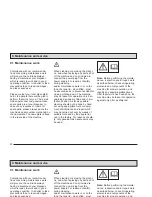
Page 24: ...n As far as possible cleaning should not be done by hand but using appropriate tools or equip ment Maintenance and repair work may be carried out only by means of suitable tools and by the people trai...

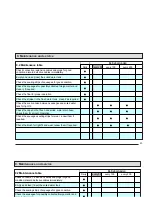
Page 25: ...tank for tight fit O O O Check the caps both of fresh and soiled water drain hose check them for smooth Operation O O O Check the squeegee sealing strips for wear renew them if required O O O Check th...

Page 26: ...9 Maintenance and service Caution Prior to any maintenance and repair work remove the power Supply plug from the power supply Subsequently perform a safety test as per VDE 7001 Daily every 50 every100...

Page 27: ...h hazard Never allow batteries to pollute the environment Risk of con taminating the ground and water In ac cordance with the symbol with the crossed out bin these batteries must not be disposed of in...

Page 28: ...27 10 2010 Dr Rainer Bavendiek Director R D Name of the authorized person who compiles technical documents for Hako Ludger L ttel EC Declaration of Conformity corresponds to EC Directive 2006 42 EC H...

Page 29: ......
Page 30: ...eine saubere und sch nere Umwelt Superior technology for a cleaner and better environment Hako GmbH Hamburger Str 209 239 D 23843 Bad Oldesloe 04531 806 0 Fax 04531 806 338 88 0 2614 11 2010 Printed...

Reviews: