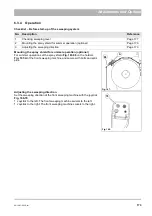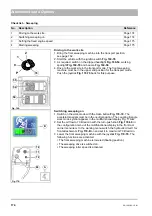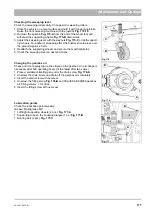
172
06-1491-00-12.fm
Attachments and Options
6.3.3
Assembly
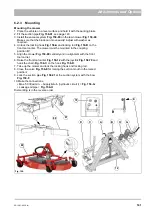
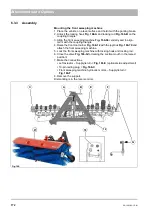
Mounting the front sweeping machine
1 Place the vehicle on a level surface and hold it with the parking brake.
2. Unlock the locking hook
Fig. 166-A
and locking rod
on the
coupling triangle.
3. Align the front sweeping machine
centrally and in align-
ment with the coupling triangle.
4. Raise the front tool carrier
attach the front sweeping machine.
5. Lock the front sweeping machine with locking hook and locking rod.
6. Close the valve
Fig. 166-G
for raising the suction mouth in the raised
position!
7. Make the connections.
•
Left actuator – Supply/return =
(optional side adjustment)
•
19-pin coding plug =
•
Front sweeping machine hydraulic motors – Supply/return =
Fig. 166-F
8. Remove the support.
Dismantling is in the reverse order.
Fig. 166:
A
B
E
C
F
G
Summary of Contents for Citymaster 1600
Page 22: ...22 01 1491 00 12 fm Safety Instructions G A B D E F Fig 3 C F C E C D G A B A...
Page 26: ...26 02 1491 00 11 fm Operation Fig 5 25 23 16 18 17 19 22 21 20 24 26 27...
Page 30: ...30 02 1491 00 11 fm Operation Fig 7 62 63 61 67 55 50 51 54 53 52 58 57 59 60 65 64 66 68 56...
Page 32: ...32 02 1491 00 11 fm Operation Fig 8 75 69 78 73 72 79 80 81 82 83 74 77 70 71 76 84...
Page 85: ...04 1491 00 11 fm 85 Technical Data 4 Technical Data Fig 80 3830 1600 941 1210 975 1964...
Page 146: ...146 06 1491 00 12 fm Attachments and Options 6 1 5 Technical data Fig 144 2215 4510 1580 2250...
Page 220: ...220 06 1491 00 12 fm Attachments and Options...


