Haier LE32D2000 User Manual Download Page 6


Finished.

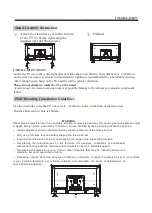
Stand Assemble Instruction

INSTALLATION

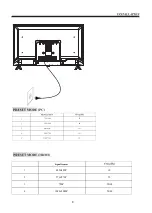
Attach the stand base set to the bottom
of the TV by firmly tightening the
supplied 4pcs 4x18mm screws.

INSTALLATION NOTES

Locate the TV in a room where light does not strike the screen directly. Total darkness or  a reflection 
on the screen can cause eyestrain. Soft and indirect lighting is recommended for comfortable viewing.  
Allow enough space between the TV and the wall to permit ventilation. 

Please do not attempt to rotate the TV on the stand.

Avoid excessively warm locations to prevent possible damage to the cabinet or premature component 
failure.  

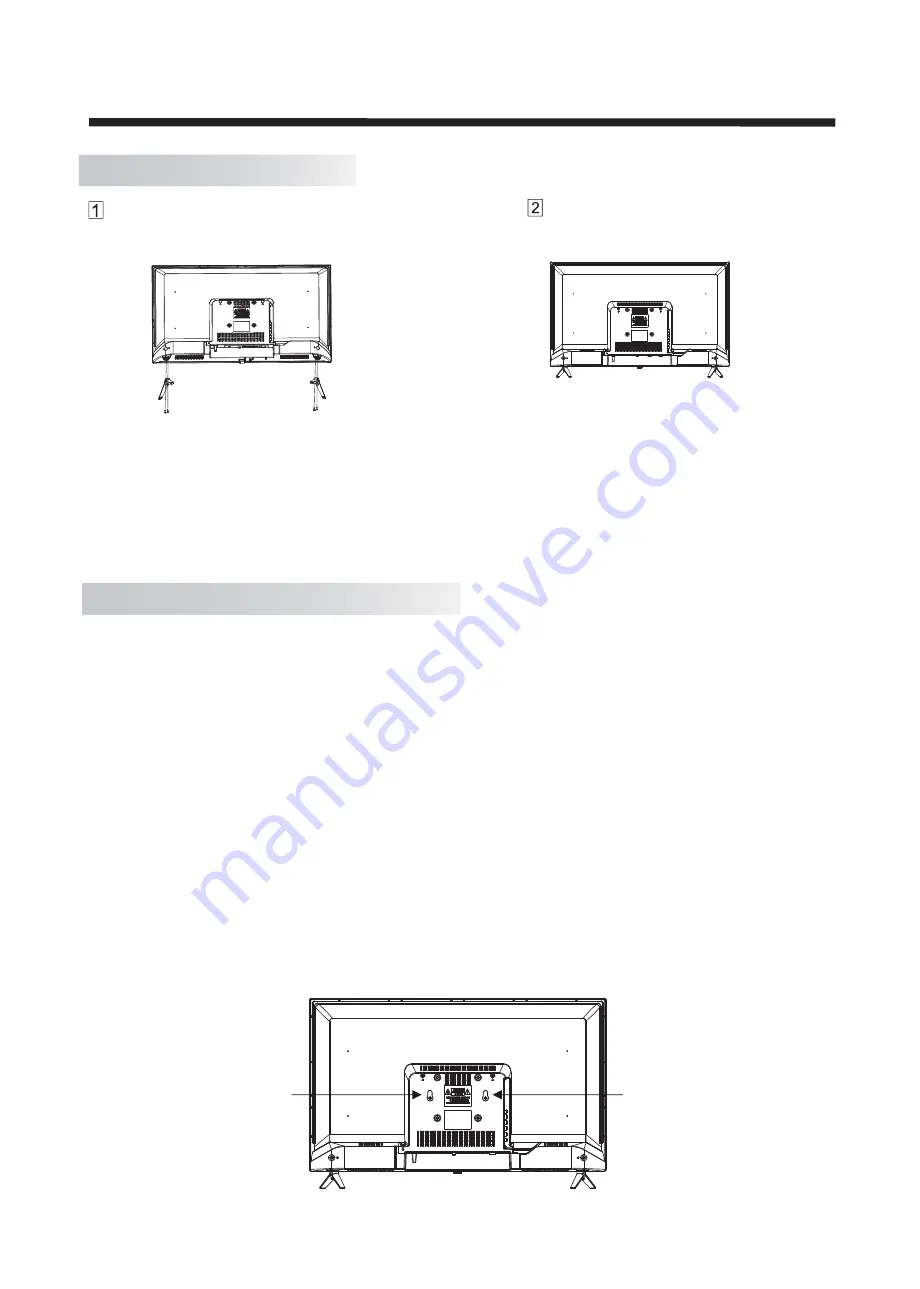
Wall Mounting Installation Guidelines

Use the two roller  to fix the TV onto a wall   via the two   

WARNING

Never place a television set in an unstable location. A television set may fall, causing serious personal injury

or death. Many injuries, particularly to children, can be avoided by taking simple precautions such as:

Using cabinets or stands recommended by the manufacturer of the television set.

Only using furniture that can safely support the television set.

Ensuring the television set is not overhanging the edge of the supporting furniture.

Not placing the television set on tall furniture (for example, cupboards or bookcases)
without anchoring both the furniture and the television set to a suitable support.

Not placing the television set on cloth or other materials that may be located between the
television set and supporting furniture.

Educating children about the dangers of climbing on furniture to reach the television set or its controls.

If your existing television set is being retained and relocated, the same considerations as
above should be applied.


5

holes on the back of the television.

Distance between two hole is 160mm.

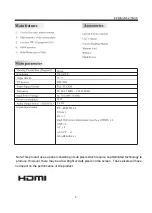
Summary of Contents for LE32D2000

Page 1: ...LE32D2000 ...

Page 2: ...1 Contents 1 Safety and warnings 2 2 Introduction 3 4 4 Installation 5 5 Remote Controller 1 6 TV Operation 11 Trouble shooting 16 10 ...

Page 3: ...2 ...

Page 4: ...3 If you are going to clean the product Unplug the TV use soft fabric no water never chemicals ...

Page 5: ... which require sophisticated technology to produce However there may be a few bright or dark pixels on the screen These pixels will have no impact on the performance of the product 50W 2 x 8W Aspect Ratio PAL BG 80cm 768 x 1366 1 x AV OUT 1 x HEADPHONE PC AUDIO x 1 VGA x 1 2 AV 2 2 Main features ...

Page 6: ...on set may fall causing serious personal injury or death Many injuries particularly to children can be avoided by taking simple precautions such as Using cabinets or stands recommended by the manufacturer of the television set Only using furniture that can safely support the television set Ensuring the television set is not overhanging the edge of the supporting furniture Not placing the televisio...

Page 7: ...6 AV OUT HDMI1 HDMI2 VGA PC AUDIO RF AV1 AV2 USB1 USB2 HEADPHONE POWER AV OUT 2 USB2 USB1 AV1 AV2 P P V V SOURCE MENU POWER ...

Page 8: ... OUT 2 RF 7 STEPS Be sure both the TV and computer are Power off 1 Connect VGA and audio cable 2 Connect power cord 3 Power on the TV switch to PC mode 4 Power on the PC This sequence is very important PC ...

Page 9: ...640 480 720 400 70 60 5 480i 480P 60 1 50 2 3 4 576i 576P 720P 50 60 1080i 1080P 50 60 8 Signal format ...

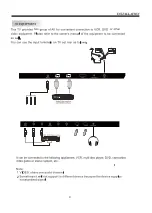
Page 10: ...9 2 AV OUT 2 USB2 USB1 AV1 AV2 two ...

Page 11: ...BTITLE SPEAKER This button changes the TV between different display modes Press to On Off ECO mode This button enables the sleep function so the TV turns itself off after the designated time Press to On Off subtitle in USB mode Press to On Off speaker of TV AV HDMI mode in ATV ...

Page 12: ...SOUND MENU The second item of the MENU is the SOUND MENU You can adjust the sound effect here such as treble bass balance etc 1 CHANNELMENU The third item of the MENU is CHANNEL MENU You can search channels and edit programs here Press to move press OK or button to enter 11 Power audio PA This control helps to increase decrease speaker output of external speakers EQ Setting Equalizer settings are p...

Page 13: ...uning Search all the TV channels automatically Hot Key Description Press RED button to delete the channel selected Press GREEN button to skip the channel selected Press BLUE button to move down the channel Press FAV buttonto set the favorites channels Press YELLOW button to rename the channel selected 12 NOTE When the System Lock is on please input the PIN code to unlock 4 Lock menu You canlock an...

Page 14: ...ure that the USB device have plugged in the slot There are four item can be selected such as photo music movie and text Select the item by pressing press OK button to enter the disk selection menu In the movie mode when you use FB FF function The audio may be pause in several seconds to synchron ize the audio signal and video signal NOTE When the USB device isn t supported it may be that the power...

Page 15: ...lay the Info MENU NOTE Music function need to put music and picture in the same folder 14 Press the OK to display media files and folder list or choose Return to back to the media type selection menu Select the media file by pressing or then the preview frame will pop up Press the button to play the media file in full screen When the media file pho to music movie is playing press the OK OK or button c...

Page 16: ...e file 4 Select desired USB drive to paste the copied file USB to USB Copy Delete files Copy files from one USB to another USB by remote control Insert the USB1 to Port1 and USB2 to Port2 and vice versa Then select the file by remote Do not Play the file while use the copy feature 3 Press RED key to copy file 1 Select either Photo Music Text Movie in USB source depending upon the file to be transfer 2 Go ...

Page 17: ...16 ...

Page 18: ...Toll Free No 24X7 1800 200 9999 1800 102 9999 ...

Reviews: