26
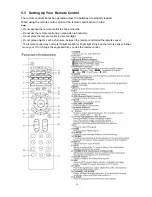
figure above by
②
Then remove the power module
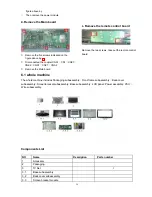
4. Remove the Main board
①
Remove the five screws indicated on the
figure above by
②
Disconnected the coupler CNA1
、
CN1
、
CNE1
、
CNE2
、
CND1
、
CNC1
、
CNA2
③
Remove the Main board
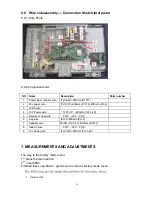
6.1 whole machine
The whole machine includes Packaging subassembly
、
Front-frame subassembly
、
Back-cover
subassembly
、
Screen bracket subassembly
、
Base subassembly
、
LCD panel
、
Power assembly
(
PSU
)、
Wire subassembly.
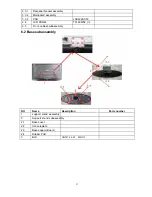
Components List
NO
Name
Description
Parts number
1 Accessory
2 Packaging
3
TV Set
/
3.1 Base subassembly
3.2 Back cover subassembly
3.3 Screen bracket module
6
.
Remove the remote control board
Remove the two screws, take out the remote control
board
Summary of Contents for L32R1, L40R1, L42R1
Page 1: ...1 HL32R B MTK5380 AU ...
Page 8: ...8 3 2 2 Connector definition Power connector CNA1 MTk5380 ...
Page 15: ...15 ...
Page 16: ...16 ...
Page 17: ...17 ...
Page 18: ...18 ...
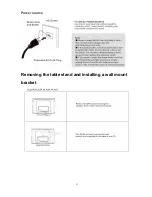
Page 21: ...21 Power source Removing the table stand and installing a wall mount bracket ...
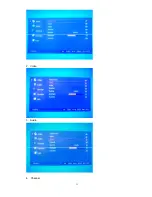
Page 31: ...31 2 Video 3 Audio 4 Channel ...
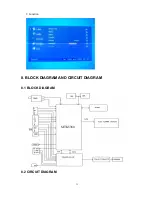
Page 32: ...32 5 Gamma 6 BackLight ...
Page 49: ......
Page 50: ...50 10 TROUBLE SHOOTING GUIDE 10 1 Simple check 10 1 1 LCD is not bright 10 1 2 No picture ...

