13
18
MOVE
SELECT MENU RETURN
FUNCTION
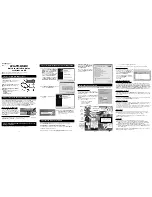
G B
PG B
PG-13 B
R B
NC-17 B
X B
MOVE
SELECT MENU RETURN
FUNCTION
CHANGE
P.G.
ON
TV RATING
MOVIE RATING
PARENTAL CONTROL
MOVIE RATING SETTING
1.Press CH+/- button to select MOVIE RATING item.
2. Press VOL+/- button to enter MOVIE RATING menu.
3. Press CH+/- button to move the cursor to the
rating you need to set in MOVIE RATING menu,
press VOL+/- button to set it U or B.
OTHER FUNCTIONS
HOW TO ENTER AV1, AV2, S-VIDEO, YPbPr,
VGA AND HDMI
1.Press TV/AV button on the remote control to
enter the display as indicated in the menu at the right.
2.Press CH+/- button or press TV/AV button on the
remote control to select TV, AV1, AV2, S-VIDEO,
YPbPr, VGA or HDMI.
HOW TO SET AV1, AV2, S-VIDEO or YPbPr MENU
AV1, AV2, S-VIDEO or YPbPr settings are similar to TV.
Please refer to TV mode menu.
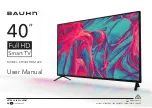
HOW TO SET VGA
PICTURE
1. Press MENU button to select PICTURE menu.
2. Press CH+/- button to select the item that needs adjust.
3. Press VOL+/- button to adjust the selected item.
Note: COLOR-R, COLOR-G and COLOR-B are used
to adjust the color temperature.
SOURCE
TV
AV1
AV2
S-VIDEO
YPbPr
VGA
HDMI
PICTURE
MOVE
SELECT MENU RETURN
WARM
PICTURE MODE PERSONAL
CONTRAST
BRIGHTNESS
COLOR TEMP.
COLOR-R
COLOR-G
COLOR-B
OTHER FUNCTIONS
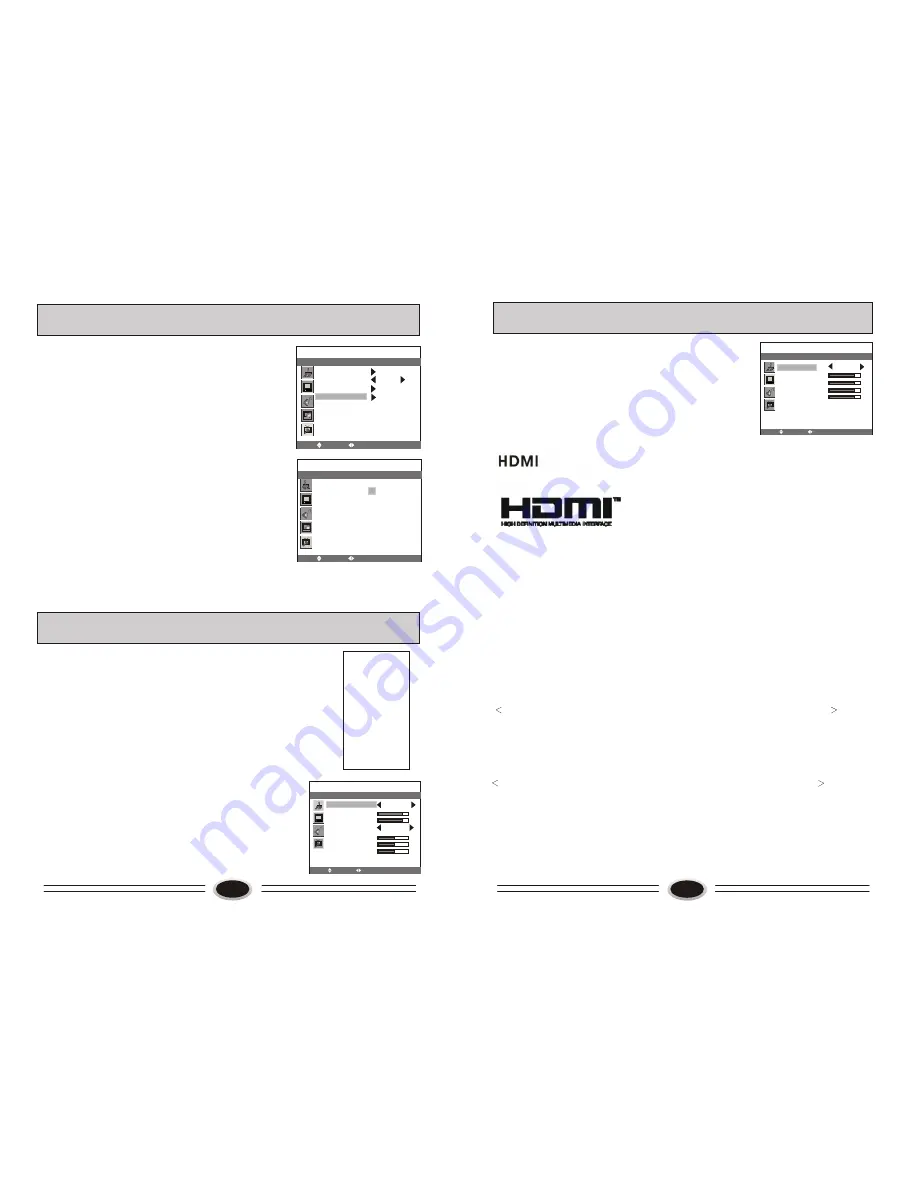
HOW TO SET VGA
SCREEN
1. Press MENU button to select SCREEN menu.
2. Press CH+/- button to select the item that needs adjust.
3. Press VOL+/- button to adjust the selected item.
Notes: The others menu setting is similar to TV. Please
refer to TV mode menu.
SCREEN
MOVE
SELECT MENU RETURN
SIZE MODE NORMAL
H-POSITION
V-POSITION
PIXEL CLOCK
PHASE
AUTO ADJUST
- HDMI
. The HDMI logo and High-Definition Multimedia Interface is a trademark
or registered trademark of HDMI Licensing.
-This TV can receive the High-Definition Multimedia Interface (HDMI).
-This TV supports HDCP (High-bandwidth Digital Contents Protection) Protocol for
720x480p, 1280x720p, and 1920x1080i resolution.
To get the best picture quality, adjust the DVD Player or Set Top Box’s output resolution
to 1280x720p, and the PC graphics card’s output resolution to 1024x768, 60Hz.
-If the source device has an HDMI output, no other audio connection are necessary
because HDMI-to-HDMI connecting includes both video and audio connections.
-If the source device has a DVI output and no HDMI output, a separate connection is
necessary.
How To Connect
When the source device (DVD player or Set Top Box) supports HDMI
1. Connect the source device to HDMI port of this TV with an HDMI cable (not
supplied with this product).
2. No separate audio connection is necessary.
When the source device (DVD player or Set Top Box) supports DVI
1. Connect the DVD to HDMI port of this TV with a HDMI-to-DVI cable (not supplied
with this product).
TM
13
19