12
SOUND CONTROL
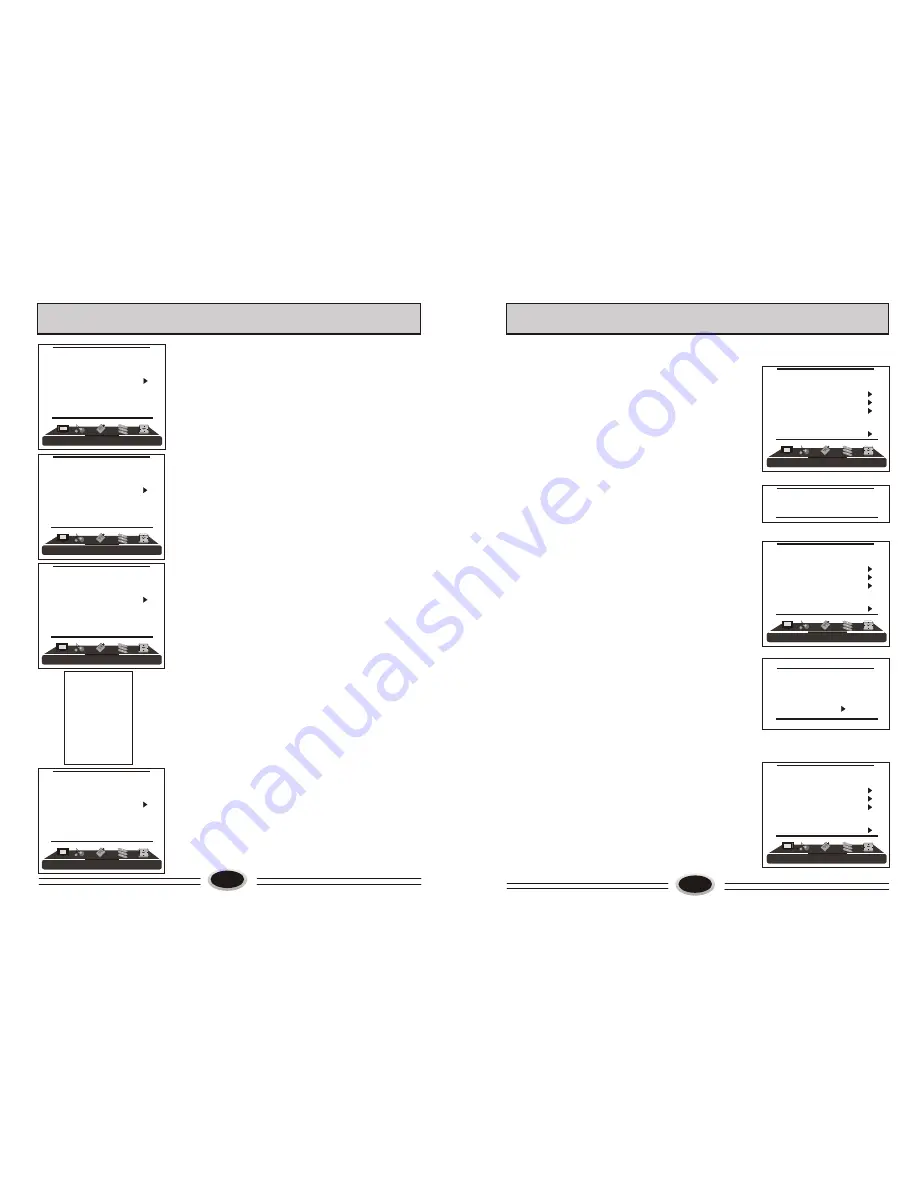
SOUND
SOUND
STANDARD
BALANCE 50
AVC ON
EQUALIZER
SURROUND ON
DIGITAL BASS ON
SOUND MODE
1.Press MENU button to make the main menu display.
2.Press VOL+/- button to select SOUND menu.
3.Press CH+/- button to select SOUND item.
4.Press VOL+/- button to select STANDARD, NEWS,
USER or MUSIC.
Note: You can also press S.STD button on the remote
control to select the sound modes.
BALANCE
1.Press MENU button to make the main menu display.
2.Press VOL+/- button to select SOUND menu.
3.Press CH+/- button to select BALANCE item.
4.Press VOL+/- button to adjust the value.
AUTOMATIC VOLUME CONTROL
1.Press MENU button to make the main menu display.
2.Press VOL+/- button to select SOUND menu.
3.Press CH+/- button to select AVC item.
4.Press VOL+/- button to select ON or OFF.
EQUALIZER
1.Press MENU button to make the main menu display.
2.Press VOL+/- button to select SOUND menu.
3.Press CH+/- button to select EQUALIZER item.
4.Press VOL+/- button to enter.
5.Press CH+/- button to select different frequency.
6.Press VOL+/- button to adjust.
SURROUND
1.Press MENU button to make the main menu display.
2.Press VOL+/- button to select SOUND menu.
3.Press CH+/- button to select SURROUND item.
4.Press VOL+/- button to select ON or OFF.
DIGITAL BASS
1.Press MENU button to make the main menu display.
2.Press VOL+/- button to select SOUND menu.
3.Press CH+/- button to select DIGITAL BASS item.
4.Press VOL+/- button to select ON or OFF.
SOUND
SOUND
STANDARD
BALANCE 50
AVC ON
EQUALIZER
SURROUND ON
DIGITAL BASS ON
SOUND
SOUND
STANDARD
BALANCE 50
AVC ON
EQUALIZER
SURROUND ON
DIGITAL BASS ON
SOUND
SOUND
STANDARD
BALANCE 50
AVC ON
EQUALIZER
SURROUND ON
DIGITAL BASS ON
50
90
75
80
100
70
300
80
1K 30
3K 50
5K 80
10K 70
15K 60
13
FUNCTION SETTING
FUNCTION
LANGUAGE ENGLISH
BLUE SCREEN OFF
OSD SETTING
IMAGE POSITION
ADVANCE
SAVE MODE AUTO
CLOSED CAPTION OFF
PARENT CONTROL
BLUE SCREEN
1.Press MENU button to make the main menu display.
2.Press VOL+/- button to select FUNCTION menu.
3.Press CH+/- button to select BLUE SCREEN item.
4.Press VOL+/- button to select ON or OFF.
OSD SETTING
1.Press MENU button to make the main menu display.
2.Press VOL+/- button to select FUNCTION menu.
3.Press CH+/- button to select OSD SETTING item,
press VOL+/- button to enter the sub-menu.
4.Press CH+/- button to select DUARA. item,
5.Press VOL+/- button to adjust the duration time, and
you can adjust the time from 5s to 60s.
6.Press CH+/- button to select the HALF TONE
item, the larger the value is , the higher the
half tone is.
7.Press MENU button to save and exit.
IMAGE POSITION
1.Press MENU button to make the main menu display.
2.Press VOL+/- button to select FUNCTION menu.
3.Press CH+/- button to select IMAGE POSITION item,
press VOL+/- button to enter the sub-menu.
4.Press CH+/- button to select H-POSITION or
V-POSITION item, press VOL+/- button to adjust the
image position in horizontal or vertical direction.
5.Press CH+/- button to select AUTO item, pressing
VOL+/- button can adjust the image position
automatically. If the arrow changes from green to
yellow, it shows that the automatic adjustment finishes.
6.In VGA mode, if you don’t get a satisfactory automatic
adjustment effect, you can select PHASE, CLOCK to
adjust the image properly.
ADVANCE
Using this function can improve the quality and
expressive force of image.
1.Press MENU button to make the main menu display.
2.Press VOL+/- button to select FUNCTION menu.
3.Press CH+/- button to select ADVANCE item,
press VOL+/- button to enter the sub-menu.
DUARATION 15S
HALT TONE 50
FUNCTION
LANGUAGE ENGLISH
BLUE SCREEN OFF
OSD SETTING
IMAGE POSITION
ADVANCE
SAVE MODE AUTO
CLOSED CAPTION OFF
PARENT CONTROL
FUNCTION
LANGUAGE ENGLISH
BLUE SCREEN OFF
OSD SETTING
IMAGE POSITION
ADVANCE
SAVE MODE AUTO
CLOSED CAPTION OFF
PARENT CONTROL
H-POSITION 48
V-POSITION 31
PHASE 100
CLOCK 55
AUTO
Summary of Contents for HLA26
Page 3: ......


