


19
MultiMedia Menu:
12.
This option shows
the photos in JPEG formats and plays the
music in MP3 formats that stored in a USB
storage device.
Note: File number is limited to 1000 files.
JPEG sizes are limited as followed:
For 19"/32": 10928x6114
For 24"/42": 15360x8640
There are two ways to enter JPEG Viewer
and MP3 MusicBox interface:
After plugging USB storage device into
•
USB hub, Multimedia List menu will
display.
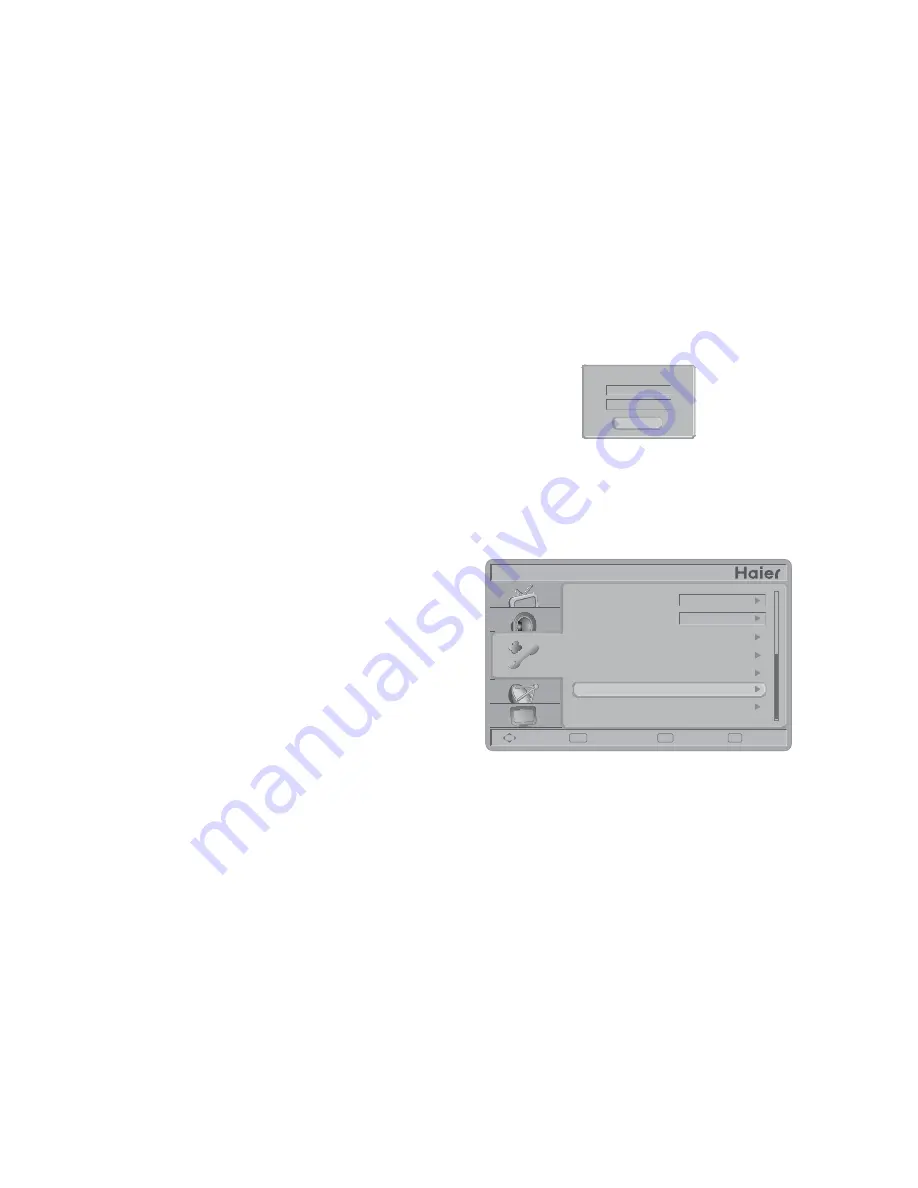
Multimedia List
1. JPEG Viewer
2. MP3 MusicBox
Exit
Select MultiMedia Menu in Feature
•
Menu to choose JPEG Viewer or MP3
MusicBox. These two items are activated
only if the USB storage device is plugged
into the USB hub.
ENTER
Exit
Menu
FEATURE
Move
Select
Return
Exit
Digital Captions
Digital Captions Setup
Analog Captions
English
English
Component Setting
Input Labels
MultiMedia Menu
Reset To Default
[JPEG Viewer]
– Press Menu to display
control menu. Press Enter to enlarge the
selected photo (orange frame) in browser.
Image Delay:
•
Set display time for each
picture in slide show. There are three
options: Fast, Slow, and Normal.
Music On Slide Show:
•
Enable
background Music during slide show. It
will play with the MP3 file sequence in
current folder repeatedly. Music On Slide
Show item will be grayed out if there is
no MP3 file in current folder.
Start Slide Show:
•
Enter Slide Show
mode.
Rotate Photo:
•
Rotate selected picture.
(0/90/180/270)
[Size]
– Digital closed caption font size,
which can be set as Automatic, Small,
Normal, or Large.
[Font]
– Digital closed caption font style,
which can be chosen as Automatic, Default,
or Font 1 ~ 7.
[Text Color]
– Automatic / White / Red
/ Green / Blue / Yellow / Magenta / Cyan /
Black.
[Text Opacity]
– Automatic / Solid /
Flashing / Transparent / Translucent.
[Background Color]
– Automatic /
Black / White/ Red / Green / Blue / Yellow /
Magenta / Cyan.
[Background Opacity]
– Automatic /
Solid / Flashing / Transparent / Translucent.
[Edge Effect]
– Automatic / None
/ Raised / Depressed / Uniform / Left
Shadow / Right Shadow.
[Edge Color]
– Automatic / Red / Green
/ Blue / Yellow / Magenta / Cyan / Black /
White.
Input Labels:
10.
User can edit the input
labels.
Component Setting:
11.
This option only
shows and is available in component mode,
which provides fine tuning component
display.
[Phase]
– Adjust Picture Phase to reduce
Horizontal-Line noise. The tuning range is
from 0 to 31.
[Preset]
– Restore the default component
setting values.
Summary of Contents for HL32D2
Page 27: ......
Page 28: ...R 01 0090506421A...


