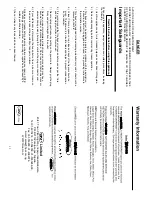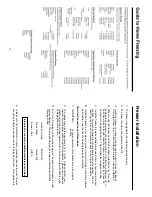
Freezer Installation
1)
The freezer is designed for free-standing installation only.
2)
The freezer should not be recessed or built in.
3)
Install the freezer on a base strong enough to support it when fully loaded.
Ensure the freezer is on a stable surface to minimise noise and vibration.
4
)W
hen moving the freezer, never tilt at an angle more than 45
o
as this could
damage the compressor and freezer system. If the freezer is tilted over 45
o
, or
has been stored on its side, allow the freezer to stand upright for at least 24
hours prior to plugging it back in. This will allow the refrigerant to settle.
5)
Install the freezer in a well-ventilated area away from any heat source or direct
sunlight. Air must be allowed to circulate freely around the freezer. Allow at
least 3inches (7.5cm) of clearance space for the top, back and sides.
6)
Install the freezer in a dry place to prevent rust from forming on the compartment
body and to avoid the risk of damaging the electric insulation.
Electrical Connection and Precautions
1)
IMPORTANT –
For personal safety, this appliance must be properly
earthed.
2)
The voltage range for this appliance is 187v – 242v. In the event that your
regional power supplier cannot meet this requirement, please use a safe and
reliable automatic voltage regulator with a minimum output of 500W to avoid
damaging the compressor.
3)
A 13 Amp, 3 pin plug and 5 Amp fuse only must be used for this freezer to avoid
serious damage. The plug should always be wired in accordance with the
following codes:
Green and Yellow
EARTH (E)
Blue or Black
Neutral (N)
Brown or Red
LIVE (L)
It is safest to consult a qualified electrician at all times
4)
In the event of an electrical short circuit, grounding reduces the risk of electric
shock by providing an escape wire for the electrical current. This appliance is
1)
2)
3)
1)
2)
3)
4)
5)
6)
4)
5
12

