4500 Series Surface Vertical Rod Exit Device
Installation Instructions
Grade 1
I-ED00792
REV 3
Page 8 of 11
10. INSTALL TOP ROD
11. ADJUST AND TEST INSTALLATION
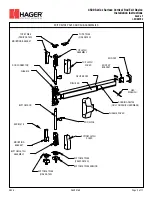
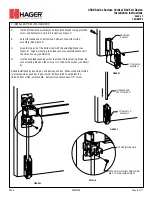
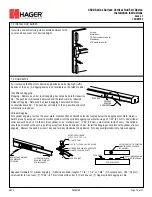
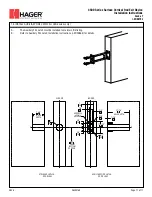
Remove top latch cover and mounting bracket from top latch assembly. Fold and apply template to door using edge of door and face of top stop. Mark and drill holes as shown on template for both top latch bracket and strike. Be sure the vertical centerline for the top latch mounting holes is 2 7/16” from the edge of door. Install top mounting bracket.
- For metal doors, drill and tap for 1/4”-20 machine screws.
- For wood doors, pre-drill 1/8” holes.
- ?For Sex Bolts, drill 5/16” clearance holes on exit device side (push side) and 3/8” on pull side.
A.
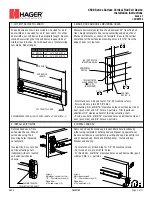
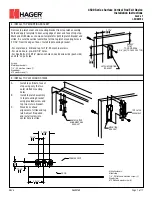
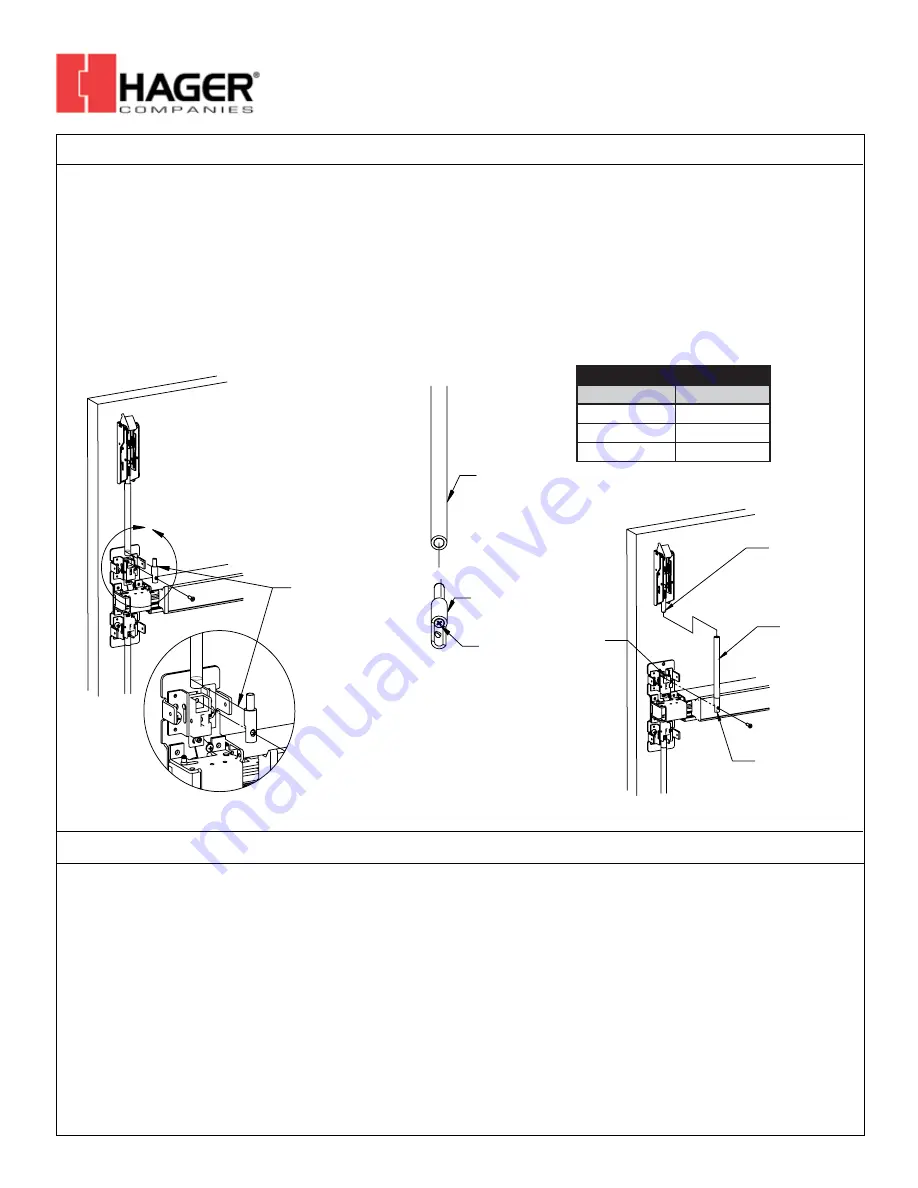
Thread top rod half-way onto top latch threaded connector (see Figure 1).
B.
Use the provided machine screw to attach rod connector onto actuating block, but do not attach top rod and rod connector
yet. Align the edge of rod connector next to top rod and mark a cutting line on top rod. Be sure the top latch is not
actuated and exit device push bar is not depressed (see figure 1).
C.
Remove top rod and cut top rod with hack saw or metal cutting saw blade. Deburr edges.
D.
Insert rod connector into end of top rod that was just cut and deburred. Tighten screw on rod connector until the rod
connector is securely fastened to the top rod (see figure 2).
E.
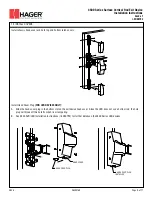
Be sure top latch is in the locked position (Not retracted). Thread top rod half-way onto top latch threaded connector.
Fasten bottom end of top rod onto actuating block on exit device chassis. This may require raising or lowering the top rod
by threading it clockwise or counterclockwise on the top latch threaded connector (see figure 3).
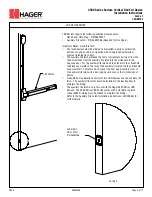
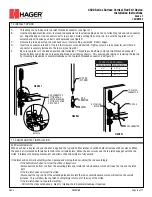
Exit Device Operation:
When push bar is depressed and the door is opened, the top and bottom latches should be held retracted until door closes. When
the push bar is released both latches remain in the retracted state. When the door closes and the top latch engages with the top
strike, it releases the holding mechanism and allows the bottom latch to fully extend.
If the latches do not work smoothly when opening and closing the door, adjust the rod accordingly:
If the bottom latch does not clear the strike or threshold:
-Disconnect the bottom rod from the actuating plate and rotate the rod clockwise, which will raise the rod and the latch
bolt.
If the top latch does not clear the strike:
-Disconnect the top rod from the actuating block and rotate the rod counterclockwise, which will shorten the overall
distance. This will allow the top latch to completely rotate out of the way of the strike.
If the top latch does not operate smoothly:
- Perform the steps noted above. Also try rotating the rod counterclockwise if required.
TOP ROD
(CUT END)
ROD
CONNECTOR
SCREW
FIGURE 2
A
DETAIL A
ROD CONNECTOR
CUTTING EDGE -
USE FOR MARKING
CUTTING LOCATION
ON TOP ROD
FIGURE 1
TOP LATCH
CONNECTOR
TOP ROD
ROD CONNECTOR
ACTUATING
BLOCK
FIGURE 3
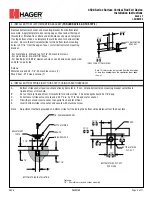
TYPICAL TOP ROD LENGTH
DOOR HEIGHT
ROD LENGTH
6’-8”
29 1/4”
7’
33 1/4”
8’
45 1/4”
26490169


