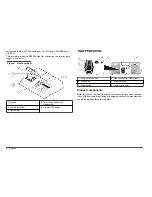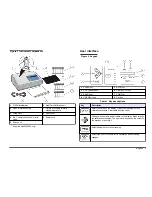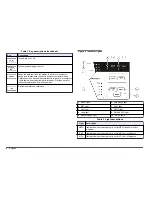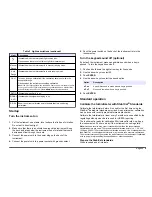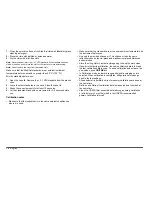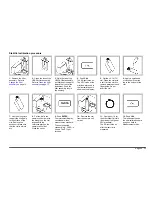
Change the filter assembly
N O T I C E
The filter assembly is fragile and must be handled with care to prevent damage.
1.
Hold the tab of the filter assembly and pull straight up and out of the
instrument.
2.
Store the filter assembly in a clean container.
3.
Before installation, clean the lens of the filter assembly. Refer to
Clean the filter assembly
on page 15.
4.
Hold the tab of the filter assembly with the arrows pointing toward the
front of the instrument.
5.
Push the filter assembly fully into the housing.
Clean the filter assembly
Note: Be careful not to push the lens out of the filter assembly.
1.
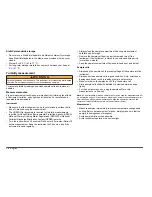
Clean both sides of the lens of the filter assembly with glass cleaner,
lens cleaner or isopropyl alcohol, and a cotton-tipped swab or lens
tissue.
2.
Inspect the filter glass for scratches or other damage.
3.
If a cloudy circle is seen around the edge of the filter, the filter
material is delaminating. Replace the filter assembly.
Replace the lamp
C A U T I O N
Wear protective eye wear when the lamp is turned on and the lamp cover is
removed.
C A U T I O N
Burn hazard. The lamp must be cool before removal from the instrument.
Notes:
• Replace the lamp with the same size, style and electrical rating
(4708900).
• Do not touch the lamp as oil from skin will damage the lamp. Clean
the lamp with alcohol as necessary.
• Either lamp lead can be put in either terminal block position.
• Turn the instrument on 30 minutes (Ratio on) or 60 minutes (Ratio off)
before measurement or calibration.
• Calibrate the instrument after the lamp is replaced.
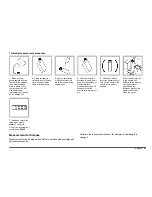
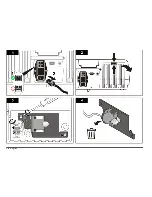
To remove the lamp, refer to the illustrated steps.
To install the lamp, do the illustrated steps in the opposite direction.
English
15
Summary of Contents for 2100N
Page 2: ...English 3 Fran ais 20 Espa ol 38 2...
Page 16: ...1 16 English...
Page 34: ...1 34 Fran ais...
Page 53: ...1 Espa ol 53...
Page 57: ......


