12
Figure 23:
Plastic filter
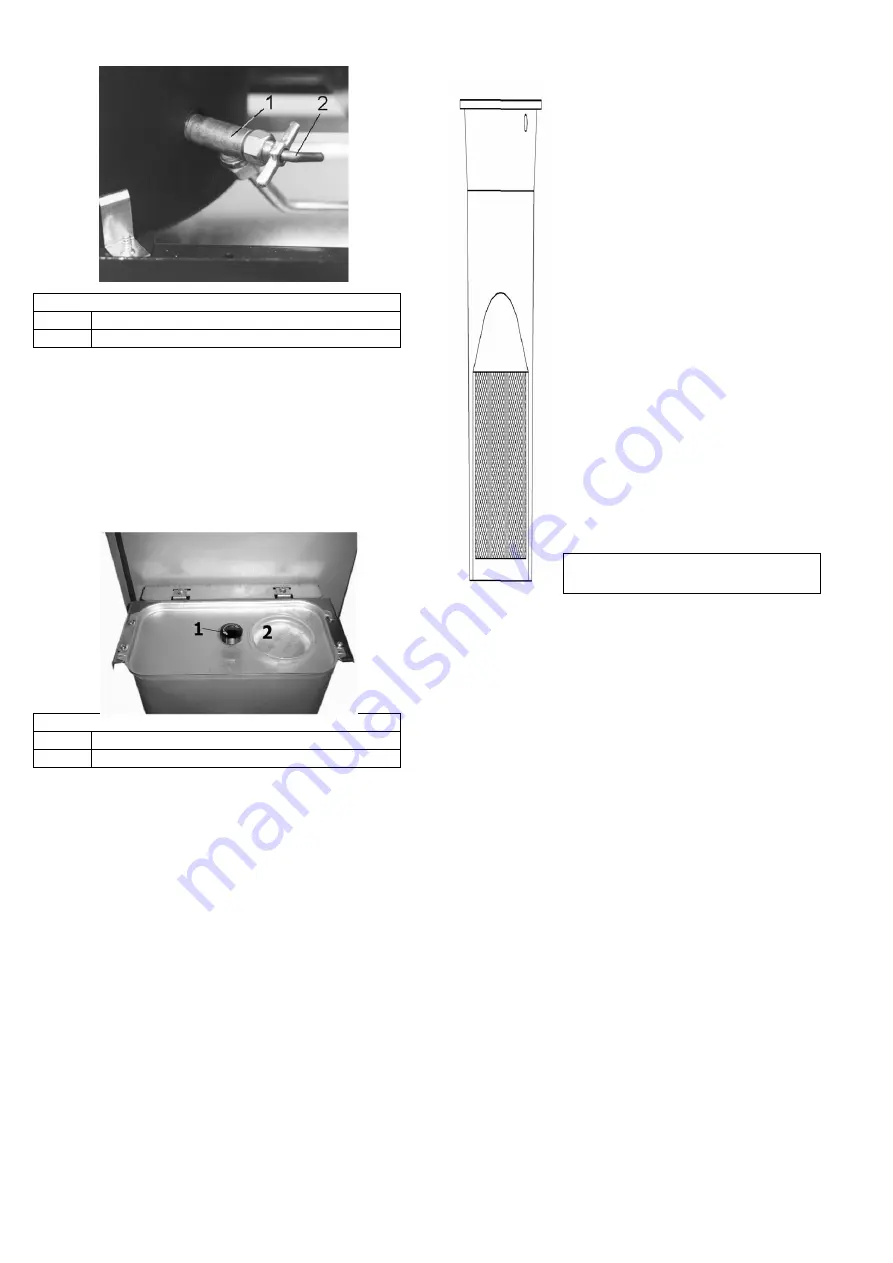
Figure 21
1
Inlet spigot
2
Cleaning crank
12.2. Cleaning the oil-carrying parts
Before working on the oil controller (make: TOBY DVR)
it is always necessary to close the tank shut-off valve
(see Figure 22) or, with central oil supply, the quick
closing valve before the stove! You can either place a
shallow vessel under the oil controller for collecting the
oil or allow the oil to drain into the existing oil pan.
Dirt in the oil controller can be removed as follows:
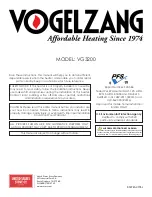
Figure 22: Oil tank
1
Tank shut-off valve
2
Tank insert lid
1. Remove filter cover on the oil controller (2 screws)
and remove filter seal and collect oil (Figure 20).
2. Remove plastic filter and immerse in hot water
(max. 60°C
– do not use boiling water!), for several
minutes, clean with a brush if required. Please do
not use paraffin or petrol for cleaning the filter since
residue containing paraffin in the strainer can only
be removed with hot water.
3. Shake the filter and allow to dry.
4. Slide the filter back into the controller and reattach
the filter seal and the filter cover using the two
screws.
5. Re-establish the oil supply to the oil controller:
open either the tank shut-off valve or, with central
oil supply, the quick closing valve.
Remove water in the heating appliance as follows:
1. Drain oil from the oil controller by opening the drain
plug and the filter cover.
2. Unscrew connection line from the oil controller to
the burner (open-end wrench 14 and 17) and drain.
When installing the oil line, ensure that the screw
connections are tightened carefully without excessive
force to avoid damaging the threads resulting in leaks.
3. With water in the tank, keep the
tank shut-off valve open with opened
filter cover until pure fuel oil runs out.
In rare cases it may happen that the
dosing bar in the oil controller becomes
dirty, obstructing or even entirely
interrupting the oil flow. If applicable,
this can be rectified as follows: Set
output controller to maximum position
“6” and vigorously tap on the control
pin on the oil controller cover (see
Figure 20). After this, turn the output
controller back to “0”.
You might have to push the safety
lever (controller latch) of the oil
controller up (see Figure 20) to release
the oil supply to the controller (see
Chapter 11.3.).
You should also clean the filter in the
filler neck of the tank from time to time
(see Figures 22 + 23). To do so, simply
remove the tank lid and remove the
filter. After this, proceed as described
in paragraph 2. Cleaning the plastic
filter.


