


Installation Manual
Chapter 4 Booting and Configuring
the VG 21-08
H3C VG 21-08 Voice Gateway
4-5
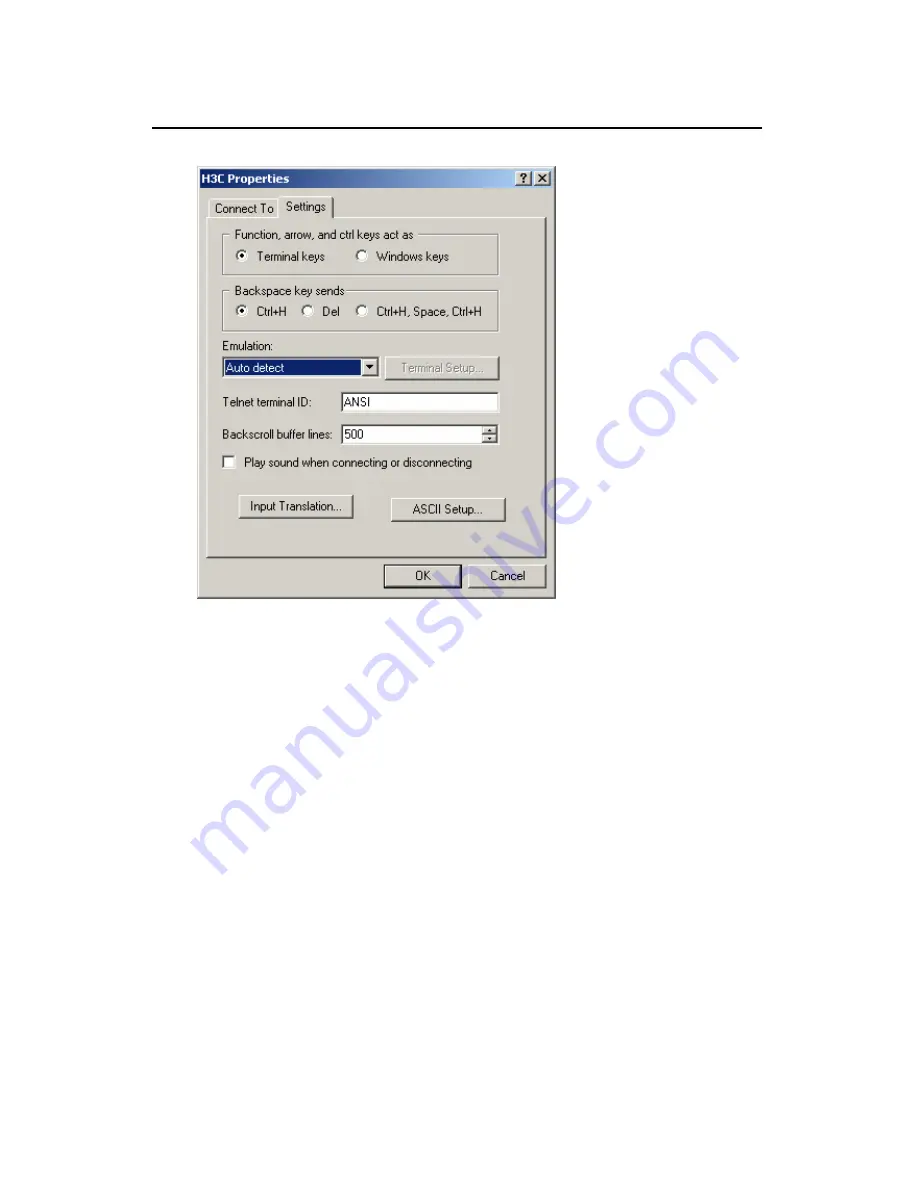
Figure 4-5
Set the terminal type
Step 9: Select VT100 or Auto detect in the Emulation dropdown
menu.
Step 10: Click <OK>.
4.1.2 Powering up the VG 21-08
I. Checking before power-up
Before powering up the VG 21-08, verify that:
z
Both the power cord and the grounding cable are correctly
connected.
z
Proper power supply is used.