42
Make sure you have your computer properly connected to the TV and turn on both PC
and TV. Press SOURCE button on your remote control and select PC from the input menu.
The available menu will be displayed on the screen. Most of the menus have already been
described in previous pages.
NOTE:
The screen menu is specific to PC mode and will only appear if you have a computer
connected to the TV.
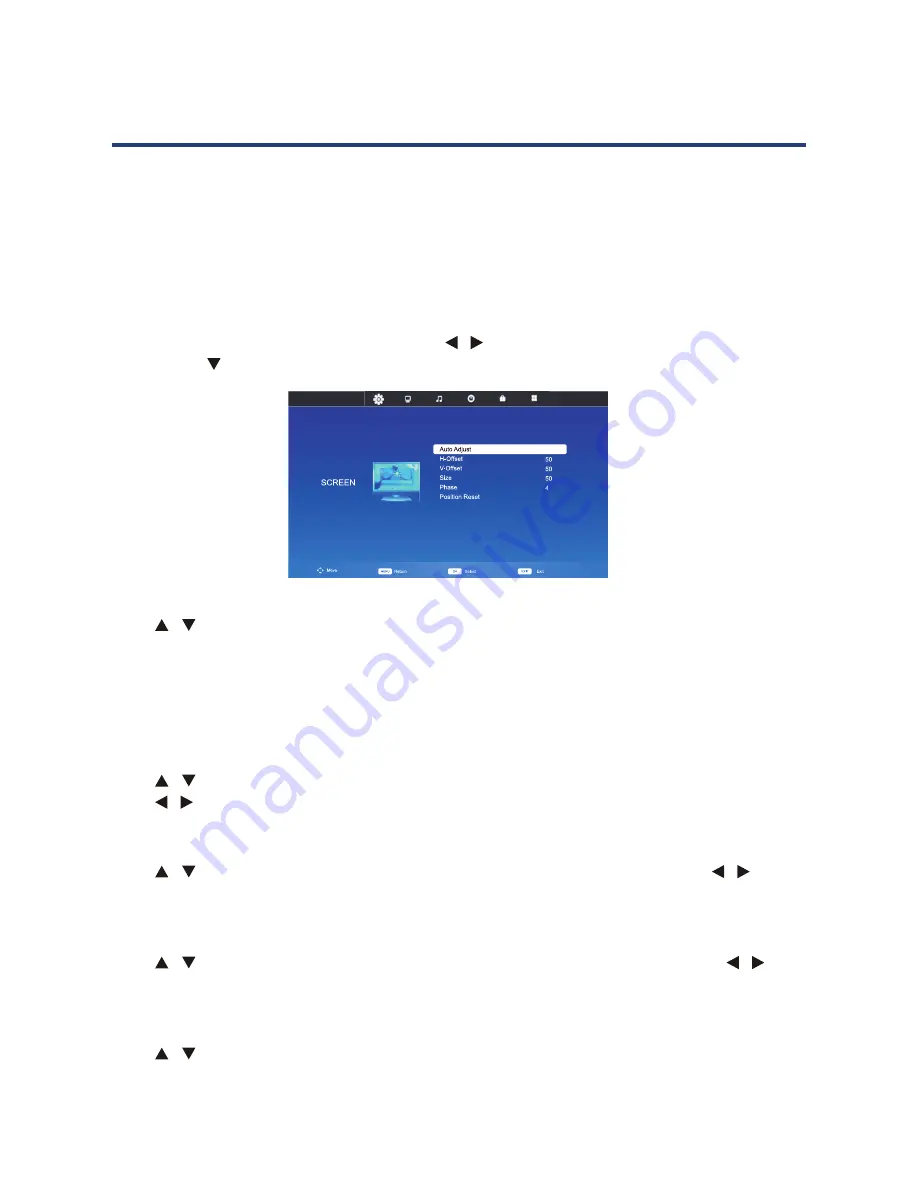
Screen Menu
Press MENU to display the main menu. Press
/
buttons to select SCREEN in the main
menu, press
or OK button to enter.
Auto Adjust
Press
/
buttons to select Auto Adjust, then press OK button to start automatic
adjustment. This will generally adjust the picture’s location on the screen, clock and phase
according to the signal output from the PC you connected. Under certain circumstances,
Auto Adjust may not work. If this happens, you can adjust the picture, clock and phase
manually.
H-Offset / V-Offset
Press
/ buttons to select H-Offset / V-Offset, then press OK button to enter submenu.
Press
/
buttons to adjust the horizontal or vertical position of the picture.
Size
Press
/
buttons to select Size, then press OK button to enter submenu. Press
/
buttons to adjust display size.
Phase
Press
/
buttons to select Phase, then press OK button to enter submenu. Press
/
buttons to adjust the phase of the picture.
Position Reset
Press
/
buttons to select Position Reset, then press OK button to restore settings to
factory default.
NOTE:
You may need to consult your computer’s instruction manual for instructions how to
enable video output on your computer.
Menu Options in PC Mode
Make sure you have your computer properly
connected to the TV and turned on.
Press [SOURCE] on the TV remote control
and select PC from the input source menu.
The available menus will be displayed on
the screen. Most of the menus have already
been described on the previous pages.
NOTE
:
mode and will only appear if you have a computer connected to the TV.
Screen menu
Press [MENU] to display the main menu.
Press
/
to select Screen in the main menu, then press or [OK] to enter.
Auto adjust
Press or [OK] to start automatic adjustment.
This will generally adjust the picture’s location on the screen, clock and phase
according to the signal output from the PC you connected. Under certain
circumstances, auto adjustment may not work. If this happens, you can adjust the
position, clock and phase manually.
Press
/
or [OK] to enter the sub-menu, then press
/
to adjust the horizontal or
vertical position of the picture.
Size
Press
/
or [OK] to enter the sub-menu, then press
/
to adjust the display size.
Phase
Press
/
or [OK] to enter the sub-menu, then press
/
to adjust the phase of the
picture.
Position reset
Press
/
or [OK] to restore the factory default settings.
NOTE:
You may need to consult your computer’s instruction manual for instructions
how to enable video output on your computer.
Menu Options in PC Mode
39


