41
Menu Options in TV Mode (Cont.)
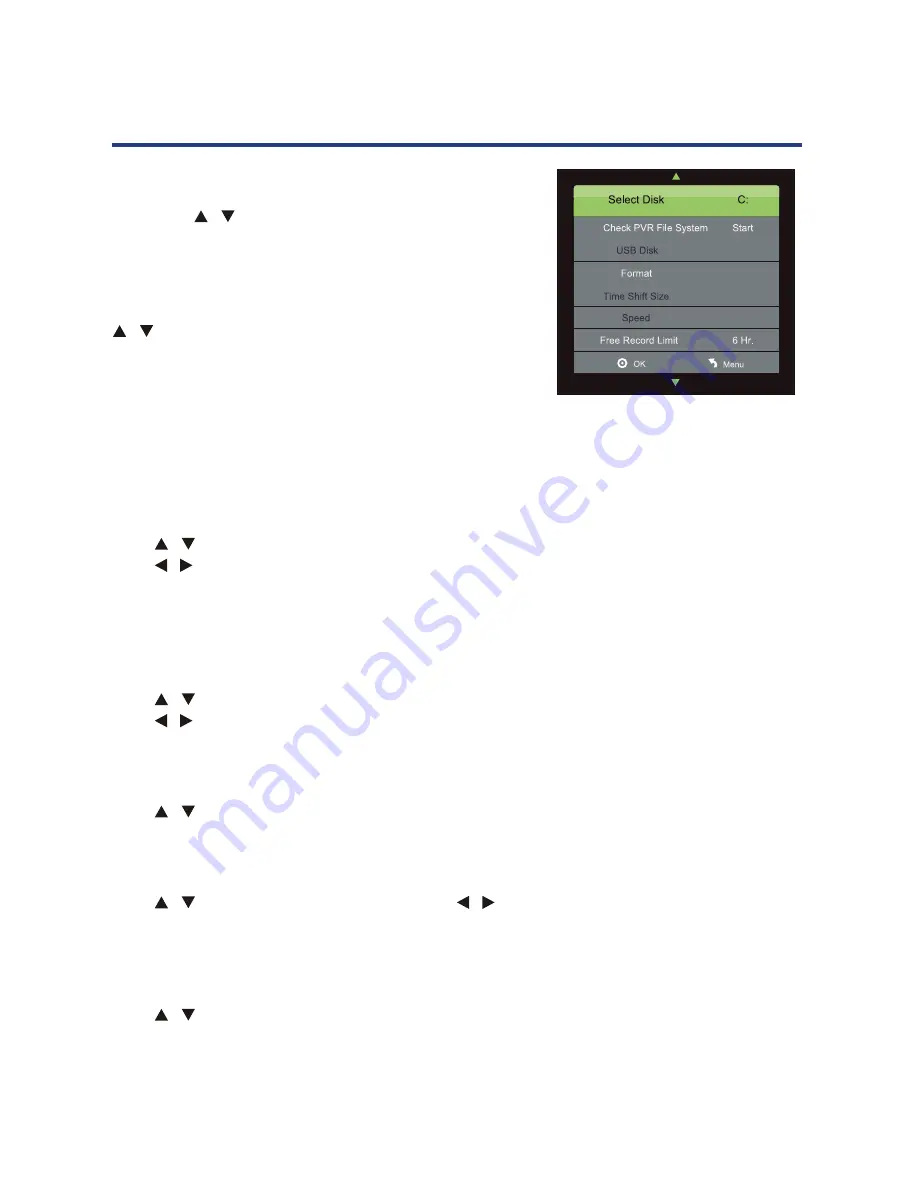
PVR File System
Insert you USB device (FAT32 format only) into the USB
port. Press
/
buttons to select PVR File System, then
press OK button to enter submenu. You can check the USB
device connected for recording.
Once you are in the PVR File System submenu, press
/
buttons to select “Check PVR File System and
press OK button to start the checking process. This
process may take a few seconds. At the end of the
checking process, the word “SUCCESS” will appear,
speed will also be shown on the menu. You can now record and save the DTV
programmes.
NOTE:
we recommend using a hard disk with built-in power supply.
Aspect Ratio
Press
/
buttons to select Aspect Radio, then press OK button to enter submenu.
Press
/
buttons to select your desired aspect ratio in sequence: Auto, 4:3, 16:9, Zoom1,
Zoom2 and Just Scan (Auto is the default setting). Press OK button to confirm setting.
NOTE:
Just Scan is panoramic display, so black edging may appear according to the data rate.
Auto and Just Scan may not be available in some sources.
Blue Screen
Press
/
buttons to select Blue Screen, then press OK button to enter submenu.
Press
/
buttons to set Blue Screen On or Off. If Blue Screen is set On, screen will turn blue
when there is no signal or currently selected sources. Press OK button to confirm setting.
First Time Installation
Press
/
buttons to select First Time Installation, then press OK button to enter relevant
options including OSD language and channel tuning (see page 24 for more detail).
Reset
Press
/
buttons to select Reset, then press
/
buttons to select Yes or No to restore
factory settings. Press OK button to confirm setting.
NOTE:
Reset will clear all settings and set TV back to default settings.
Software Update (USB)
Press
/
buttons to select Software Update(USB), then press OK button to update
software of your USB device. Software Update for your USB device depends on how often the
manufacture software support update.
PVR File system (DTV only)
Insert your USB device (FAT32 format only) into
the USB port.
Press or [OK] to enter the sub-menu, where
you can check the USB device connected for
recording.
Press / to select “Check PVR File System”,
then press [OK] to start checking. This process
will take a few seconds. At the end of the
process, the word “SUCCESS” will appear after
“Check PVR File System” and the speed will
be shown on the menu as well. You can now
record and save the DTV programme.
NOTE:
We recommend using a hard disk with built-in power supply.
Aspect ratio
Press
/
or [OK] to enter the sub-menu, then press
/
to change the aspect ratio
to Auto, 4:3, 16:9, Zoom1, Zoom2, Just Scan. (Auto is the default setting.)
NOTE:
Just Scan is panoramic display, so black edging may appear according to the
data rate. Auto and Just Scan may be not available in some sources.
Blue screen
Press
/
a blue screen when there is no signal on the currently selected source.
First time installation
Press or [OK] to enter relevant options including OSD language and channel
tuning (see page 24 for more detail).
Reset
Press
or [OK] to enter the sub-menu, then press to select Yes to restore factory
default settings.
Software update (USB)
Press or [OK] to select this setting for software updates that the manufacturer may
supply. Detailed information will be sent with the software for updating.
Menu Options in TV Mode (Cont.)
38
All manuals and user guides at all-guides.com
all-guides.com


