background image

10

Setting television channels automatically

The television set is equipped with an automatic channel search
system.
You start the search and can then sort the television channels into
your order of preference.
99 preset positions are provided, to which you can assign television
channels from the antenna or from the cable connection.
You can also delete television channels from the channel list which
were found more than once or which have poor reception.

1

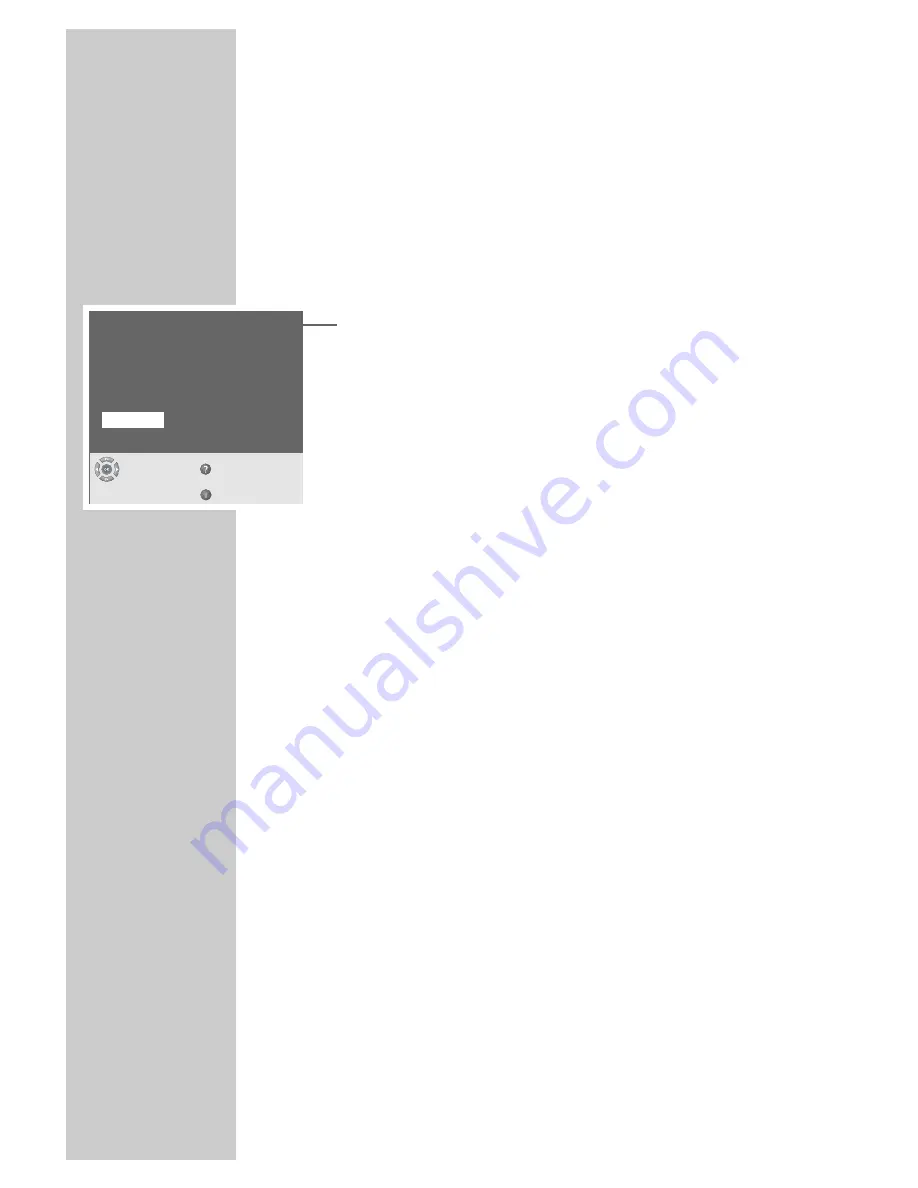
After switching on the TV set for the first time, select the dialog
language with »

P +

«, »

P -

« and confirm with »

OK

«.

2

Select your country (place of installation) with »

P +

«, »

P -

«

then confirm with »

OK

«.

– The automatic tuning system is started. 
– Depending on the number of channels which can be received,

the search can take one minute and more.

– When the automatic allocation of the channel positions is

completed, the »Easy Dialog tips« menu appears. Via this
menu you may learn how to operate your TV set.

3

Select the desired menu item with »

P -

« then press »

OK

« to

call it up.

4

To switch to TV mode, select »TV« with »

P +

«, »

P -

« and con-

firm with »

OK

«.

Note: 

The TV channels that have been found can be sorted as you
wish. TV channels that were subsequently added can also be
set. 
Detailed notes can be found in the »Easy Dialog System« inter-
active operating instructions.

Picture and sound settings

1

Open the »Picture« menu with »

z

« or the »Sound« menu

with »

F

«.

2

Select the menu item with »

P+

« or »

P-

« and press »

OK

« to

confirm.

3

Adjust the setting with »

Ǹ

«, »

Ƿ

«, »

P+

« or »

P-

«.

4

return to the »Picture« menu or the »Sound« menu by pressing
»

F

«.

5

Quit the »Picture« or »Sound« menu by pressing »

i

«.

Note: 

You can find detailed instructions on the settings in the » Easy
Dialog System « interactive operating manual.

SETTINGS

______________________________________________

Menu language

Select
and confirm

Help

Exit

Deutsch

Dansk

Español

Français

English

Italiano

Norsk

Slovensky

Nederlands

Português

Svenska

Suomi

âesky

Slovensko

Magyar

Polski

Türkçe

Ελληνικά

Summary of Contents for VISION II 26

Page 1: ...ǵ COLOR TELEVISION VISION II 26 LXW 68 9620 DOLBY VISION II 32 LXW 82 9620 DOLBY DEUTSCH ENGLISH FRANÇAIS ITALIANO NEDERLANDS TÜRKÇE POLSKI ...

Page 2: ...Settings 10 Setting television channels automatically 10 Picture and sound settings 11 Easy Dialog System 11 The Easy Dialog System interactive operating instructions 12 13 Television operation 12 Basic functions 13 Zap function 13 Alphanumeric channel selection 14 Teletext mode 14 TOP text or FLOF text mode 14 Normal text mode 14 Additional functions 14 Double window function 15 18 Information 15...

Page 3: ...ision set close to heating units or in direct sunlight as this will impair cooling Heat build up can be dangerous and shortens the operating life of the television set For reasons of safety have a specialist remove any dirt deposits in the set from time to time Do not open the television set under any circumstances Warranty claims are excluded for damage resulting from improper handling Ensure tha...

Page 4: ...difficult or impossible to remove The screen of your LCD television meets the highest quality standards and has been checked for pixel faults Despite the great care taken in manufacturing technological reasons make it impossible to completely discount the possibility that some pixels may be faulty Provided they are within the thresholds specified by the DIN norm pixel faults of this kind cannot be...

Page 5: ...cable into the wall socket Notes Only plug the device into the mains socket after you have connected the external devices and the antenna The connected devices have to be set in the Installation menu at the Devices point Detailed notes can be found in the Easy Dialog System inter active operating instructions Consult page 11 and the following pages to see how to use the Easy Dialog System CONNECTI...

Page 6: ...e lid 2 Insert the batteries Mignon type for example UM 3 or AA 2x1 5V Observe the polarity marked on the base of the bat tery compartment 3 Close the battery compartment Note If the television no longer reacts properly to remote control commands the batteries may be flat Be sure to remove used batteries The manufacturer accepts no liability for damage resulting from used batteries Environmental n...

Page 7: ...r supplied AV 1 Euro AV socket for a DVD player video recorder or satellite receiver LINE OUT y y Headphone socket audio output Service socket for dealers É Antenna socket AV 7 DVI DVI standard video input socket for digital DVI signals from a PC AV 5 Video input sockets for a DVD player video Y Pb Pr recorder or satellite receiver YUV standard L R Audio input for DVD player video recorder or sate...

Page 8: ... Switch the television on from standby Select stations step by step Move cursor up down Ǹ Ƿ Adjust the volume Move the cursor left right OK Activates various functions TXT Switches between teletext and TV modes TV G Opens the TV Guide Shows information on current programmes z Opens the Picture menu Ȅ Shows hides the time and station information Ƿ Ƿ Freeze frame F F Opens the Sound menu VCR DVD SAT...

Page 9: ... to On OK Activates the Stop Present mode or Press reveal function if that function is enabled in the VT settings menu TXT Switches between teletext and TV modes TV G Selects the Present mode function z z red Scrolls back a page Ȅ Ȅ green Scrolls to the next page yellow Selects the next chapter F F Blue Selects the next topic Notes In the VT settings menu you can select numerous teletext settings ...

Page 10: ...tips menu appears Via this menu you may learn how to operate your TV set 3 Select the desired menu item with P then press OK to call it up 4 To switch to TV mode select TV with P P and con firm with OK Note The TV channels that have been found can be sorted as you wish TV channels that were subsequently added can also be set Detailed notes can be found in the Easy Dialog System inter active operat...

Page 11: ...is the table of contents of the Easy Dialog Systems It is called up with i In the index A bis Z you will find an alphabetically ordered description of all user possibilities and settings The individual menu items are directly called up with 1 0 or one by one with P P and confirmed with OK The user guide in the lower part of the menu table shows you with which buttons certain functions are called u...

Page 12: ...ting AV channels 1 To select AV channels press 0 to open the AV menu press P or P to select the AV channel and OK to confirm Adjusting the volume 1 Press Ǹ or Ƿ to adjust the volume Muting 1 Press p to switch the sound off mute and to switch it on again Displaying concealing the clock 1 You can display or conceal the time by pressing the Ȅ button Changing the picture format The television automati...

Page 13: ...c buttons 2 0 Up to four letters can be assigned 1 Use 2 0 to enter the first letter of the channel name e g 2 for the letter A A list of all TV channels beginning with the letters A B or C appears on the picture screen Every entry of a further letter confines the list of channel names 2 Use P P to select the desired channel in the list then press OK to call it up Note Three methods are possible f...

Page 14: ...select teletext pages with 1 0 3 Press P to scroll back a page 4 Press P to scroll to the next page 5 Press TXT to switch off teletext mode Additional functions In teletext mode you can select and activate various functions in the VT settings menu such as Page overview Present mode and Text size 1 Press i in teletext mode The VT settings menu appears 2 Select the menu item with P or P and press OK...

Page 15: ...ervice information for dealers The product complies with the following EU directives 73 23 EEC directive for electrical equipment to be used within defined voltage ranges 89 336 EEC directive on electromagnetic compatibility The device complies with the following standards EN 60065 EN 55013 EN 55020 Environmental note This product has been made from high quality parts and materials which can be re...

Page 16: ... no Tele text or check aerial system transmission signal too weak picture noisy Remedy ATS RESET Turn of your TV set using the main power button Press Ƿ and main power and turn is not dis played button at the same time and turn TV set on and off again Then turn your set on again Aerial cable connected Check aerial system Change bightness contrast or colour settings Test another channel Adjust colo...

Page 17: ...o the jack cor rectly Eurocable The television was unable to automatically detect the colour standard Remedy Point remote control at the TV set Check or replace the batte ries pay attention to polari ty Turn your TV set off for approx 2 min using the main power button Enter secret number or number combination 7038580 Call up the Language menu by pressing i 5 1 at the same time and select correct l...

Page 18: ...t be protected by a 5A fuse either in the plug or at the distribution board If this type of plug becomes defective ensure that the fuse is removed before disposal to eliminate potential shock hazard If it is necessary to change the fuse in the non rewireable plug the correct type and rating 5A ASTA or BSI approved BS1362 must be used and the fuse cover must be refitted If the fuse cover is lost or...

Page 19: ...Grundig Multimedia B V Atrium Strawinskylaan 3105 NL 1077 ZX Amsterdam http www grundig com ...

Reviews: